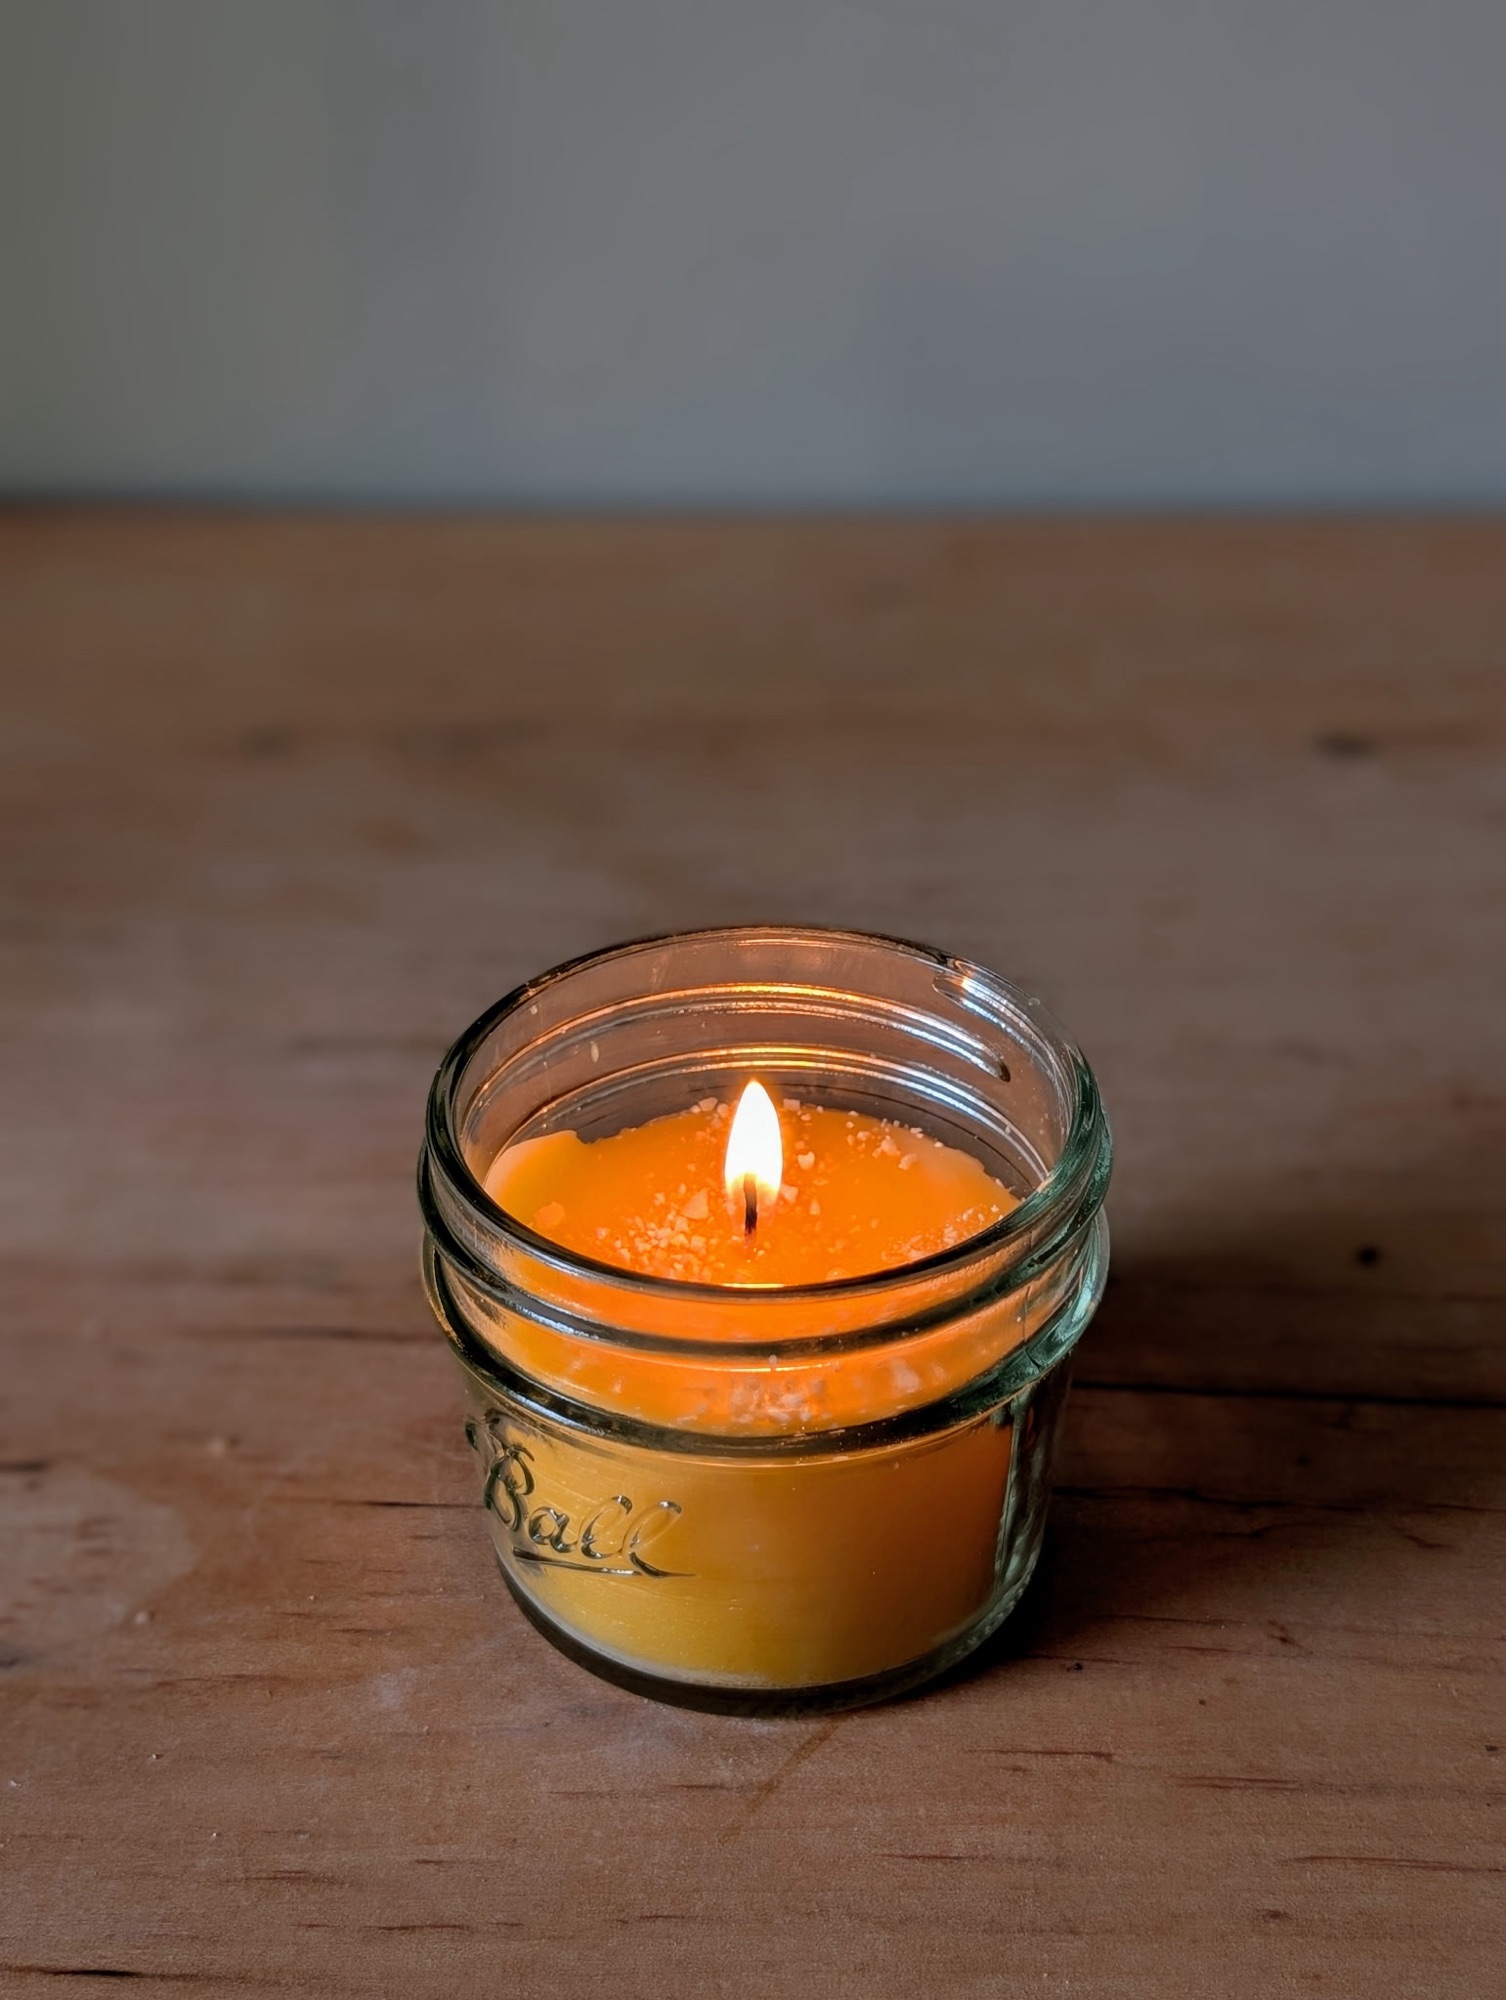

Transform your sourdough discard into a unique, fragrant candle with this simple DIY guide. This zero-waste project creates a beautifully scented candle that captures the essence of wild yeast and fermentation.
What You’ll Need
Materials
- Sourdough starter discard (about 1/2 cup)
- Pure beeswax (4-6 oz, depending on container size)
- Cotton wick or hemp wick
- Wick tab (optional)
- Candle container (mason jar, small glass vessel, or heat-safe container)
(Links to what I used at the end)
Tools
- Blender or food processor
- Double boiler setup (or large pot + heat-safe bowl)
- Clothespin or wick holder
- Metal spoon for stirring
Step-by-Step Instructions
Step 1: Prepare Your Sourdough Starter
- Dry the starter: Spread your sourdough discard thinly on a parchment-lined baking sheet
- Let it air dry completely: This can take 24-48 hours depending on humidity, or you can speed it up in a low oven (170°F) for 2-3 hours
- Check for dryness: The starter should be completely crisp and break easily

Step 2: Create Starter Powder
- Break into pieces: Once fully dried, break the starter into smaller chunks
- Pulverize: Use a blender or food processor to grind the dried starter into a fine powder
- Sift if needed: For the smoothest candle, you can sift out any larger pieces
Step 3: Prepare Your Workspace
- Set up double boiler: Fill a pot with a few inches of water and place a heat-safe bowl on top
- Prepare your container: Clean your candle vessel thoroughly
- Prep the wick: Thread the wick through the wick tab and secure with a small dab of melted wax at the bottom of your container
Step 4: Melt the Beeswax
- Heat water: Bring the water in your double boiler to a gentle simmer
- Add beeswax: Place beeswax in the top bowl and let it melt slowly
- Monitor temperature: Keep heat low to medium-low to prevent overheating the wax
- Stir occasionally: Use a metal spoon to help the wax melt evenly
Step 5: Combine and Pour
- Mix in starter powder: Once wax is fully melted, gradually stir in your sourdough starter powder (start with 2-3 tablespoons and adjust to preference)
- Stir thoroughly: Mix for 2-3 minutes to ensure even distribution
- Secure wick: Use a clothespin laid across the container rim to hold the wick centered
- Pour carefully: Slowly pour the wax mixture into your prepared container

Step 6: Finishing Touches
- Sprinkle on top: While the wax is still slightly warm but beginning to set, sprinkle a pinch of reserved starter powder on the surface for texture
- Let it set: Allow the candle to cool and harden completely (2-4 hours)
- Trim wick: Cut the wick to about 1/4 inch above the wax surface

Tips
- Scent intensity: Start with less starter powder and add more if you want a stronger fermentation scent
- Safety first: Never leave melting wax unattended and keep temperatures moderate
- Storage: Store your finished candle in a cool, dry place
- Burn time: Allow the wax to melt to the edges on first burn to prevent tunneling
The Result
You’ll have a unique candle that captures the warm, slightly tangy scent of wild yeast and fermentation. The natural beeswax provides a clean burn while the sourdough starter adds an earthy, bakery-like fragrance that’s surprisingly pleasant and cozy.

Beeswax is naturally fragrant and burns cleanly, while the dried sourdough starter contains wild yeasts and beneficial bacteria that create a subtle, complex scent when warmed. The fermentation process has already developed aromatic compounds that become more noticeable when gently heated by the candle flame.
Note: This is a creative, experimental candle-making project. Results may vary depending on your starter’s age and activity level.
Links to what I used
Disclosure: This post contains affiliate links. As an Amazon Associate, I earn from qualifying purchases. This means if you click on a link and make a purchase, I may receive a small commission at no extra cost to you. These commissions help support the content on this blog. I only recommend products I genuinely believe in or have personal experience with.


Leave a Reply