Jump to Table of Contents
Not everyone bakes with a sourdough starter and that is completely fine. I know that. I also know that the requests for a honey whole wheat version of my recipes do not stop at the sourdough crowd. They keep coming from the people who want real homemade bread, made with clean ingredients, without the 12 hour commitment.
This one is for you.
This High Protein Honey Wheat Bread is a same day yeasted loaf that comes together in about 3 hours from start to finish. It is made with white whole wheat flour, nonfat Greek yogurt, real honey, and Red Star active dry yeast. The dough result is a soft, golden, deeply flavorful sandwich loaf that delivers 7 grams of protein per slice with zero protein powder, zero additives, and nothing you cannot pronounce.
No starter. No waiting. Just bread.
Table of Contents
- Why You Will Love This Recipe
- Same Day Baking Timeline
- What Makes This High Protein
- Sourdough Version vs Yeasted Version: What Is the Difference & Recipe Link
- Ingredients and Why They Matter
- Blooming Your Yeast
- How to Make This Bread
- Shaping Your Loaf
- Baking Tips
- Recipe
- Substitutions
- Storage and Freezing
- FAQ
- Shop This Recipe
- More High Protein Recipes
Why You Will Love This Recipe
- Same day bake from start to finish in about 3 hours
- No sourdough starter needed and no discard, no feeding schedule, no waiting
- 7 grams of protein per slice from white whole wheat flour and nonfat Greek yogurt
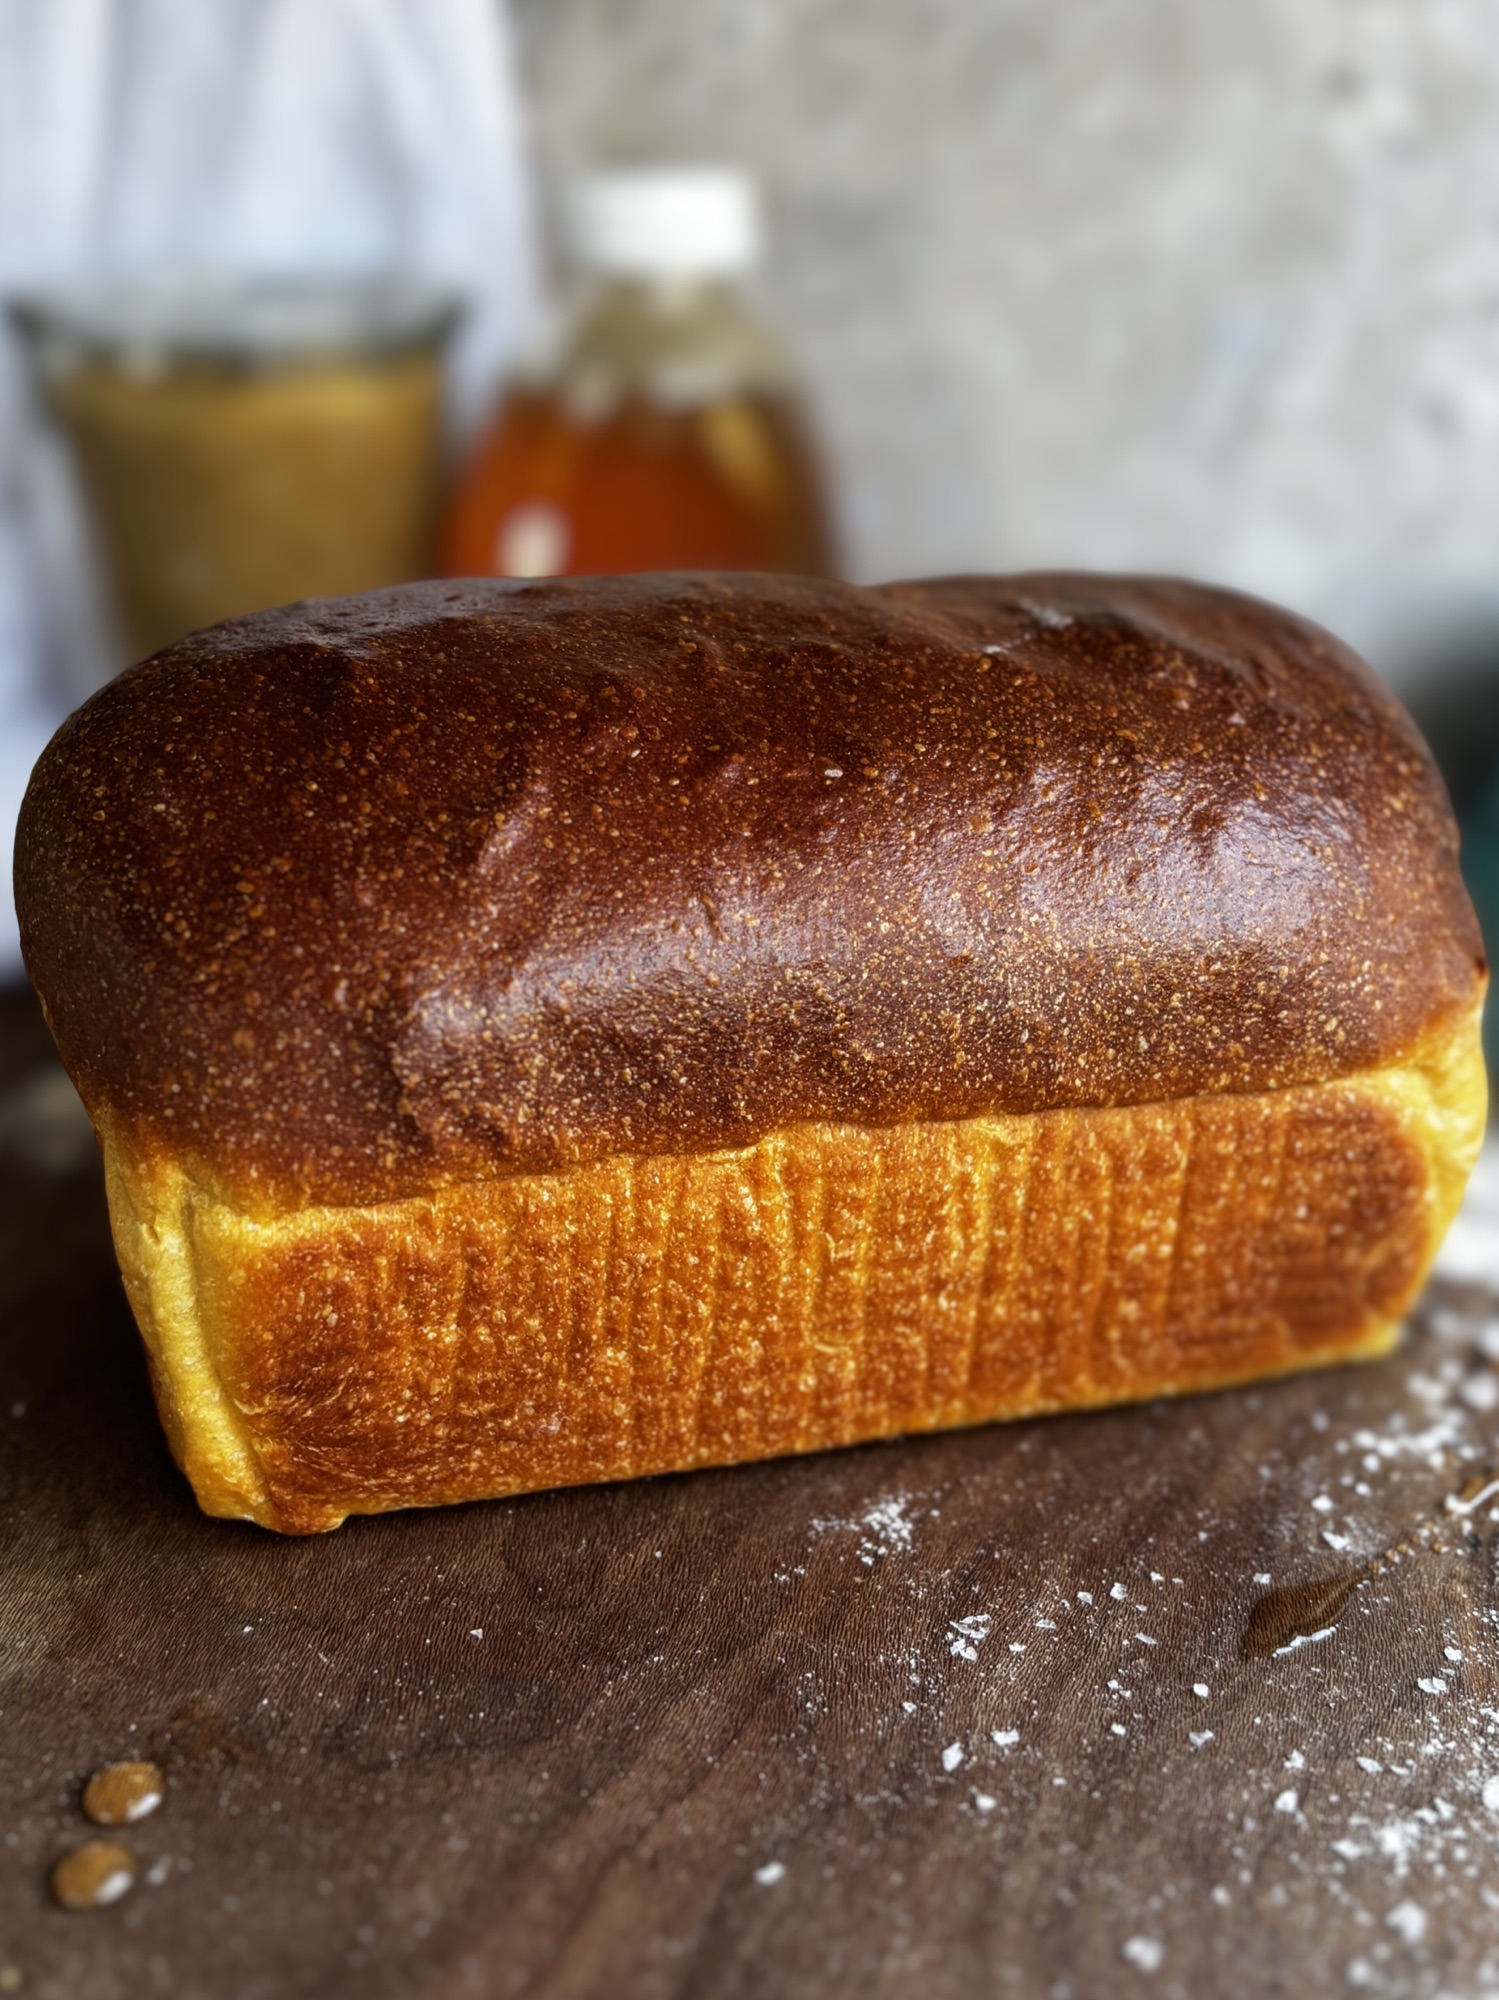
- Real honey sweetness that balances the whole wheat flavor and deepens the crust color
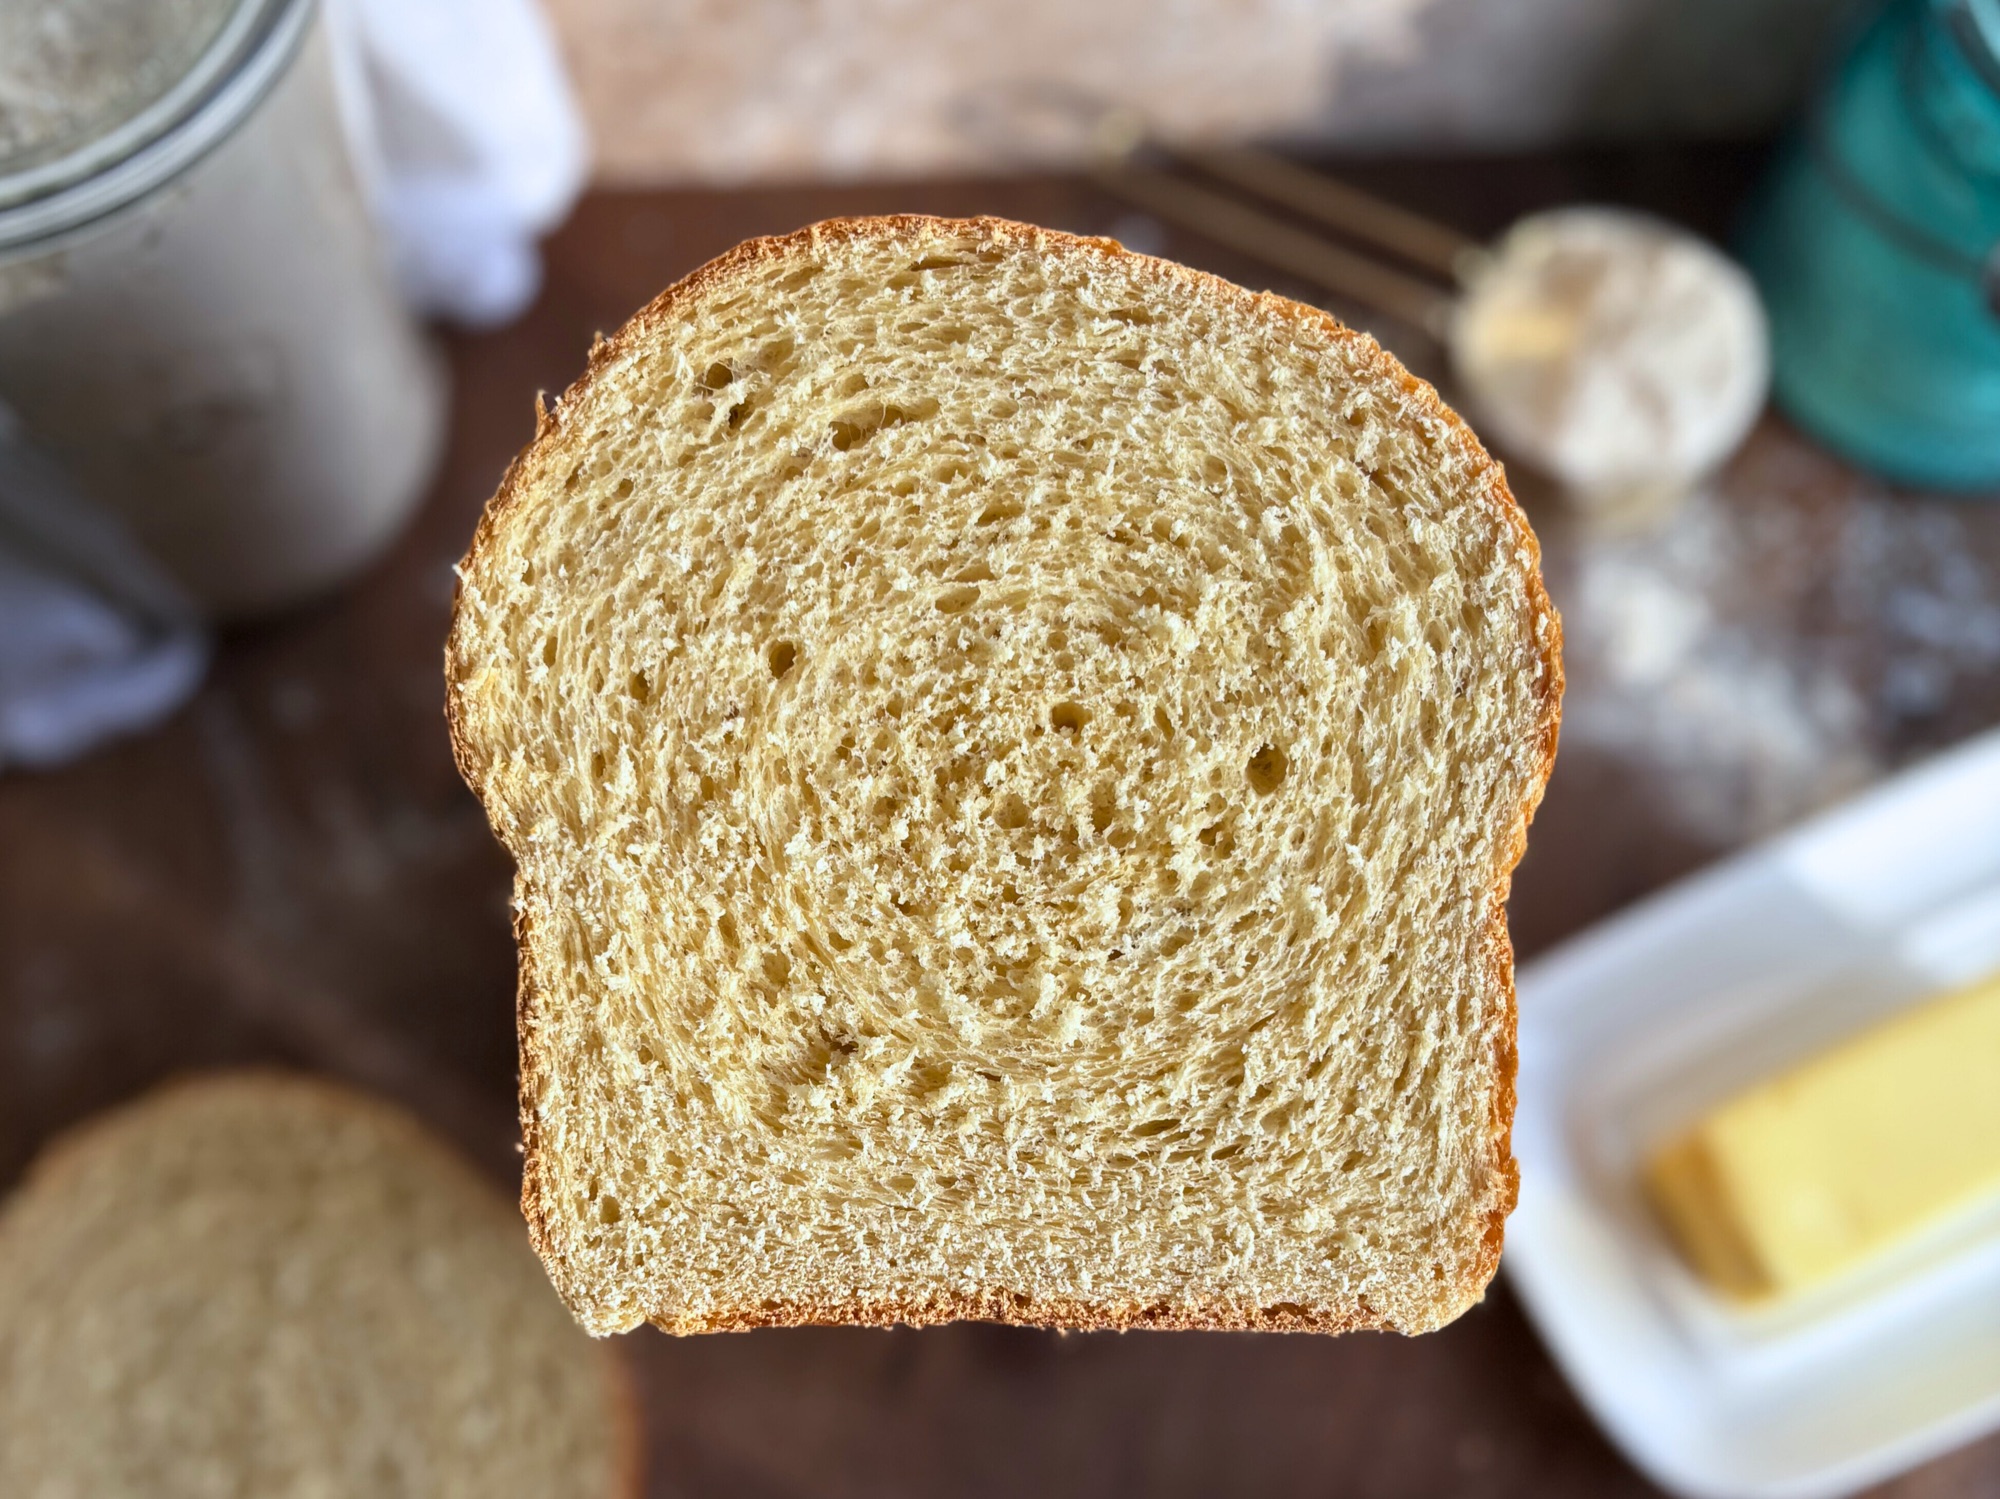
- Soft pillowy crumb that holds up to sandwiches, toast, and everything in between
- Clean ingredient list with nothing you would not find in a well stocked kitchen
- Beginner friendly without being a beginner recipe

Same Day Baking Timeline
One of the biggest advantages of a yeasted loaf over sourdough is predictability. Here is what a realistic same day schedule looks like:
8:00 AM: Bloom the yeast in warm milk and water.
8:10 AM: Mix the dough and let it rest 30 minutes.
8:40 AM: Knead for 6 to 8 minutes.
8:50 AM: Bulk rise begins. Yeasted dough rises significantly faster than sourdough. Expect 1 to 1.5 hours at room temperature to double in size.
10:20 AM: Shape and place in the loaf pan.
10:30 AM: Final proof begins. Expect 45 minutes to 1 hour until the dough crowns 1 inch above the rim.
11:30 AM: Bake at 375 degrees F for 38 to 42 minutes.
12:15 PM: Out of the oven, brushed with butter, cooling on a rack.
2:15 PM: Fully cooled and ready to slice.

What Makes This High Protein
The honey wheat bread you find at the grocery store typically delivers 4 to 5 grams of protein per slice. This loaf comes in at 7 grams per slice at 13 slices per loaf. That is about 50% more protein than commercial options and it comes entirely from real food ingredients.
Two things are doing the heavy lifting here.
White whole wheat flour naturally has a higher protein content than all purpose or conventional white flour. The variety I use comes in at 14.5% protein, which is higher than many bread flours on the market. That protein contributes to both the nutritional profile and the gluten structure of the dough.
Nonfat Greek yogurt contributes roughly 26 grams of protein to the full recipe. No supplements. No protein powder. Just yogurt that you already have sitting in your fridge.
The combination of these two ingredients in one loaf is what makes this recipe genuinely different from everything else in this category.

Sourdough Version vs Yeasted Version: What Is the Difference
If you have a sourdough starter and the time to use it, the sourdough version of this recipe is available here: High Protein Honey Whole Wheat Sourdough Sandwich Bread. The two recipes are close siblings and the ingredient list is nearly identical. The differences come down to a few things worth understanding.
Time: The sourdough version takes 8 to 12 hours depending on your kitchen temperature. This yeasted version takes about 3 hours. If you want bread today, this is the version.
Flavor: The sourdough version has more depth and complexity from the long fermentation. This yeasted version is milder and more straightforward, with the honey and whole wheat flavors front and center without any fermentation notes layered underneath. For a lot of people, especially families with kids, that is actually the preference.
Digestibility: Sourdough fermentation breaks down phytic acid in the wheat, making certain minerals more bioavailable and making the bread easier to digest for some people. The yeasted version does not have that benefit. If digestibility is a priority for you, the sourdough version is the better choice.
Protein: Both versions deliver approximately 7 grams of protein per slice. The protein story is the same either way.
Neither version is better. They are different tools for different days.
Ingredients and Why They Matter
White Whole Wheat Flour
White whole wheat flour is milled from hard white wheat rather than the red wheat used in conventional whole wheat flour. The result is a milder, slightly sweeter flavor without the bitter bran notes that can make whole wheat bread taste heavy. It also carries a higher protein content than all purpose flour, which contributes to both the nutritional profile and the gluten structure of the dough. The variety I use is Prairie Gold by Wheat Montana, but King Arthur White Whole Wheat is the most widely available substitute and performs nearly identically in this recipe.
Bread Flour
The bread flour provides the strong gluten network needed to give this loaf structure and lift. The bran in whole wheat flour does cut through gluten development, which is why the combination of both flours matters. At 50/50 you get the whole wheat flavor and nutrition with enough bread flour structure to get a beautiful tall dome above the rim.
Nonfat Greek Yogurt
The protein engine of this loaf. Nonfat Greek yogurt is thick, high in protein, and slightly acidic. The acidity helps tenderize the gluten for that soft bite you want in a sandwich loaf. The protein adds directly to the nutrition count per slice. Use nonfat specifically. Full fat Greek yogurt will work but the dough will be significantly wetter and you will need to add additional flour during kneading.
Red Star Active Dry Yeast
This is the leavener doing the heavy lifting. Blooming it properly before it goes into the dough is not optional. A properly bloomed yeast mixture is foamy and fragrant after 10 minutes. If it does not foam your yeast is dead and the loaf will not rise. See the full blooming section below.
Honey
Honey is not interchangeable with sugar in this recipe. It contributes moisture, helps the crust develop that deep amber color, slows staling so the loaf stays fresh longer, and balances the whole wheat flavor in a way granulated sugar cannot replicate. It also feeds the yeast during the bloom and during fermentation.
Butter and Egg
Both contribute to the soft enriched crumb and extend shelf life. Butter coats the gluten strands and creates that pillowy texture. The egg adds richness, structure, and a small amount of additional protein.

Blooming Your Yeast
This step is not optional and it will save you from a failed bake. Blooming the yeast before adding it to your dough confirms that your yeast is alive and active before you invest time and ingredients into the full recipe.
Warm the milk and water together to between 110 and 115 degrees F. If you do not have a thermometer it should feel warm but not hot on the inside of your wrist. Add the yeast and a small amount of honey and stir gently until no dry granules remain. Let it sit undisturbed for 10 minutes.
After 10 minutes you should see a foamy layer developing on the surface. That foam is your yeast feeding on the honey and producing gas. It smells yeasty and slightly sweet. That is exactly what you want. If after 10 minutes you have nothing, your yeast is dead or your liquid was too hot. Discard everything and start with a fresh packet before you go any further.
Blooming in warm milk rather than plain water is intentional. The natural sugars in the milk feed the yeast during activation and contribute to a slightly richer flavor in the finished loaf.

How to Make This Bread
Mix and Rest
This dough comes together differently than a standard white flour dough. The Greek yogurt hydrates the flour more slowly than water does, which means the dough will feel stickier in the first few minutes of mixing than you might expect. Do not add flour immediately. Once everything is combined, cover the bowl and let the dough rest for 30 minutes. That rest period allows the flour to fully absorb the yogurt. The dough becomes significantly more cohesive and workable without adding a single gram of extra flour.
Knead
After the rest, knead in a stand mixer on speed 2 for 6 to 8 minutes or by hand for 8 to 10 minutes. You are looking for a partial windowpane where the dough stretches without immediately tearing. If the dough is still unworkably wet after the rest, add bread flour 10 grams at a time and note how much you add.
Bulk Rise
Place the dough in a lightly oiled bowl, cover tightly, and let it rise until doubled in size. Yeasted dough rises significantly faster than sourdough. Expect 1 to 1.5 hours at room temperature. The dough should feel airy and jiggly when you gently shake the bowl. Do not rush this step. A fully risen dough gives you the oven spring and crumb structure you are looking for.

Shape and Final Proof
After shaping, cover the loaf tightly and proof at room temperature for 45 minutes to 1 hour until the dough crowns about 1 inch above the rim of the pan. See the shaping section below. Use the poke test to confirm readiness: lightly oil your finger and press about half an inch into the dough. If it springs back slowly and leaves a slight indent it is ready. If it springs back immediately it needs more time. If the indent stays completely, get it in the oven right away.

Bake
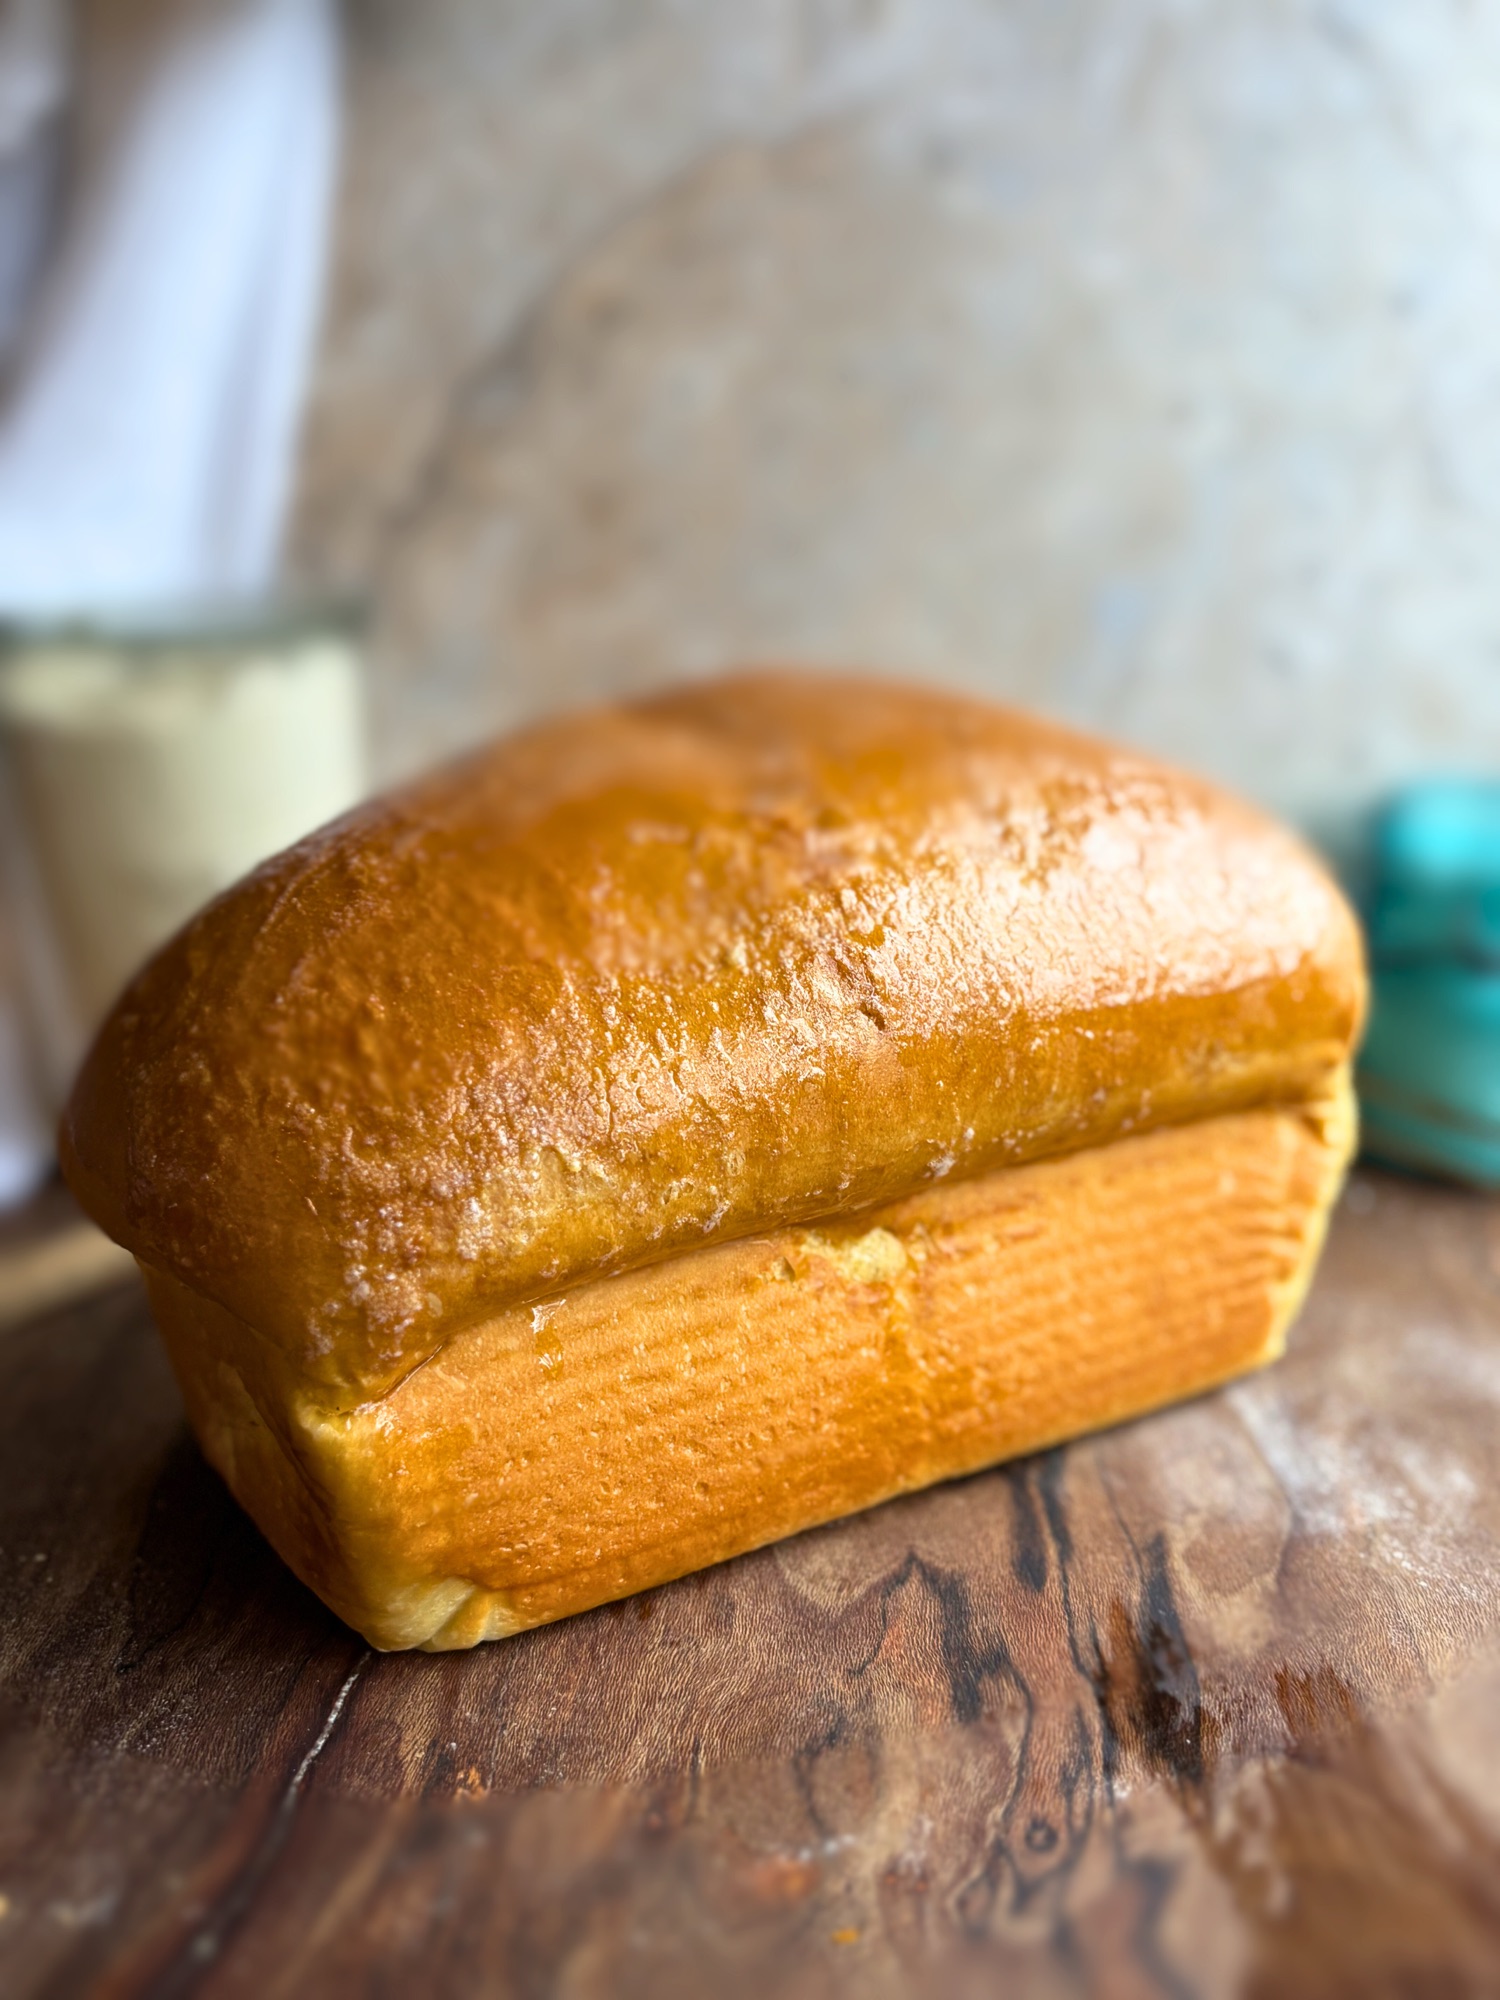
Brush with egg wash made from one whole egg and a splash of whole milk. Place a second loaf pan of the same size inverted loosely over the top of your loaf pan before it goes in the oven. This controls oven spring during the first 10 minutes and prevents side splitting. Remove it after 10 minutes and continue baking until deep golden brown. Pull at 190 to 195 degrees F internal temperature. Brush with melted butter the moment it comes out.
Shaping Your Loaf
Shaping directly affects the dome you get in the oven. A tightly shaped loaf with even surface tension will rise in a controlled beautiful dome. A loose or uneven shape will give you an uncontrolled split or a flat top.
The Rectangle Fold Method
Pat the dough into a rectangle approximately 14 inches tall by 10 inches wide, with the 14 inch side closest to you. Fold the left side of the 10 inch width in toward the center, then fold the right side in toward the center. Starting from the edge closest to you roll the dough upward away from you, pressing lightly at each revolution to build surface tension. Pinch the seam firmly and place seam side down in the pan, pressing gently so the log touches both short ends.

The Sleeping Bag Roll
Pat the dough into a 5 inch by 12 inch rectangle. Starting from the short end farthest from you, roll the dough slowly toward your body. With each roll tuck the dough slightly under itself pulling gently toward you to create tension on the outer surface. Every few rolls bring the sides in toward the center to keep the edges even. By the end the dough should feel like a taut package. Pinch the seam and place seam side down.

Baking Tips
- Always use nonfat Greek yogurt for the most consistent results and the highest protein content per slice.
- Bloom your yeast every single time regardless of how fresh the packet is. It takes 10 minutes and it saves your bake.
- The inverted pan technique is essential. Placing a second loaf pan inverted loosely over your loaf pan for the first 10 minutes controls oven spring and prevents side splitting.
- Honey browns faster than sugar. Tent loosely with foil after the first 25 minutes if the crust is getting too dark before the interior hits temperature.
- Pull the loaf at 190 to 195 degrees F internal temperature. Do not guess.
- Brush with melted butter the moment it comes out of the oven for a soft pliable crust.
- Cool for at least 2 hours before slicing. This is an enriched loaf and cutting too early will absolutely give you a gummy crumb.

Recipe

High Protein Honey Wheat Sandwich Bread (Yeasted Version)
Equipment
- Stand mixer with dough hook attachment or large mixing bowl
- kitchen scale
- 9×5 USA Pan loaf pan
- Parchment paper or pan liner
- Instant read thermometer
- Wire cooling rack
- – Pastry brush
Ingredients
For the Yeast Bloom
- 40 grams whole milk warmed to 110 to 115 degrees F (3 tablespoons)
- 60 grams warm water 110 to 115 degrees F (1/4 cup)
- 7 grams Red Star active dry yeast 2 1/4 teaspoons
- 5 grams honey about 1/4 teaspoon, taken from total honey amount
For the Dough
- 200 grams white whole wheat flour 1 1/2 cups plus 1 tablespoon
- 260 grams bread flour 2 cups plus 1 tablespoon
- 240 grams nonfat Greek yogurt slightly warmed (1 cup)
- 50 grams unsalted butter softened (3 1/2 tablespoons)
- 35 grams honey (about 1 3/4 tablespoons)
- 7 grams fine sea salt 1 1/4 teaspoons
- 1 large egg room temperature
For Finishing
- 1 large egg
- 1 splash whole milk for egg wash
- 2 tablespoons unsalted butter melted, for brushing after baking
Instructions
- Bloom the yeast first. Combine the warm milk and warm water in a small bowl or measuring cup. Both should be between 110 and 115 degrees F. Stir in the 5 grams of honey and the yeast until no dry granules remain. Let sit undisturbed for 10 minutes. A properly bloomed yeast mixture will be noticeably foamy and smell yeasty and slightly sweet. If nothing happens after 10 minutes your yeast is dead or your liquid was too hot. Discard and start fresh before continuing.
- Warm the Greek yogurt in the microwave for about 30 seconds, just enough to take the chill off. You want it slightly warm but not hot.
- In a large bowl whisk together the white whole wheat flour, bread flour, and salt. In a separate bowl whisk together the bloomed yeast mixture, warmed yogurt, remaining 35 grams of honey, and egg until smooth, then mix in the softened butter until fully incorporated. Pour the wet mixture into the dry ingredients and mix until a soft slightly tacky dough forms.
- Cover the bowl and let the dough rest for 30 minutes. This rest is important because the Greek yogurt hydrates the flour more slowly than water does. The dough will feel stickier in the first few minutes but becomes significantly more cohesive and workable after the rest without adding extra flour.
- After the rest, knead the dough in a stand mixer on speed 2 for 6 to 8 minutes or by hand for 8 to 10 minutes until it smooths out and becomes elastic. You are looking for a partial windowpane where the dough stretches without immediately tearing. If the dough is still unworkably wet after the rest, add bread flour 10 grams at a time, mixing fully between each addition before deciding if more is needed.
- Place the dough in a lightly oiled bowl, cover tightly, and let it bulk rise at room temperature until doubled in size. Yeasted dough rises significantly faster than sourdough so check it early. Expect 1 to 1.5 hours depending on your kitchen temperature. The dough should feel airy and jiggly when you gently shake the bowl.
- Turn the dough out onto a lightly floured surface. Pat the dough into a rectangle approximately 14 inches tall by 10 inches wide, with the 14 inch side closest to you. Fold the left side of the 10 inch width in toward the center, then fold the right side in toward the center. Starting from the edge closest to you begin rolling the dough upward away from you, tugging gently as you go to build surface tension with each revolution. Once you have rolled it over the seam, pinch the sides together firmly and place seam side down in a parchment lined or lightly greased 9×5 loaf pan, pressing gently so the log touches both short ends of the pan.
- Cover the shaped loaf tightly and let it proof at room temperature for 45 minutes to 1 hour until the dough crowns about 1 inch above the rim of the pan. Use the poke test to confirm readiness. Lightly oil your finger and press about half an inch into the dough. If it springs back slowly and leaves a slight indent it is ready to bake. If it springs back immediately it needs more time. If the indent stays completely without springing back at all, get it in the oven immediately.
- Preheat the oven to 375 degrees F.
- Whisk together the egg and splash of whole milk for the egg wash and brush the top of the loaf gently with one thin even coat. Place a second loaf pan of the same size inverted loosely over the top of your loaf pan before placing it in the oven. This controls the oven spring during the first 10 minutes of baking and prevents side splitting by keeping moisture around the loaf so the top stays pliable long enough for the spring to go upward rather than outward.
- Bake for 38-42 minutes. Optional, bake for 10 minutes with the inverted pan on top, then carefully remove it and continue baking for 28 to 32 more minutes until deep golden brown. Honey deepens the crust color faster than sugar so keep an eye on it and tent loosely with foil if the top is browning too fast before the interior is done. The loaf is done when an instant read thermometer inserted in the center reads 190 to 195 degrees F.
- Remove from the oven and brush immediately with melted butter. Let the loaf cool in the pan for 10 minutes, then transfer to a wire rack. Cool for at least 2 hours before slicing. This is an enriched loaf and cutting too early will give you a gummy crumb regardless of how well it baked.
Notes
Substitutions
Flour
White whole wheat flour is strongly recommended. King Arthur White Whole Wheat is the most widely available option and performs nearly identically to Prairie Gold. Standard red whole wheat will also work but produces a slightly denser loaf with a more pronounced bran flavor.
Honey
Pure maple syrup is the closest substitute and will work with a subtle flavor difference. If you want to use granulated sugar instead, use 25 grams of sugar in place of the 40 grams of honey. Sugar is more concentrated in sweetness and does not contain the water that honey does so the amounts are not a straight swap.
Dairy
For a dairy free version substitute the Greek yogurt with a thick unsweetened coconut yogurt or cashew yogurt at the same weight. Replace the whole milk with any unsweetened plant milk. Replace the butter with vegan butter or coconut oil at the same weight. While I have not personally tested these swaps, based on my research and how they perform in similar enriched doughs they should work well.
Egg
A flax egg made from 1 tablespoon of ground flaxseed mixed with 3 tablespoons of water and rested for 5 minutes is the most structurally similar substitute. Aquafaba at 3 tablespoons is another option that works as a functional binder. While I have not personally tested either of these in this specific recipe, based on how they perform in similar enriched doughs they should work as functional replacements.
Storage and Freezing
Store at room temperature in a bread bag or airtight container for up to 3 days. The honey slows staling so this loaf stays noticeably fresher longer than a standard sandwich bread.
This bread freezes beautifully. Cool completely before slicing, wrap individual slices in plastic wrap, and place in a freezer safe bag. Freeze for up to 3 months. Pull individual slices as needed and toast directly from frozen or thaw at room temperature for about 30 minutes.

FAQ
Can I substitute sugar for honey?
Yes. If you do not want to use honey or do not have it on hand, use 25 grams of granulated sugar in place of the 40 grams of honey. Honey and sugar are not a straight one to one swap because honey contains water that granulated sugar does not. Using 25 grams of sugar gives you comparable sweetness without throwing off the hydration of the dough. Keep in mind that you will lose some of the crust color since honey caramelizes more dramatically than sugar, and the loaf may stale slightly faster since honey is a natural humectant that slows moisture loss.
Why did my yeast not foam?
Either your liquid was too hot and killed the yeast, or your yeast is expired. The liquid should be between 110 and 115 degrees F. Above 120 degrees F is too hot and will kill the yeast. Check the expiration date on your packet and always bloom before using.
Can I use instant yeast instead of active dry yeast?
Yes. Instant yeast does not need to be bloomed first and can be added directly to the dry ingredients. Use the same amount and expect a slightly faster rise time since instant yeast is more potent than active dry.
My dough was too sticky. What do I do?
Do not add flour before the 30 minute rest. The yogurt needs that time to fully hydrate the flour. After the rest the dough will be significantly more manageable. If it is still unworkably wet after the rest, add bread flour 10 grams at a time, mixing fully between each addition before deciding if more is needed.
Can I use full fat Greek yogurt?
You can but expect a wetter dough. Do not add extra flour during the initial mix. Let the dough rest for 30 minutes first, then add bread flour 10 grams at a time after the rest if needed.
Can I do an overnight rise?
Yes. After the bulk rise you can shape the loaf, place it in the pan, cover tightly, and refrigerate overnight for the final proof. Pull it out the next morning and let it come to room temperature and finish proofing before baking. This will give you a slightly more developed flavor.
Why did my loaf split on the sides?
Side splitting is almost always a shaping issue. A slack or uneven surface going into the pan leads to uncontrolled oven spring. Focus on building tight even surface tension when you shape. The inverted pan technique during the first 10 minutes of baking also helps significantly.
What size loaf pan do I need?
This recipe is written for a 9×5 USA Pan loaf pan. A 10×5 will also work and gives the loaf a little more room to spread as it rises.
Shop This Recipe
These are the tools and ingredients I use and recommend for this recipe.
- Prairie Gold White Whole Wheat Flour
- Red Star Active Dry Yeast
- Kitchen Scale – Accuracy matters in bread baking. Weight measurements are always more reliable than volume.
- USA Pan 9×5 Loaf Pan
- Instant Read Thermometer – The most reliable way to know your loaf is fully baked.
- Parchment Paper Pan Liners
- Wire Cooling Rack
This post contains Amazon affiliate links. Clicking my links costs you nothing extra, but I do earn a small commission that helps support the blog and future recipe development. Thank you so much for your support, it means everything.
More High Protein Recipes
If this recipe is your kind of thing, here are more high protein recipes from H3art of the Home:
- High Protein Honey Whole Wheat Sourdough Sandwich Bread – The sourdough version of this recipe for those with a starter
- High Protein Sandwich Bread – The yeasted version of the original sandwich loaf
- High Protein Sourdough Sandwich Bread – The original that started it all
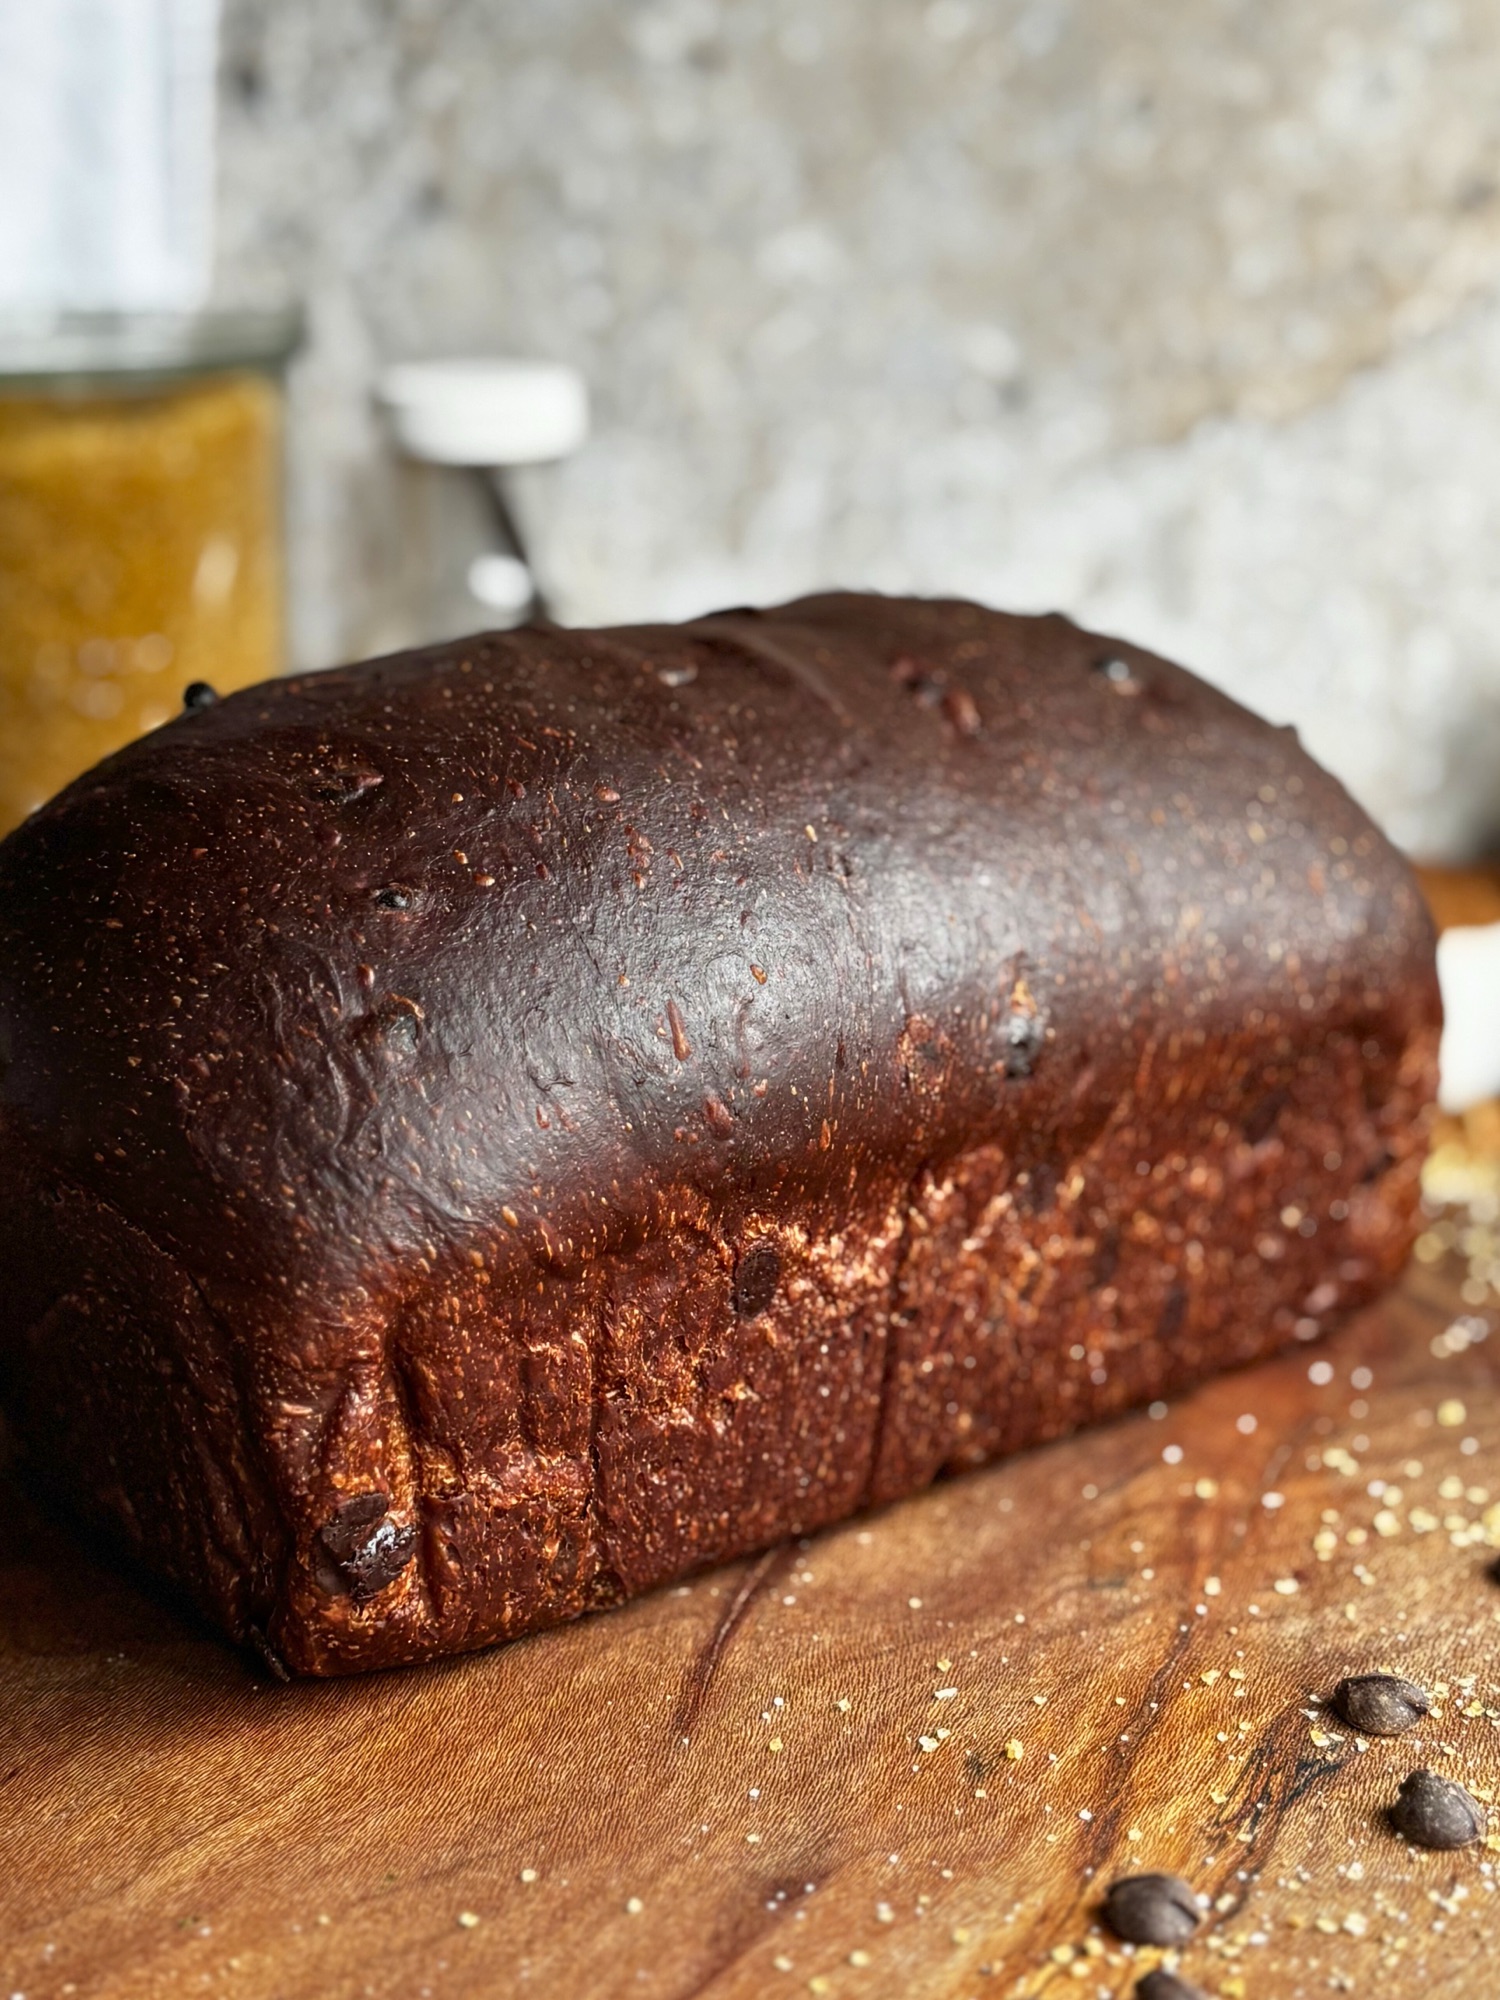
- High Protein Sourdough Chocolate Sandwich Bread – A delightful twist on the classic
- High Protein Cottage Cheese Sourdough Scones – Fluffy, tender, and packed with protein
- High Protein Chocolate Chip Sourdough Scones – Yes, high protein scones can absolutely be this good
- High Protein Sourdough Pretzel Bites – These tasty morsels are packed with flavor and protein
Did you make this recipe? Leave a comment below and let me know how it turned out. Tag me on Instagram at @h3artofthehome so I can see your beautiful loaves. And if you want new recipes sent directly to your inbox, sign up for the H3art of the Home newsletter below.


Leave a Reply