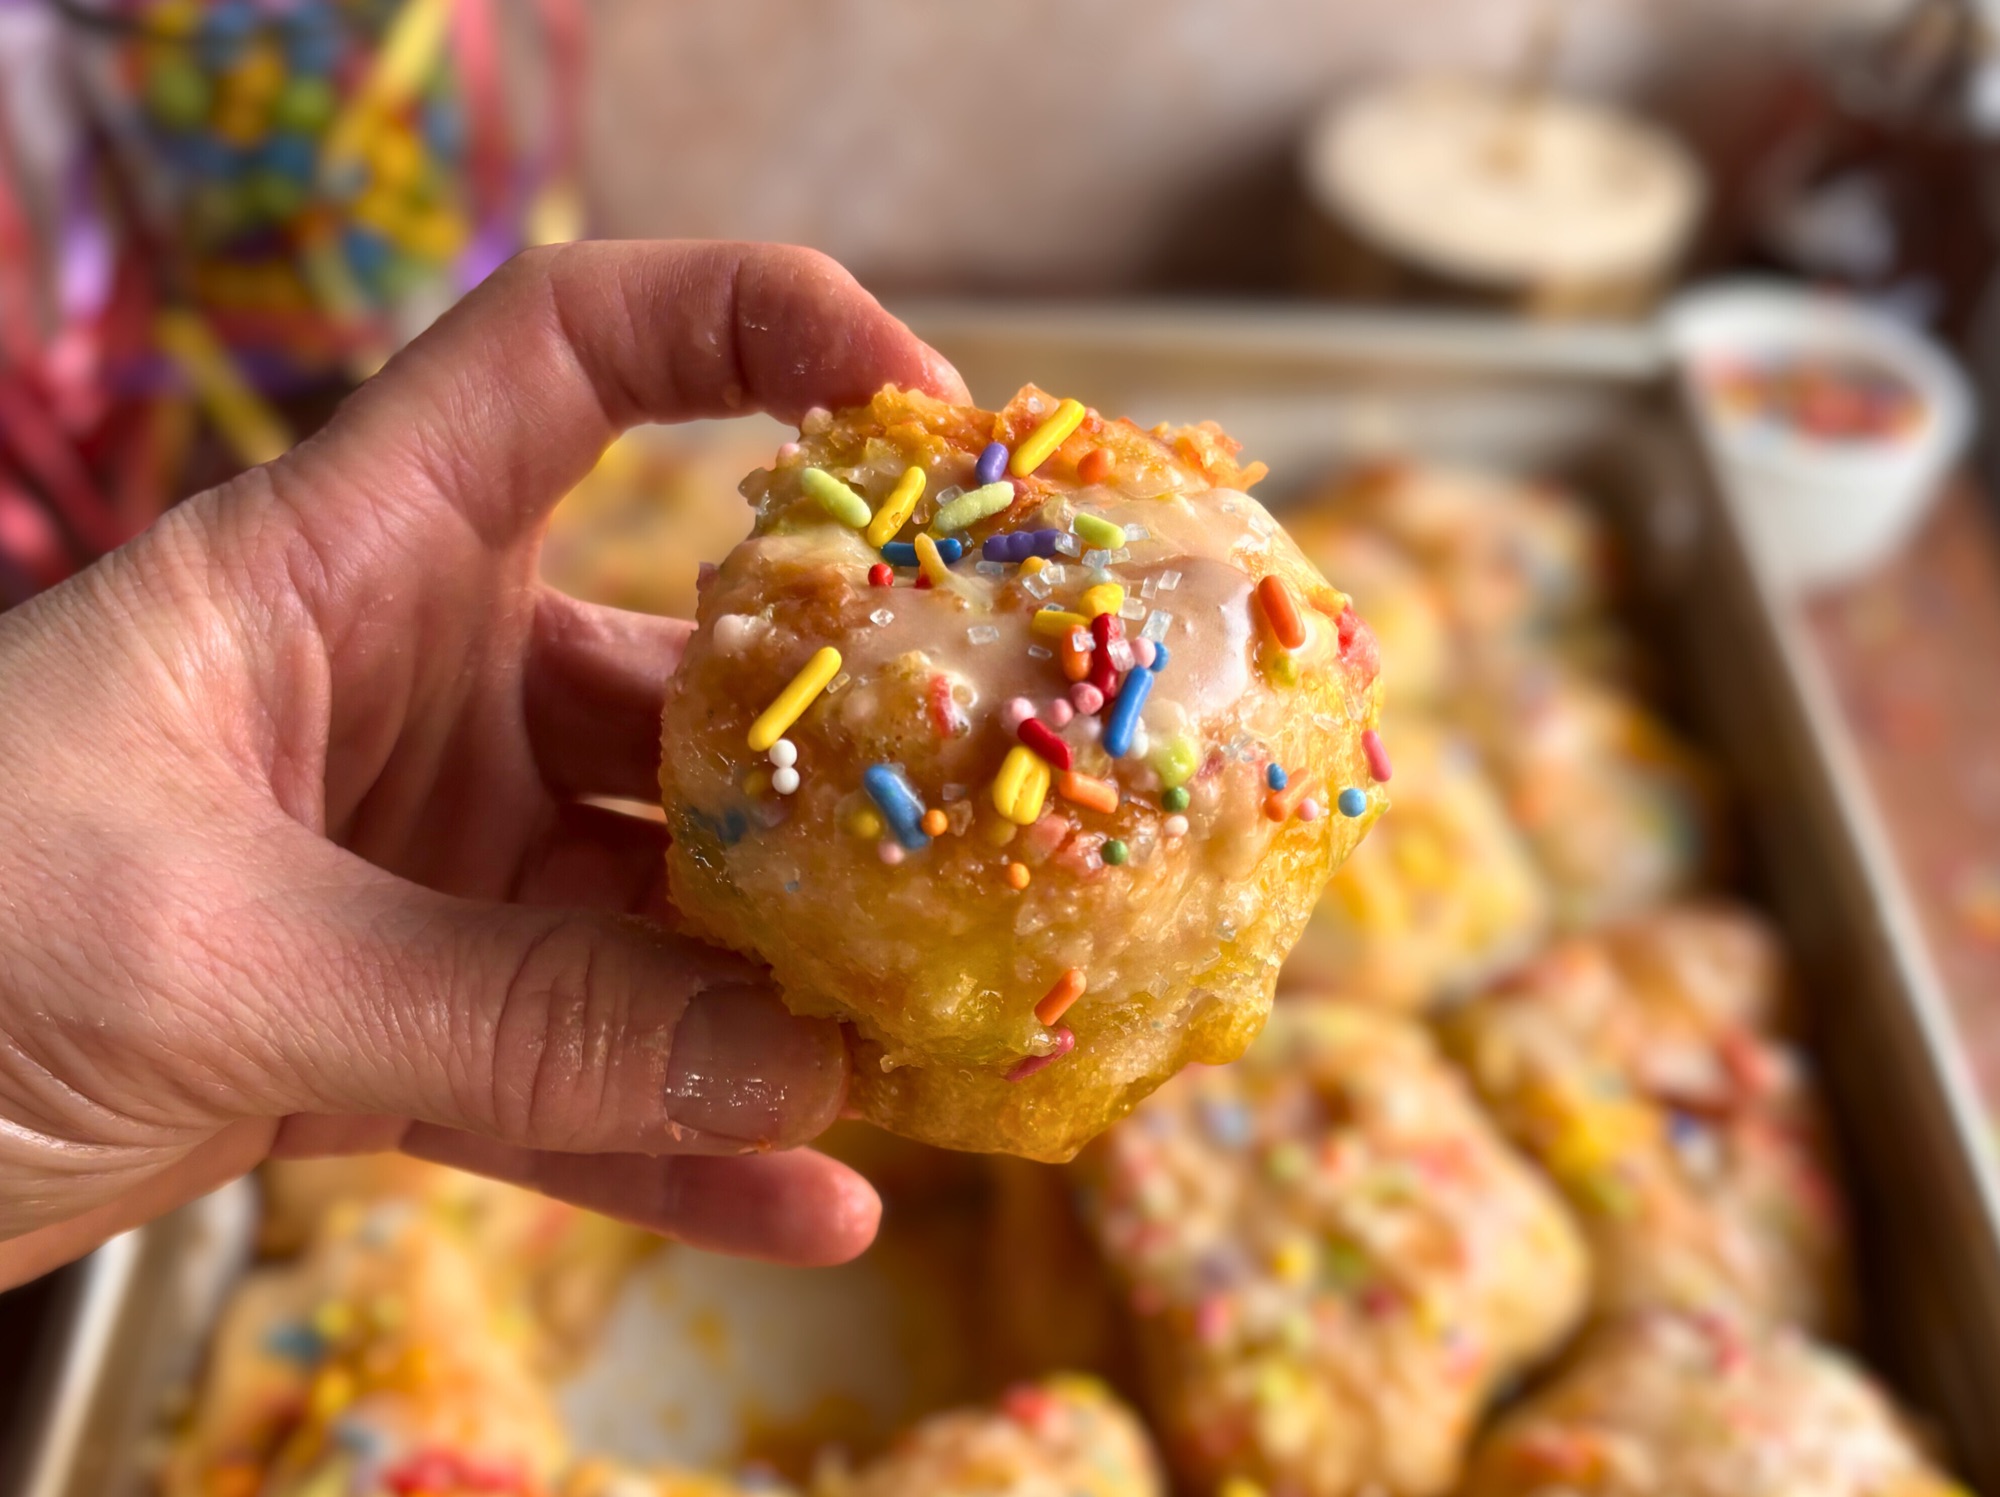
Sweet pillowy focaccia balls dunked in vanilla butter, rolled in sprinkles and colored sugar, then drizzled with a crackly glaze. This celebration pull apart focaccia is the show stopping centerpiece your next party needs. It is like if birthday cake and focaccia had a baby. No slicing, no forks, just grab a ball and pull. It’s messy hands, zero regrets energy at its finest.
Part of my pull apart focaccia series (hello garlic parmesan, cinnamon roll, and jelly donut!), this one is pure celebration. Perfect for birthdays, holidays, or honestly just a Tuesday when you want to feel like you’re at a party. Make it with sourdough for that signature tang, or use the yeasted version for something quick and reliable.
Table of Contents
- Why This Recipe Works
- The Science of Dimpling Focaccia
- Best Practices for Working with Sprinkles
- Handling Sticky Sourdough Dough
- How to Tell When Focaccia is Properly Proofed
- Why Cornstarch in the Coating
- Yeasted Version
- Storage and Make Ahead Tips
- More Pull Apart Focaccia Recipes

Celebration Pull Apart Focaccia
Equipment
- Large mixing bowl
- 9×13 inch baking pan
- Parchment paper
- Small bowl for butter
- Medium bowl for coating mixture
- Whisk
- spatula
Ingredients
Sourdough Focaccia Dough
- 500 g water 2 cups plus 2 tablespoons
- 400 g bread flour 3 cups plus 2 tablespoons
- 75 g active sourdough starter ⅓ cup
- 10 g salt 1¾ teaspoons
- 4 g vanilla extract 1 teaspoon
- 12 g sugar (optional)
Coating
- 85-113 g unsalted butter melted (6 to 8 tablespoons)
- 14 g vanilla extract 1 tablespoon
- 100 g granulated sugar ½ cup
- 50 g colored sugar ¼ cup, or use 150g total granulated sugar if you prefer
- 85 g rainbow sprinkles ½ cup
- 16 g cornstarch 2 tablespoons
Vanilla Glaze
- 60 g powdered sugar ½ cup
- 15-30 g heavy cream 1 to 2 tablespoons
- 4 g vanilla extract 1 teaspoon
Instructions
Make the Sourdough Dough
- In a large bowl, combine the water and sourdough starter. Mix until the starter is mostly dissolved.
- Add the flour, vanilla extract, sugar (if using) and salt. Mix until no dry flour remains.
- Cover and let rest for 1 hour.
- Perform a set of stretch and folds: grab one side of the dough, stretch it up, and fold it over itself. Rotate the bowl 90° and repeat 4 to 6 times total.
- Cover and let proof at room temperature for 8 to 12 hours, until doubled or tripled in size. The dough should be jiggly and full of bubbles.
Shape and Coat
- Prepare your coating station: Melt the butter and stir in the vanilla extract. In a separate bowl, combine the granulated sugar, colored sugar (if using), sprinkles, and cornstarch. Mix well.
- Line a 9×13 inch baking pan with parchment paper.
- Oil your hands lightly. Pinch off golf ball sized portions, or however large or small you want to make your servings.
- Dunk each ball in the vanilla butter, letting excess drip off.
- Roll generously in the sprinkle sugar mixture until completely coated.
- Place in the prepared pan, nestling them close together.
- Cover loosely and let proof for 1 to 2 hours, until visibly puffy, jiggly, and touching each other.
Bake
- Preheat your oven to 425°F.
- Oil your fingers and gently dimple the center of each focaccia ball, pressing almost to the bottom of the pan. This prevents the balls from puffing up too much and creates wells for the glaze.
- Bake for 20 to 25 minutes, until golden brown on top and the balls have puffed together.
- Let cool in the pan for 10 to 15 minutes.
Glaze
- While the focaccia cools, whisk together powdered sugar, cream (start with 3 tablespoons), and vanilla until smooth. Add more cream if needed.
- Drizzle the glaze over the warm focaccia, allowing it to drip down between the balls.
- Add additional sprinkles on top for a fun color pop.
- Let the glaze set for 15 to 20 minutes until it hardens.
- Pull apart and serve while still warm.
Notes
500g warm water, around 100°F (2 cups plus 2 tablespoons)
7g instant yeast (2 teaspoons)
400g bread flour (3 cups plus 2 tablespoons)
10g salt (1¾ teaspoons)
12g sugar (1 tablespoon)
4g vanilla extract (1 teaspoon)
28g olive oil (2 tablespoons) Yeasted Dough Instructions:
In a large bowl, combine the warm water, yeast, and sugar. Let sit for 5 to 10 minutes until foamy.
Add the flour, salt, vanilla extract, and olive oil. Mix until no dry flour remains.
Cover and let rest for 30 minutes.
Perform a set of stretch and folds (same as sourdough version).
Cover and let proof at room temperature for 1 to 2 hours, until doubled in size.
Shape into balls, coat, and proceed with the second proof and baking as directed in the main recipe. Handling Sticky Dough This dough is higher hydration and can feel wetter and stickier by design for that airy texture. Oil your hands and work surface instead of using flour Flour dries out the dough and makes it tough. Work quickly and confidently when shaping the balls. Sprinkle Tips If using colored sugar, stick to ONE color only. Mixing opposite colors on the color wheel (like red and green, or blue and orange) can blend together and turn muddy brown during rolling. Dye free sprinkles (like Supernatural or Walmart Better Goods brand) give softer, pastel tones. Traditional sprinkles with dye give vibrant, saturated colors. Arrowroot powder can be used as a 1:1 substitute for cornstarch in the coating mixture. Storage Best served the day it’s made. Store leftovers in an airtight container at room temperature for up to 2 days. Reheat individual balls in the microwave for 10 to 15 seconds. Make Ahead After shaping and coating the balls, you can refrigerate the pan covered for up to 24 hours. Let sit at room temperature for 30 to 60 minutes before the second proof and baking. Don’t Have Sourdough Starter? Check out my guide on how to make your own sourdough starter from scratch. It’s easier than you think!
Why This Recipe Works
This isn’t your average focaccia. Traditional focaccia gets dimpled in the pan and baked flat, but the pull apart method transforms the dough into individual portions that are easier to share and way more fun to eat. Here’s why this recipe is a winner:
Long Fermentation Builds Flavor
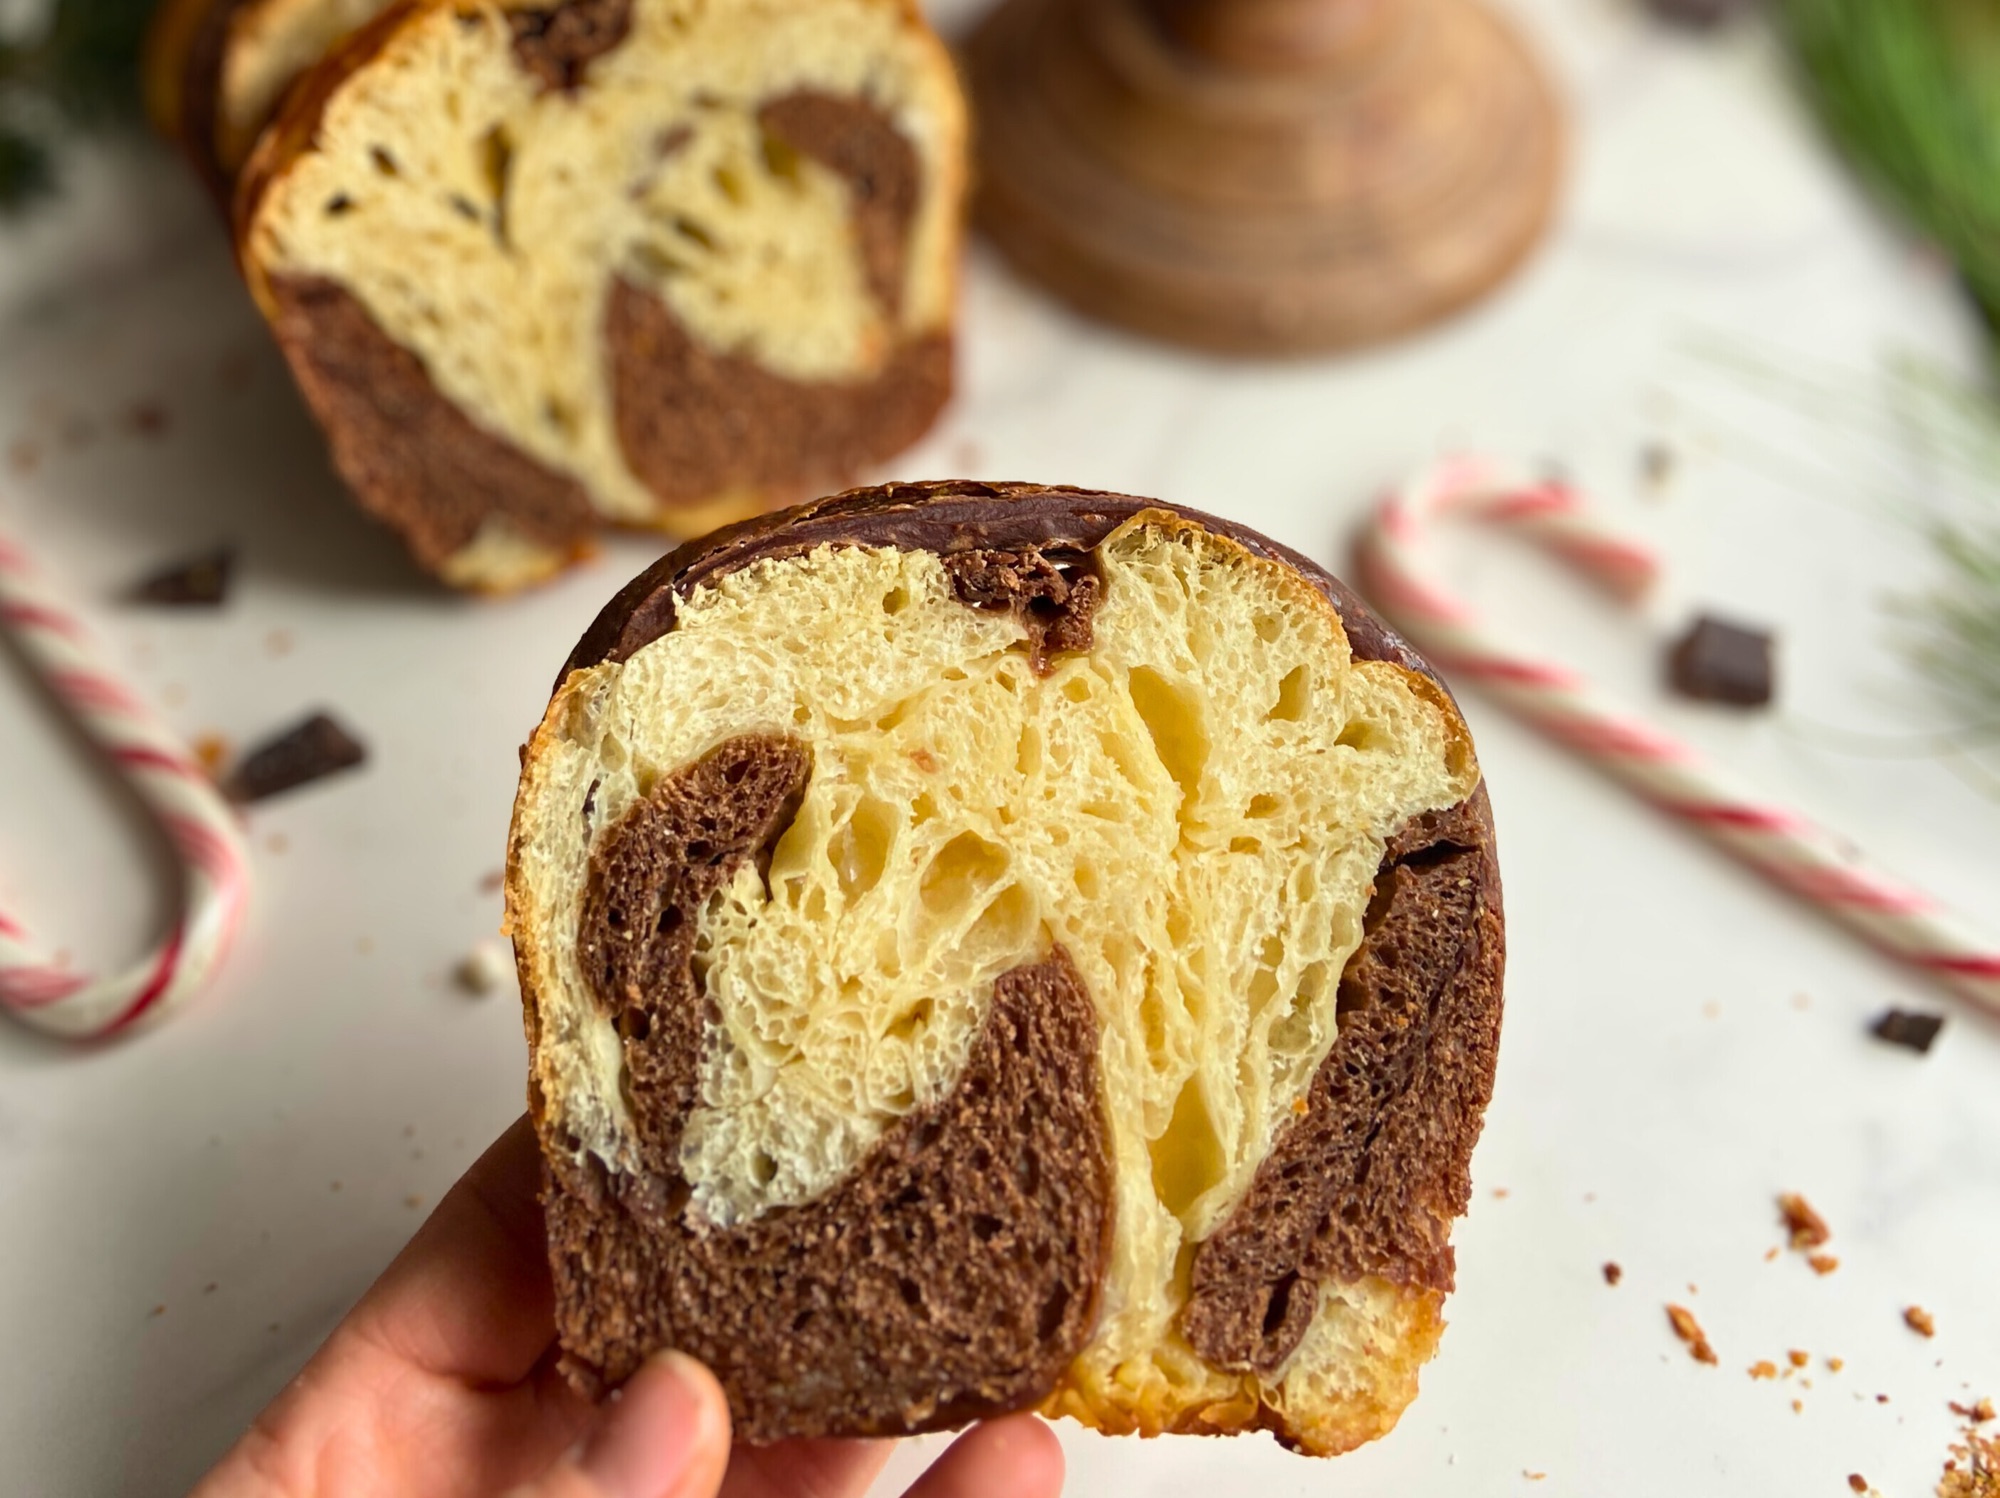
Whether you’re using sourdough starter or yeast, the extended fermentation time (8 to 12 hours for sourdough, 1 to 2 hours for yeasted) develops complex flavor and creates that signature airy, bubbly crumb. Long fermentation also makes the dough easier to digest and gives you flexibility in your baking schedule.
The Vanilla Butter Coating is Everything
Dunking each ball in vanilla butter before rolling it in the sprinkle mixture does two things: it adds moisture and richness, and it helps the sprinkles and sugar actually stick to the dough. Without that butter bath, you’d just have sad, bare focaccia balls with sprinkles rolling off onto your pan.
Cornstarch Creates Texture
Adding cornstarch to the sugar and sprinkle mixture isn’t just a random addition. Cornstarch helps absorb some of the moisture from the butter, creating a slightly crispy, sugary crust on the outside of each ball. It’s that textural contrast between the crispy exterior and the soft, pillowy interior that makes this so addictive.
The Glaze Adds That Bakery Finish
The vanilla glaze isn’t just for looks (though it does make this recipe Instagram worthy). As it dries, it creates a crackly, sweet shell that tastes like a classic donut glaze. It’s the final touch that takes this from homemade to bakery level.

The Science of Dimpling Focaccia
Dimpling is one of the signature steps in making focaccia, and yes, we do it for this recipe too! But with a twist.
Traditional flat focaccia gets dimpled all over to serve a few purposes:
- It redistributes air bubbles so the focaccia doesn’t puff up unevenly
- It creates wells for oil and toppings to pool, adding flavor and moisture
- It gives focaccia that characteristic rustic, artisan look
For pull apart focaccia, we take a different approach. Instead of dimpling the entire surface, we dimple just the center of each ball. This serves two important functions:
First, it prevents the balls from puffing up too much in the oven and becoming round like dinner rolls. We want them to stay relatively flat on top so they nestle together and create that pull apart effect. If you skip the dimpling, the balls can balloon up and separate from each other, losing that signature connected texture.
Second, those little dimples in the center create tiny wells where the glaze can pool after baking. When you drizzle the vanilla glaze over the warm focaccia, it settles into those dimpled centers, giving you extra sweet spots throughout the pan.
The key is to oil your fingers well before dimpling. Press down firmly in the center of each ball, going almost to the bottom of the pan, but be gentle enough not to deflate the entire ball. You want to keep all that air around the edges while creating a flat center. Think of it like pressing your thumbprint into each ball.
This centered dimpling technique is what separates pull apart focaccia from regular dinner rolls or buns. It’s a small step that makes a big difference in the final texture and appearance.
Dimpling serves a few purposes:
- It redistributes air bubbles so the focaccia doesn’t puff up unevenly
- It creates wells for oil and toppings to pool, adding flavor and moisture
- It gives focaccia that characteristic rustic, artisan look
With pull apart focaccia, we’re working with individual balls instead of one flat sheet, so dimpling isn’t necessary. Each ball bakes up round and puffy on its own, and the coating on the outside replaces the need for dimpled wells of oil. If you tried to dimple these balls before baking, you’d deflate them and lose that light, airy texture we’re after.
That said, if you ever want to make traditional flat focaccia, dimpling is your friend. Oil your fingers well, press down to the bottom of the pan, and create lots of deep wells all over the surface. The more dimples, the better.

Best Practices for Working with Sprinkles
Sprinkles are fun, but they can also be finicky. Here’s what I’ve learned from making this recipe (and other sprinkle covered treats) countless times:
Choose Your Sprinkles Wisely
Not all sprinkles are created equal. Jimmies (the long, thin ones) tend to hold their shape and color better in the oven than nonpareils (the tiny round ones). If you’re using dye free sprinkles, expect softer, more muted colors. If you want vibrant, eye catching sprinkles, traditional dyed versions are the way to go. I personally prefer dye free for my family, but there’s no judgment either way.
Stick to One Color for Colored Sugar
I cannot stress this enough: if you’re using colored sugar, pick one color and commit. Mixing multiple colors might seem like a fun idea, but when you’re dunking and rolling the dough, those colors blend together and can turn into an unappetizing brownish gray. Single color looks intentional and polished. If you want variety, make separate batches with different colors.
Mix the Cornstarch In Completely
The cornstarch needs to be evenly distributed through your sugar and sprinkle mixture, or you’ll get clumps of cornstarch on some balls and none on others. Use a whisk or fork to break up any lumps and mix everything thoroughly before you start coating.
Don’t Skimp on the Coating
These balls can handle a generous coating of sprinkles and sugar. The butter helps everything stick, and the baking process will set it all into a delicious crust. If you’re too light handed, you’ll end up with bald spots and less flavor. You can add addition Sprinkles before baking as well as after icing.

Handling Sticky Sourdough Dough
Sourdough focaccia dough is wet and sticky by design. That high hydration is what creates the open, airy crumb and soft texture. But working with sticky dough can be intimidating if you’re not used to it. Here’s how I handle it:
Oil Your Hands, Not Your Surface
This is a game changer. Instead of flouring your work surface (which dries out the dough and makes it tough), lightly oil your hands and your work surface. I keep a small bowl of avocado oil nearby and dip my fingers in it as needed. The dough releases easily from oiled hands, and you’re not adding extra flour that can throw off your hydration.
Work Quickly and Confidently
Stickier dough responds better to quick, confident handling than slow, tentative poking. When you’re pinching off portions for the balls, use a decisive motion. Grab the dough, pinch it off, and move on. The more you fuss with it, the stickier it gets.
Embrace the Mess
Let’s be real: this recipe can be messy. Your fingers may be covered in butter, sugar, and sprinkles. And that’s okay! That’s part of the fun. Lean into the chaos, and clean up when you’re done. The end result is so worth it.
Use a Bench Scraper
A bench scraper (also called a dough scraper) is one of my most used tools for working with sticky dough. It helps you lift and move dough without getting your hands too involved, and it makes cleanup easier. If you don’t have one, a sturdy spatula works too.

How to Tell When Focaccia is Properly Proofed
Proofing is one of those baking steps that feels mysterious until you know what to look for. Here’s how to tell when your focaccia dough is ready to bake:
The Jiggle Test
This is my favorite test for focaccia. Gently shake the pan. If the dough jiggles like jello, it’s ready. If it barely moves or feels dense, it needs more time. That jiggle means the dough is full of air and ready to bake up light and fluffy.
Visual Cues
The dough should have visibly increased in size. For the sourdough version, you’re looking for doubled or tripled volume after the bulk fermentation. For the second proof (after shaping into balls), the balls should be puffy and touching each other. If there are still gaps between them, give them more time.
The Poke Test
Gently poke the dough with a floured finger. If the indentation springs back slowly and leaves a small dimple, it’s ready. If it springs back immediately, it needs more time. If it doesn’t spring back at all, you might be getting close to overproofed territory (but focaccia is forgiving, so don’t stress too much).
Trust the Process
Proofing times are estimates, not absolutes. Your kitchen temperature, humidity, and the activity of your starter or yeast all affect how long proofing takes. Don’t rush it. Good bread is worth the wait.

Why Cornstarch in the Coating
You might be wondering why we’re adding cornstarch to the sugar and sprinkle mixture. It seems like an odd ingredient, but it serves a specific purpose.
Cornstarch absorbs moisture. When you dunk the focaccia balls in butter and then roll them in the sugar mixture, that butter can make everything soggy if left unchecked. The cornstarch soaks up some of that excess moisture and helps create a slightly crispy, textured crust on the outside of the balls. It’s the difference between a soft, doughy coating and a crispy, sugary shell that cracks when you bite into it.
Additionally, cornstarch helps the coating stick better to the dough. It acts as a binder, keeping the sprinkles and sugar in place instead of sliding off during the second proof or baking.
You could skip the cornstarch if you don’t have it, or use arrowroot powder, but I highly recommend keeping it in. It’s a small addition that makes a big difference in the final texture.

Yeasted Version
Not everyone has a sourdough starter, and that’s totally okay! This recipe works beautifully with commercial yeast too. The yeasted version is faster (ready in about 3 to 4 hours total) and just as delicious. Here’s how to adapt it:
Yeasted Focaccia Dough:
- 500g warm water (around 100°F)
- 2 teaspoons (7g) instant yeast
- 400g bread flour
- 10g salt
- 1 tablespoon sugar
- 1 teaspoon vanilla extract
- 2 tablespoons olive oil
Instructions:
- In a large bowl, combine the warm water, yeast, and sugar. Let sit for 5 to 10 minutes until foamy. This is called blooming the yeast, and it ensures your yeast is active.
- Add the flour, salt, vanilla extract, and olive oil. Mix until no dry flour remains.
- Cover and let rest for 30 minutes.
- Perform a set of stretch and folds (same as the sourdough version).
- Cover and let proof at room temperature for 1 to 2 hours, until doubled in size.
- Shape into balls, coat, and proceed with the second proof and baking as directed in the main recipe.
The yeasted version will have a slightly different flavor (less tangy, more straightforward bread flavor), but it’s equally delicious and perfect for when you need focaccia in a hurry.
Storage and Make Ahead Tips
Storage:
This focaccia is best the day it’s made, when the glaze is still a bit tacky and the inside is soft and fresh. But if you have leftovers (which is rare in my house), store them in an airtight container at room temperature for up to 2 days. The glaze will soften slightly, but the focaccia will still taste great.
To reheat, pop individual balls in the microwave for 10 to 15 seconds, or warm the whole pan in a 300°F oven for 5 to 10 minutes.
Make Ahead:
You can make the dough ahead of time and refrigerate it after the bulk fermentation. Shape the balls, coat them, and place them in the pan. Cover tightly and refrigerate for up to 14 hours. When you’re ready to bake, let the pan sit at room temperature for 60 minutes to take the chill off, then proceed with the second proof and baking once they’re poofy. The dough might take a bit longer to proof since it’s starting cold, but the flavor will be even better thanks to the extended fermentation.
Freezing:
I don’t recommend freezing this focaccia after it’s been glazed, as the glaze doesn’t freeze well. But you can freeze the baked (but unglazed) focaccia for up to 1 month. Wrap it tightly in plastic wrap and then foil. To serve, thaw at room temperature, warm in the oven, and then glaze fresh before serving.

More Pull Apart Focaccia Recipes
If you loved this celebration pull apart focaccia, you have to try the rest of my pull apart focaccia series! Each one is unique, delicious, and perfect for feeding a crowd.
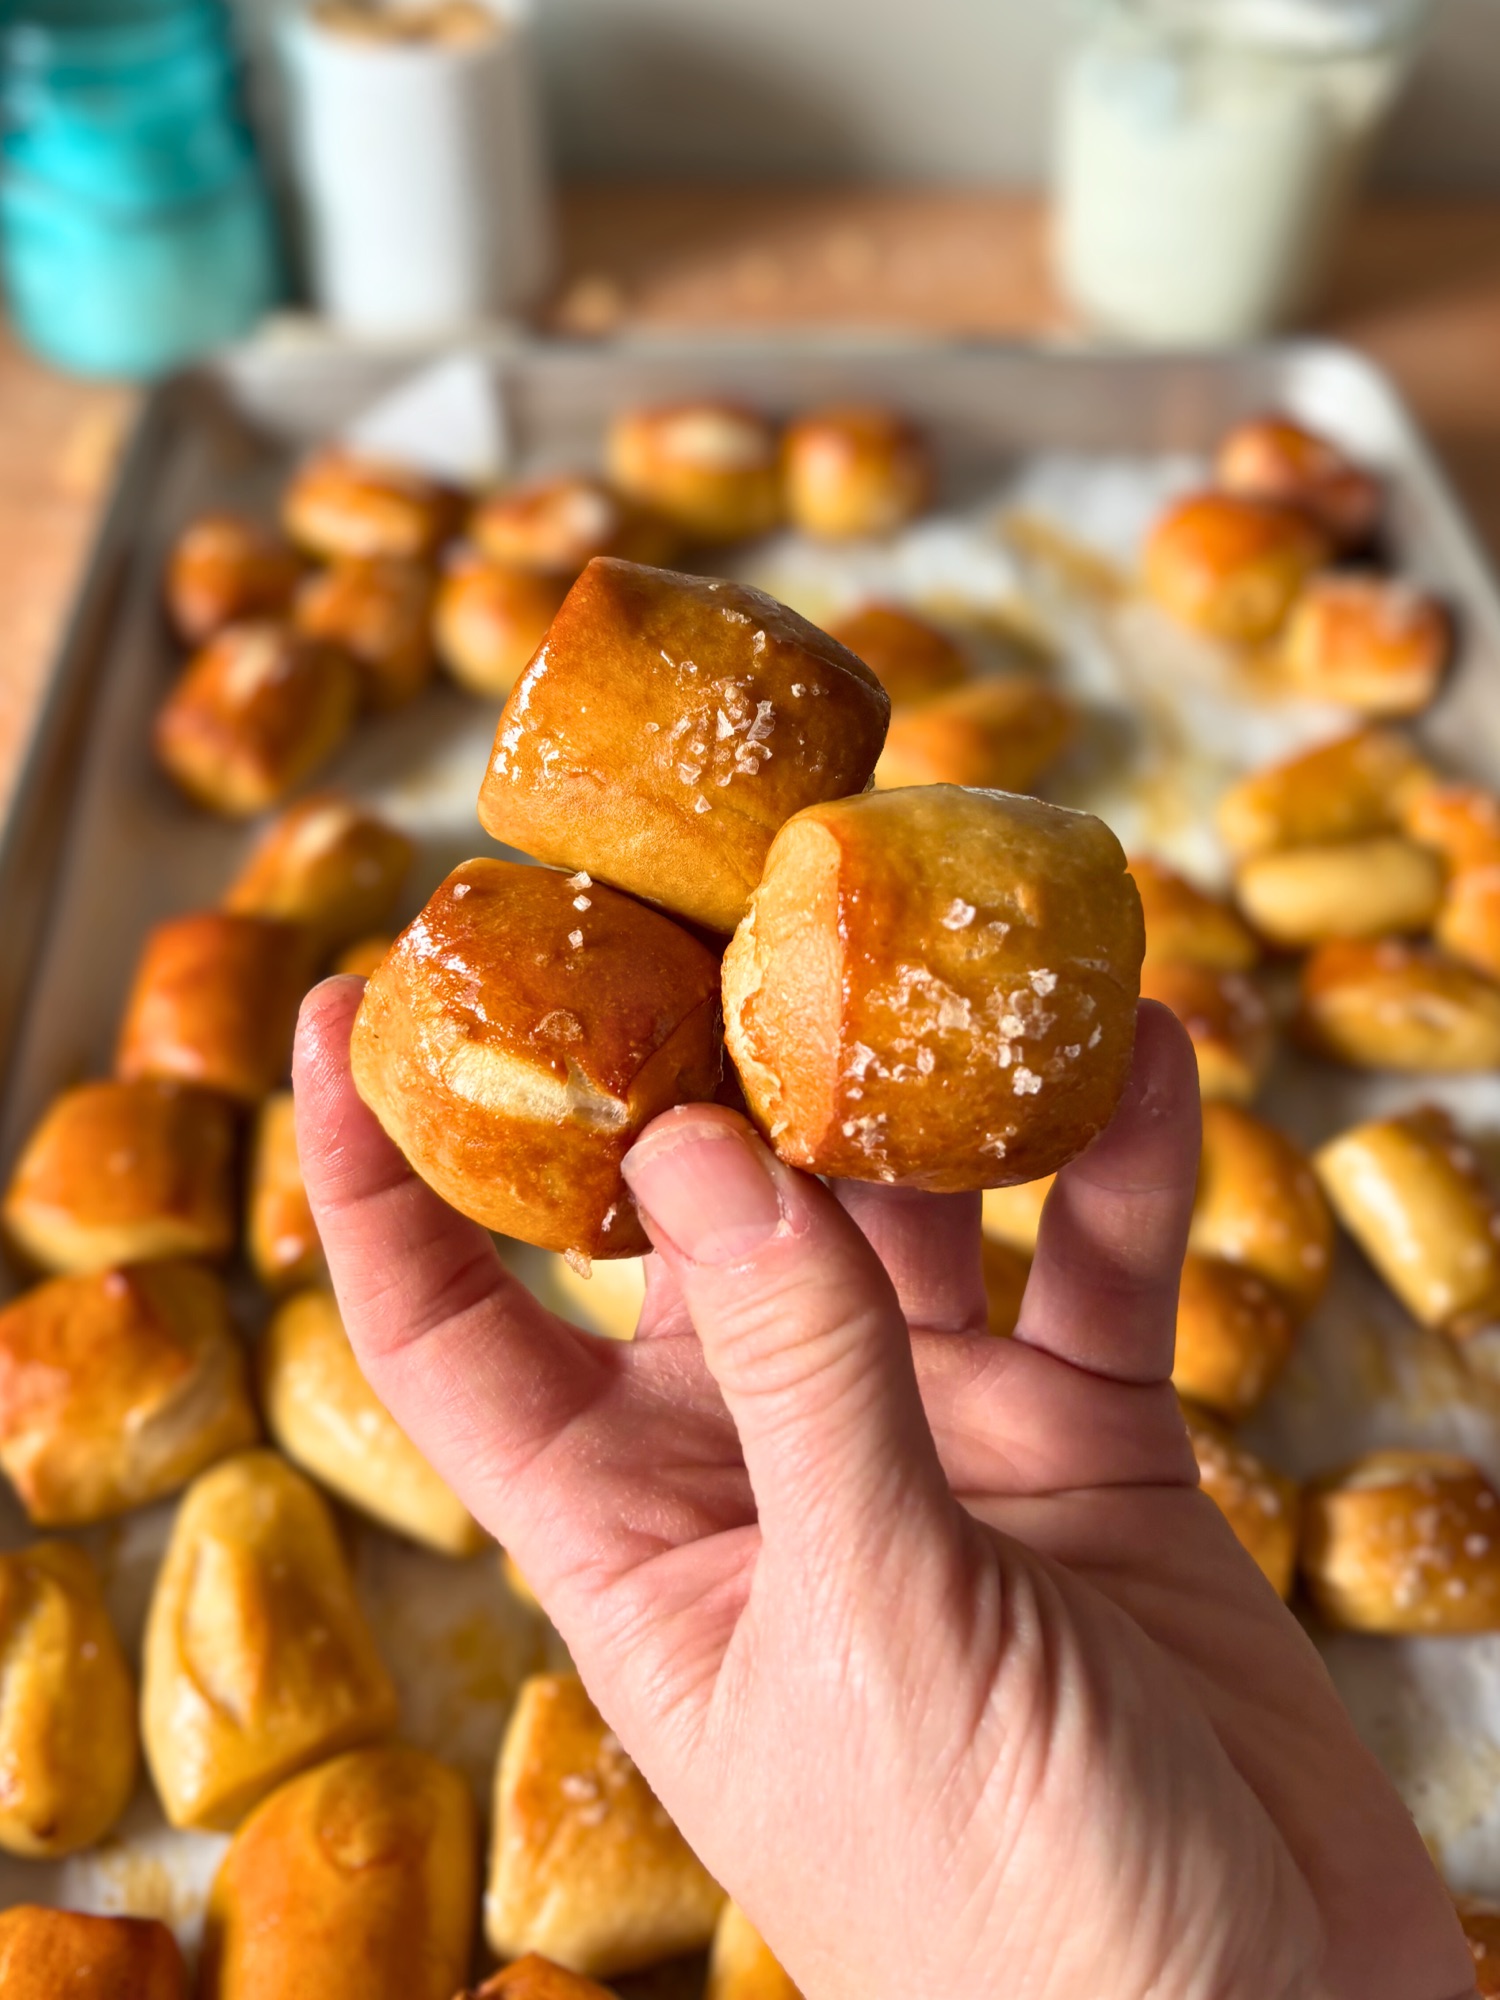
- Garlic Parmesan Pull Apart Focaccia – Savory, cheesy, and loaded with garlic. This one is a classic for a reason.
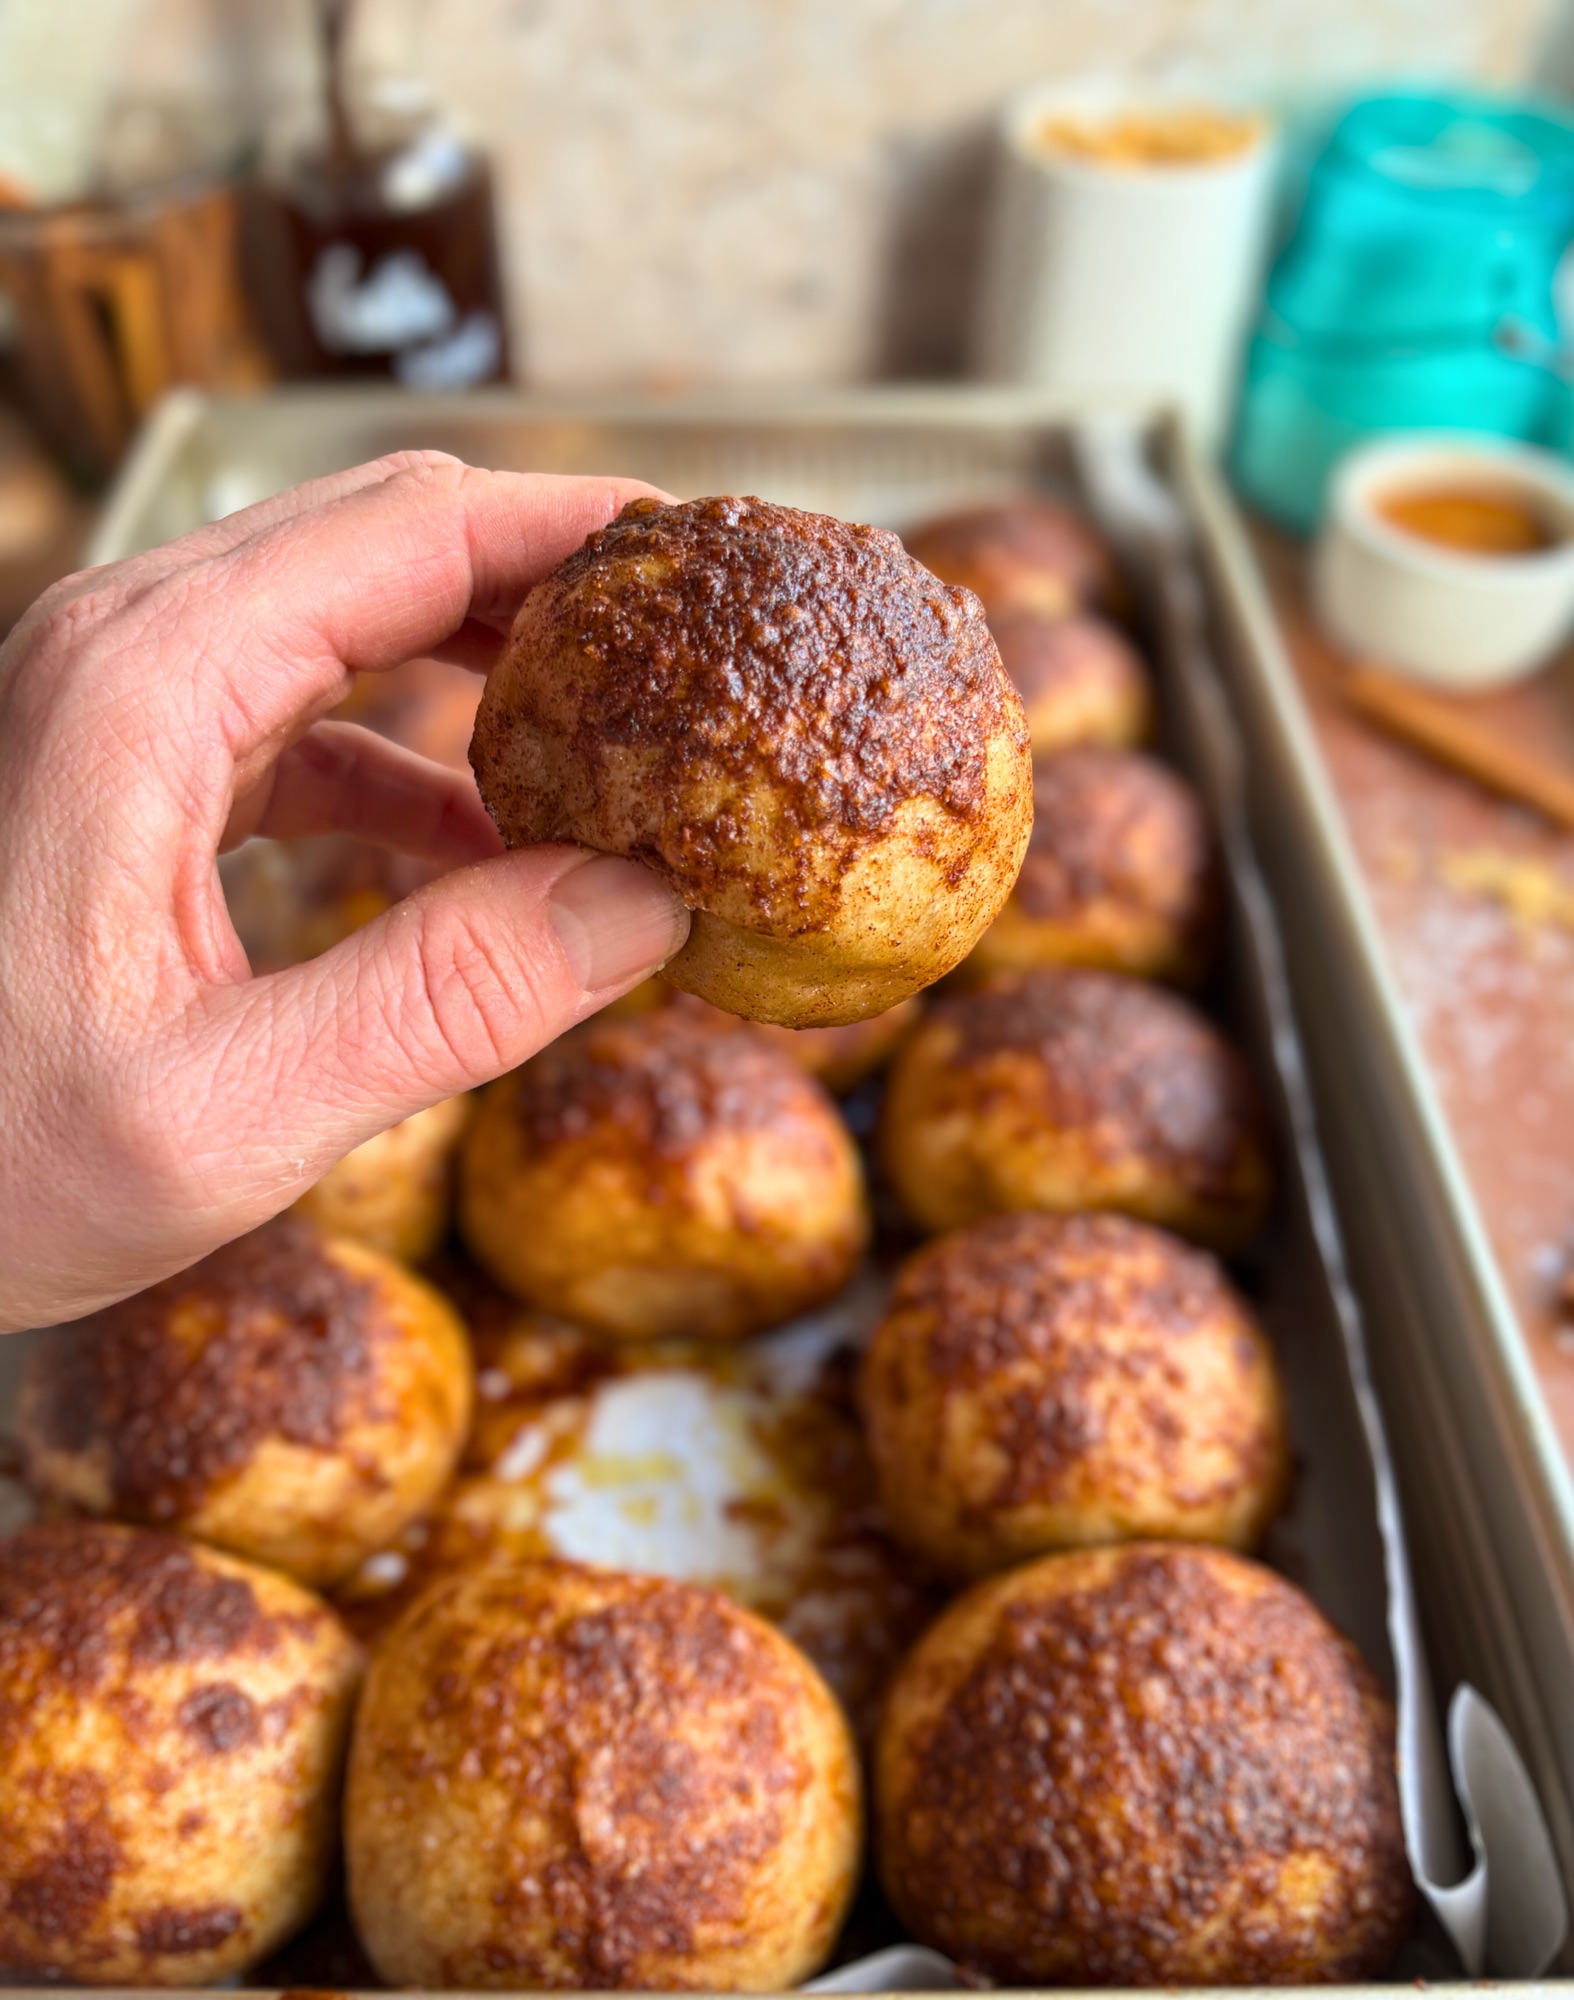
- Cinnamon Roll Pull Apart Focaccia – All the flavors of a cinnamon roll in focaccia form. Perfect for breakfast or brunch.
- Jelly Donut Pull Apart Focaccia – Sweet, fruity, and covered in sugar. It’s like a donut bakery in focaccia form.
- Caramel Apple Pull Apart Focaccia – Fall flavors at their finest. Soft dough, caramel, and apples.
- Pizza Pull Apart Focaccia – All your favorite pizza toppings on pull apart focaccia. Game day perfection.
- Hotdog Pull Apart Focaccia – Yes, you read that right. Hotdogs baked into focaccia. It’s fun, it’s delicious, and kids go crazy for it.
Each recipe has its own unique twist, but they all share that same pillowy, shareable, crowd pleasing magic.
Ready to Celebrate?
This celebration pull apart focaccia is more than just a recipe. It’s a centerpiece, a conversation starter, and a guaranteed crowd pleaser. Whether you’re making it for a birthday, a holiday, or just because you want something fun and delicious, this focaccia delivers on every level.
The combination of soft, airy dough, vanilla butter, colorful sprinkles, and that crackly vanilla glaze is pure magic. And the best part? It’s so easy to make that you’ll find yourself coming back to this recipe again and again for every celebration.
So go ahead, make a batch, and watch it disappear in minutes. Then come back and tell me all about it in the comments!
Don’t have a sourdough starter yet? Check out my guide on how to make your own starter from scratch. It’s easier than you think, and once you have a starter, a whole world of sourdough recipes opens up.
Happy baking, and happy celebrating!
Did you make this recipe? I’d love to see it! Tag me on Instagram @h3artofthehome or leave a comment below. Your feedback helps me create even better recipes for you.


Leave a Reply