

A New Take on Turkey Sourdough
You’ve probably seen turkey-shaped sourdough breads all over social media – they’re stunning centerpieces for the Thanksgiving table. Most versions are baked free-form in a Dutch oven, which can be intimidating for newer bakers.
This loaf pan version changes that.
Using a standard bread pan makes the process more approachable while producing a gorgeously tall loaf with straight sides that slice beautifully. The loaf pan method eliminates shaping anxiety and gives you consistent results every time.
What Makes This Recipe Work
- Loaf pan method – easier than free-form shaping
- Consistent results – the pan supports the dough during baking
- Perfect slices – straight sides mean uniform pieces
- Seasonal adaptation – adjusts to your kitchen temperature
- Show-stopping presentation – festive and impressive
Ingredients: Seasonal Sourdough Base
This recipe uses a temperature-adaptive sourdough formula that adjusts to your kitchen conditions by varying the starter amount and water temperature based on the season.
Summer/Warm Kitchen Version
Perfect for kitchens 75°F and above
- 60g active sourdough starter
- 350g cool water
- 500g bread flour
- 10g salt
Winter/Cool Kitchen Version
Ideal for kitchens 70°F and below
- 75g active sourdough starter
- 350g room temperature water
- 500g bread flour
- 10g salt
Why the difference? In summer, less starter and cool water slow fermentation, preventing over-proofing in warm conditions. In winter, extra starter compensates for cooler temperatures while room temperature water helps activate fermentation.
Step-by-Step Method: Building Your Turkey Sourdough
Step 1: Initial Mix (Autolyse)
Mix your flour, starter, and water together until you have a shaggy, rough dough. Don’t worry about it looking perfect, this messy stage is exactly what you want.
Cover and rest for 1 hour. This autolyse period allows the flour to fully hydrate and begins gluten development without any work from you.
Step 2: Salt Incorporation
After your autolyse, it’s time to add the salt. I use the wet-hand technique:
- Wet your hands thoroughly
- Rub them across the dough surface with the salt
- Starting from one corner, slowly turn the dough under while kneading
- Continue until the salt is fully incorporated and the dough feels smoother
Other techniques that work:
- Pinch and Fold: Pinch salt into dough with wet fingers, then perform letter folds
- Dimple Method: Create dimples, sprinkle salt, fold over several times
- Coil Fold Integration: Lift dough from center, let it coil under itself 4-6 times
Step 3: Bulk Fermentation with Stretch and Folds
Perform stretch and folds every hour for 3 hours, then let the dough continue bulk fermenting covered at room temperature.
How to Perform Stretch and Folds:
- Wet your hands and grab one side of the dough
- Stretch it up until you feel resistance (not until it tears!)
- Fold the stretched portion over to the opposite side
- Rotate the bowl 90 degrees
- Repeat for all four sides
- Flip the dough so the smooth side faces up
- Cover and rest until the next fold
Timing flexibility: Can’t do hourly folds? No problem. You can do 2-3 folds spaced further apart, or even skip the last fold if your dough feels strong.
When Is Bulk Fermentation Done?
Primary indicators:
- Dough increased 50-70% in size (doesn’t need to double!)
- Surface is no longer sticky and pulls away from bowl sides easily
- Dough holds its shape when gently shaken
Additional signs:
- Jiggle Test: Shake the bowl – it should jiggle like jello
- Poke Test: Poke the surface – it springs back slowly, leaving a slight indent
- Smooth Surface: The top becomes smooth with some bubbling visible underneath
- Domed Appearance: Takes on a slightly rounded shape
- Sweet Aroma: Pleasant, slightly tangy yeasty smell
Trust your eyes over the clock – visual cues are more reliable than time!
Step 4: Pre-Shape and Final Proof

Pre-Shaping into a Round:
Once bulk fermentation is complete, lightly flour your work surface and turn the dough out.
- Gather the dough: Use a bench scraper to gather loose edges toward center
- Create tension: Place hands on opposite sides, gently push toward center while rotating 90 degrees
- Repeat rotation: Continue pushing and rotating 3-4 times until you have a rough round
- Final tightening: Cup hands around dough and use small circular motions to create surface tension
- Rest: Let shaped round rest seam-side down for 20-30 minutes covered with a damp towel
Step 5: Final Shaping into Boule

After the rest period, you’ll shape the dough into a boule (round loaf) that will later become your turkey.
Creating the Boule Shape:
- Flip the dough: Turn your pre-shaped round seam-side up
- Fold the edges: Working around the circle, fold the edges into the center, creating a tight package
- Seal the center: Pinch all the folds together in the center
- Flip and tighten: Turn the dough seam-side down and cup your hands around it
- Create tension: Using small circular motions, rotate the dough on the counter to create surface tension and a smooth, taut top
- Place in banneton: Flip the shaped boule and set it seam-side up in a floured banneton or bowl lined with a floured towel
Cold Retard (Final Proof):
Place your banneton in the refrigerator for 8-24 hours for a cold retard. This develops flavor and makes the dough easier to shape into the turkey.
Why cold retard is important for this recipe:
- Develops complex sourdough flavor
- Firms up the dough, making it easier to cut and shape
- Allows you to time your baking perfectly for Thanksgiving
Step 6: Shaping Your Turkey (After Cold Retard)
After your boule has cold-proofed in the banneton for 8-24 hours, it’s time to transform it into a turkey!
What You’ll Need:
- Your cold-proofed boule-shaped dough
- Kitchen scissors, sharp knife or bench knife
- Kitchen twine (100% cotton, untreated)
- Parchment paper
- Loaf pan (large 10×5 inch)
The Turkey Shaping Process: Step-by-Step with Photos

What you’re seeing: This is your boule-shaped dough after the final proof (cold retard in the banneton). Notice how smooth and taut the surface is, that’s proper fermentation and shaping technique working together.
Description: The dough has been cold-proofed in the refrigerator for optimal flavor development. The flour dusting prevents sticking and will create a beautiful rustic finish on your baked turkey. At this stage, the dough should feel slightly firm to the touch from the cold retard, making it easier to shape and cut.
Image 2: Creating the Turkey Legs and Wings
![Dough with cuts creating leg and wing shapes]ww

The cutting technique:
- Turn dough seam-side up on your parchment paper
- Cut the legs: Make two deep cuts at the bottom third of the loaf, angling outward to create drumstick shapes. These should be about 4-5 inches long.
- Cut the wings: Make two cuts on the upper sides, angling slightly upward. These should be about 3-4 inches long.
- Leave the body intact: The center section remains uncut – this becomes the turkey’s body
Why this works: The cold dough holds its shape beautifully during cutting. The cuts don’t need to be perfectly symmetrical – rustic charm is part of the appeal!

Image 3: Shaping and Tying the Turkey
![Turkey shape secured with twine in a crosshatch pattern]

The tying process:
- Position the legs: Gently pull the leg portions outward and down slightly to emphasize the drumstick shape
- Shape the wings: Adjust wing sections to angle upward naturally
- Tie with Twine: Cut a piece of kitchen twine about 6 inches long. Tie the legs and wings (optional) together to hold the turkey shape, securing everything in place
- Tuck and shape: Gently tuck any loose edges to refine the turkey silhouette
Why twine matters: The twine purpose, it holds the shape during proofing and baking. Make sure you’re using 100% cotton, untreated kitchen twine that’s food-safe.
Image 4: Turkey Ready for the Pan

Final pre-bake setup:
At this stage, your turkey should have:
- Clearly defined body section in the center
- Two drumstick-shaped legs extending from the bottom
- Two wing sections on the upper sides
- Twine securing the shape in an attractive pattern
- Overall appearance of a rustic, artisan turkey
Placement tip: Carefully transfer your shaped turkey (still on the parchment paper) into your loaf pan. The parchment makes this easy, just lift by the edges and lower into the pan. Don’t worry if it doesn’t fit perfectly! That’s the charm of handcrafted bread!
Image 5: The Baked Turkey Loaf
The finished masterpiece:
After baking, your Turkey Sourdough Loaf should have:
- Golden brown crust with areas of deeper caramelization
- Pronounced leg and wing definition
- Gorgeous oven spring showing the bread rose beautifully in the pan
- Rustic, artisan appearance that looks professionally made
If the twine separates: If your twine tie separates during baking it can leave you with a voluptuous turkey. To avoid this you can tuck your wings down into the side of the pan alternatively instead of across the chest.

Baking Your Turkey Sourdough Loaf
Oven Setup:
Preheat your oven to 450°F (230°C) while your turkey finishes its final proof.
The Loaf Pan Lid Method:
This technique creates a mini Dutch oven effect using two loaf pans:
- Prepare the setup: Place your turkey-shaped dough (on parchment) in a standard 9×5 inch loaf pan
- Create the lid: Place another bread pan upside down on top, covering your turkey completely
- Initial bake: Bake for 30 minutes with the lid on
- Remove lid: Carefully remove the top pan after 30 minutes
- Finish baking: Continue baking for an additional 10-15 minutes until deeply golden brown
Why this method works: The covered baking traps steam, creating the perfect environment for maximum oven spring and crust development. When you remove the lid, the turkey gets that gorgeous golden-brown finish.
Temperature Check:
Your turkey is done when:
- Internal temperature reaches 200-210°F
- Crust is deep golden brown
- Bottom sounds hollow when tapped
- Loaf feels light for its size
Cool completely before slicing, at least 2 hours. I know it’s torture, but cutting too early releases steam and creates a gummy texture.

Turkey Sourdough Loaf Pan
Equipment
- mixing bowl
- kitchen scale
- bench scraper kitchen scissors, knife
- kitchen twine (100% cotton)
- 2 large loaf pans (i used a 10×5 inch but you could also use 9×5 inch)
- Parchment paper
- banneton or floured towel-lined bowl
Ingredients
Summer/Warm Kitchen (75°F and above):
- 60 g active sourdough starter
- 350 g cool water
- 500 g bread flour
- 10 g salt
Winter/Cool Kitchen (70°F and below):
- 75 g active sourdough starter
- 350 g room temperature water
- 500 g bread flour
- 10 g salt
Instructions
Step 1 – Initial Mix (Autolyse):
- Mix flour, starter, and water together until you have a shaggy, rough dough. Cover and rest for 1 hour to allow the flour to fully hydrate and begin gluten development.
Step 2 – Add Salt:
- After the autolyse, add salt using the wet-hand technique. Wet your hands thoroughly, rub them across the dough surface with the salt, then starting from one corner, slowly turn the dough under while kneading until the salt is fully incorporated and the dough feels smoother.
Step 3 – Bulk Fermentation with Stretch and Folds:
- Perform stretch and folds every hour for 3 hours. For each set: wet your hands, grab one side of the dough, stretch it up until you feel resistance, fold it over to the opposite side, rotate the bowl 90 degrees, and repeat for all four sides. After the third set of folds, let the dough continue bulk fermenting covered at room temperature until it increases 50-70% in size, the surface is no longer sticky, and it passes the jiggle test (jiggles like jello when you shake the bowl).
Step 4 – Pre-Shape:
- Lightly flour your work surface and turn the dough out. Use a bench scraper to gather loose edges toward center. Place hands on opposite sides and gently push toward center while rotating 90 degrees. Continue pushing and rotating 3-4 times until you have a rough round. Cup hands around dough and use small circular motions to create surface tension. Let shaped round rest seam-side down for 20-30 minutes covered with a damp towel.
Step 5 – Final Shape into Boule:
- Flip your pre-shaped round seam-side up. Working around the circle, fold the edges into the center, creating a tight package. Pinch all the folds together in the center to seal. Flip the dough seam-side down and cup your hands around it. Using small circular motions, rotate the dough on the counter to create surface tension and a smooth, taut top. Flip the shaped boule and place it seam-side up in a floured banneton or bowl lined with a floured towel.
Step 6 – Cold Retard:
- Place your banneton in the refrigerator for 8-24 hours for a cold retard. This develops flavor and firms up the dough, making it easier to shape into the turkey.
Step 7 – Rest After Cold Retard:
- Remove banneton from refrigerator and let sit for 30-60 minutes to take the chill off before shaping your turkey.
Step 8 – Shape the Turkey:
- Place a piece of parchment paper on your work surface. Turn out the cold-proofed boule onto the parchment, seam-side up.

- Using kitchen scissors or a sharp knife, make two deep cuts at the bottom third of the loaf, angling outward to create drumstick shapes (about 4-5 inches long). Make two cuts on the upper sides, angling slightly upward for wings (about 3-4 inches long). Leave the center section intact – this becomes the turkey’s body. Gently pull the leg portions outward and down slightly to emphasize the drumstick shape. Adjust wing sections to angle upward naturally.

- Cut a piece of kitchen twine about 6 inches long and tie the legs and wings (optional) together to hold the turkey shape, securing everything in place. Gently tuck any loose edges to refine the turkey silhouette.

Step 9 – Place in Loaf Pan:
- Carefully transfer your shaped turkey (still on the parchment paper) into your loaf pan by lifting the parchment edges and lowering it into the pan.

Step 10 – Preheat Oven:
- Preheat your oven to 450°F (230°C).
Step 11 – Bake Covered:
- Place your turkey-shaped dough in its loaf pan into the oven. Place another bread pan upside down on top, covering your turkey completely to create a mini Dutch oven effect. Bake for 30 minutes with the lid on to trap steam for maximum oven spring and crust development.
Step 12 – Bake Uncovered:
- Carefully remove the top pan after 30 minutes. Continue baking for an additional 10-15 minutes until deeply golden brown. The turkey is done when the internal temperature reaches 200-210°F, the crust is deep golden brown, and the bottom sounds hollow when tapped.
Step 13 – Cool Completely:
- Remove from oven and let cool completely before slicing – at least 2 hours. Cutting too early releases steam and creates a gummy texture.
Notes
Pro Tips for Turkey Sourdough Success
Timing Your Turkey for Thanksgiving:
2 Days Before: Mix and bulk ferment your dough, shape, and refrigerate for cold retard (12-24 hours)
1 Day Before: Do final proof in refrigerator overnight
Thanksgiving Morning: Shape your turkey. Bake your turkey 3-4 hours before serving to ensure it’s completely cool for slicing
Troubleshooting Common Issues:
Dough too sticky to shape:
- Use more flour on your work surface
- Chill dough for 15-20 minutes in freezer before shaping turkey
- Ensure proper bulk fermentation, under-fermented dough is stickier
Turkey loses shape during baking:
- Tie twine tighter (but not too tight!)
- Ensure proper final proof, over-proofed dough spreads more
- Make deeper cuts for legs and wings
Pale crust:
- Bake longer after removing lid
- Increase oven temperature to 475°F for the final 5 minutes
- Brush with egg wash before baking for extra color
Dense crumb:
- Check your starter is active and bubbly
- Allow longer bulk fermentation time
- Perform all stretch and folds for proper gluten development
Storing Your Turkey Sourdough
Room Temperature: Wrapped in a bag, your turkey will stay fresh for 3-4 days
Freezing: Freeze whole or Slice and freeze in portions for up to 3 months. Toast from frozen for quick servings.
Gifting: This makes an incredible Thanksgiving host gift! Wrap in cellophane with a festive ribbon for a show-stopping presentation.
Recipe Card: Turkey Sourdough Loaf Pan
Ingredients:
Summer/Warm Kitchen:
- 60g active sourdough starter
- 350g cool water
- 500g bread flour
- 10g salt
Winter/Cool Kitchen:
- 75g active sourdough starter
- 350g room temperature water
- 500g bread flour
- 10g salt
Equipment:
- Mixing bowl
- Kitchen scale
- Bench scraper
- Kitchen scissors
- Kitchen twine (100% cotton)
- 2 standard loaf pans (9×5 inch)
- Parchment paper
Timeline:
Day 1:
- 9:00 AM – Mix dough
- 10:00 AM – Add salt
- 11:00 AM – 1st stretch & fold
- 12:00 PM – 2nd stretch & fold
- 1:00 PM – 3rd stretch & fold
- 1:00-5:00 PM – Finish bulk fermentation
- 5:00 PM – Pre-shape into round
- 5:30 PM – Final shape into boule, place seam-side up in banneton
- 6:00 PM – Into refrigerator for cold retard (8-24 hours)
Day 2:
- 8:00 AM – Remove banneton from fridge, let sit 30-60 minutes
- 9:00 AM – Turn out dough, shape turkey, tie with twine, place in loaf pan
- 11:00 AM – Preheat oven to 450°F
- 11:30 AM – Bake 30 minutes covered
- 12:00 PM – Remove lid, bake 10-15 minutes
- 12:15 PM – Cool completely (2+ hours)
- 2:30 PM – Slice and serve!
Instructions:
- Mix flour, starter, and water until shaggy. Rest 1 hour.
- Add salt using wet-hand technique. Perform stretch & folds every hour for 3 hours.
- Bulk ferment until dough increases 50-70%, passes jiggle test.
- Pre-shape into round, rest 20-30 minutes.
- Final shape into boule, place seam-side up in floured banneton.
- Cold retard in refrigerator 8-24 hours.
- Remove from fridge and let sit 30-60 minutes.
- Shape turkey by turning out dough, cutting legs and wings, tie with kitchen twine.
- Place in loaf pan on parchment paper.
- Bake at 450°F covered for 30 minutes, uncovered 10-15 minutes until golden.
- Cool completely before slicing.
Yield: 1 turkey loaf (approximately 12-14 slices)
Nutrition Information (Per Slice)
Based on 14 slices
- Calories: 140
- Carbohydrates: 28g
- Protein: 5g
- Fat: 0.5g
- Fiber: 1g
- Sugar: 0g
- Sodium: 350mg
Nutritional values are estimates and may vary based on specific ingredients used.
Frequently Asked Questions
Can I skip the cold retard?
The cold retard is strongly recommended for this recipe because it firms up the dough, making it much easier to cut and shape into the turkey. However, if you must skip it, you can do a room temperature final proof for 2-4 hours in the banneton, but be aware that shaping the turkey will be more challenging with warmer, softer dough.
What if I don’t have two loaf pans?
You can use any oven-safe pan that fits over your loaf pan as a lid, a baking sheet, cake pan, or roasting pan all work. The key is trapping steam during the first phase of baking.
Can I use all-purpose flour instead of bread flour?
Yes, but your results will be slightly less chewy. Bread flour has higher protein content which develops more gluten, giving you that signature sourdough texture. If using all-purpose, consider adding 1-2 extra stretch & folds.
My turkey shape fell apart during baking. What happened?
This usually means the twine wasn’t tight enough, or the dough was over-proofed. Make sure your twine is snug (but still allows for expansion), and check your dough with the poke test before baking.
Can I add herbs or seasonings?
Definitely! Rosemary, thyme, garlic powder, or everything bagel seasoning all work beautifully. Add dried herbs during the salt incorporation step, or brush with olive oil and sprinkle seasonings on top before baking.
How do I know when my sourdough starter is ready to use?
Your starter should be bubbly, doubled in size, and pass the float test (a small spoonful floats in water). This typically happens 4-8 hours after feeding, depending on your kitchen temperature.
Making It Your Own
This turkey loaf is incredibly versatile. Here are some variations to try:
Herb Turkey Sourdough
Mix 2 tablespoons fresh rosemary and 1 tablespoon fresh thyme into the dough during the salt incorporation step.
Everything Bagel Turkey
Brush with egg wash before baking and sprinkle generously with everything bagel seasoning.
Stuffing-Spiced Turkey
Add 1 teaspoon dried sage, 1 teaspoon dried thyme, and ½ teaspoon black pepper to the dough.
Cranberry Walnut Turkey
Fold in ½ cup dried cranberries and ½ cup chopped walnuts during the final stretch and fold.
Why the Loaf Pan Method Works
The loaf pan provides structure and support throughout the baking process, which is especially helpful when working with shaped breads like this turkey. The straight sides ensure even rising, and the covered baking creates the steam environment that sourdough needs for optimal crust development.
For bakers who find free-form shaping intimidating, this method removes a lot of the guesswork while still delivering a show-stopping result.
Like this recipe? You’ll love these:
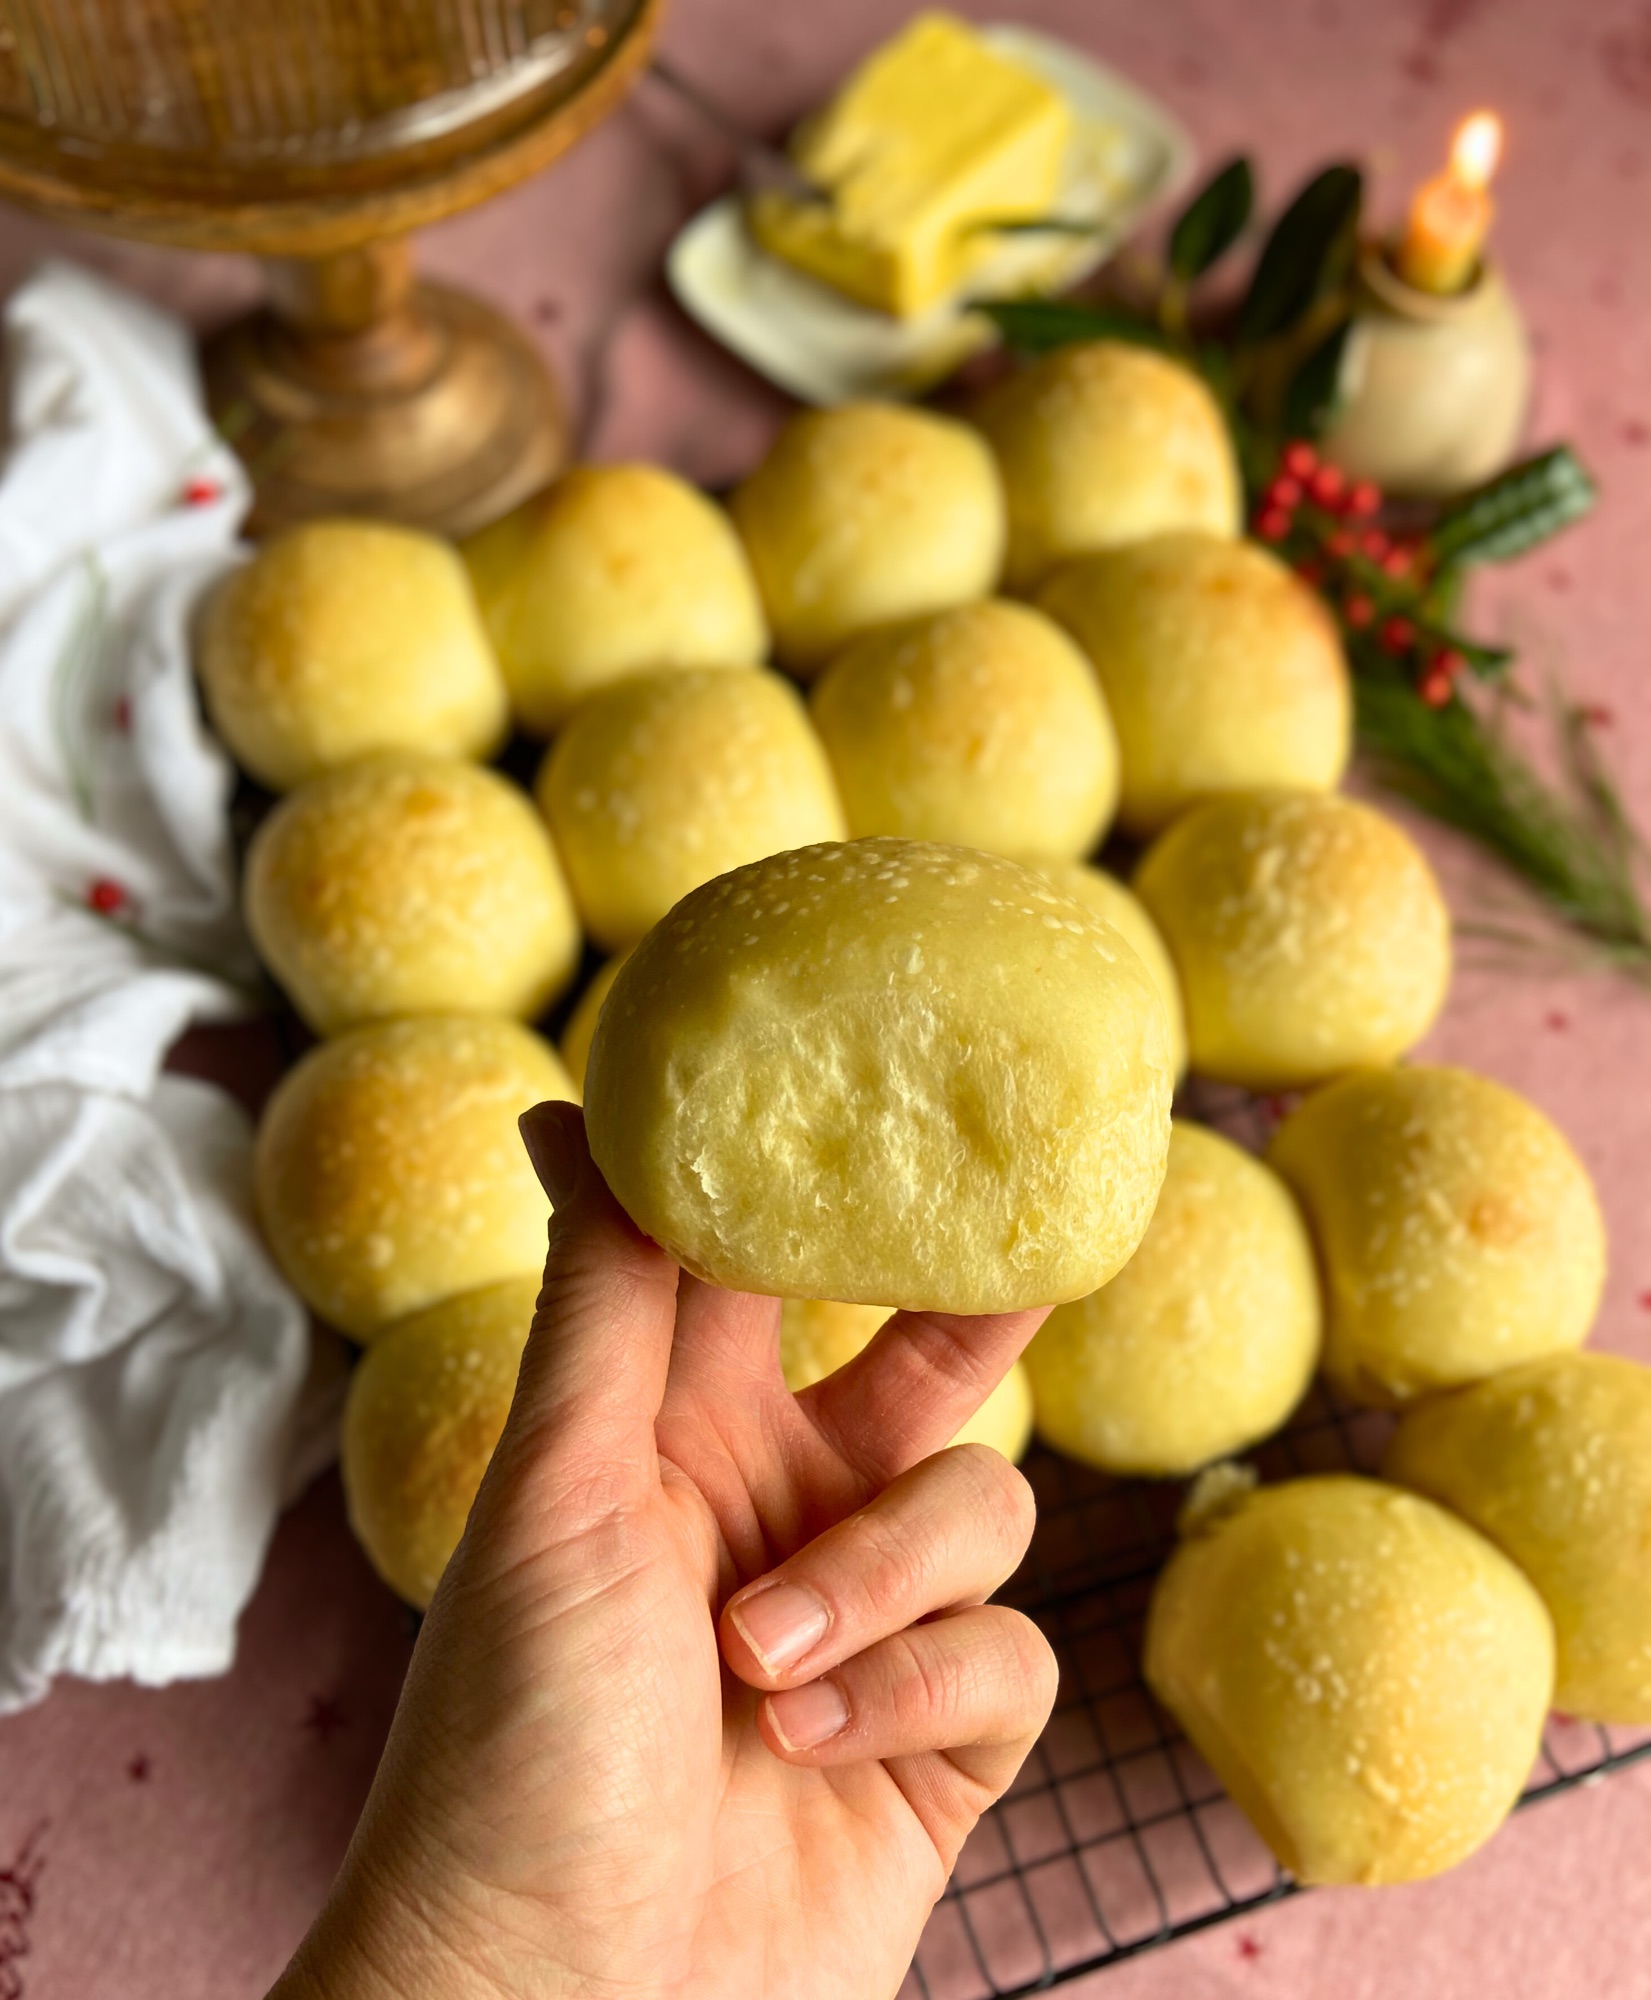
- Herb Swirl Sourdough Dinner Rolls – Perfect Thanksgiving side
- Garlic Parmesan Pull-Apart Focaccia – Crowd-pleasing appetizer
- Pumpkin Spice Sourdough Croissants – Seasonal favorite
- Sourdough Croissants – The ultimate laminated dough guide
Did you make this Turkey Sourdough Loaf Pan? I’d love to see your creation! Tag me @h3artofthehome on Instagram.
Last Updated: November 2025
Prep Time: 30 minutes (active)
Inactive Time: 12-24 hours
Bake Time: 40-45 minutes
Total Time: 13-25 hours
Difficulty: Intermediate
Yield: 1 loaf (12-14 slices)
This post may contain affiliate links. As an Amazon Associate, I earn from qualifying purchases at no additional cost to you.


Leave a Reply