

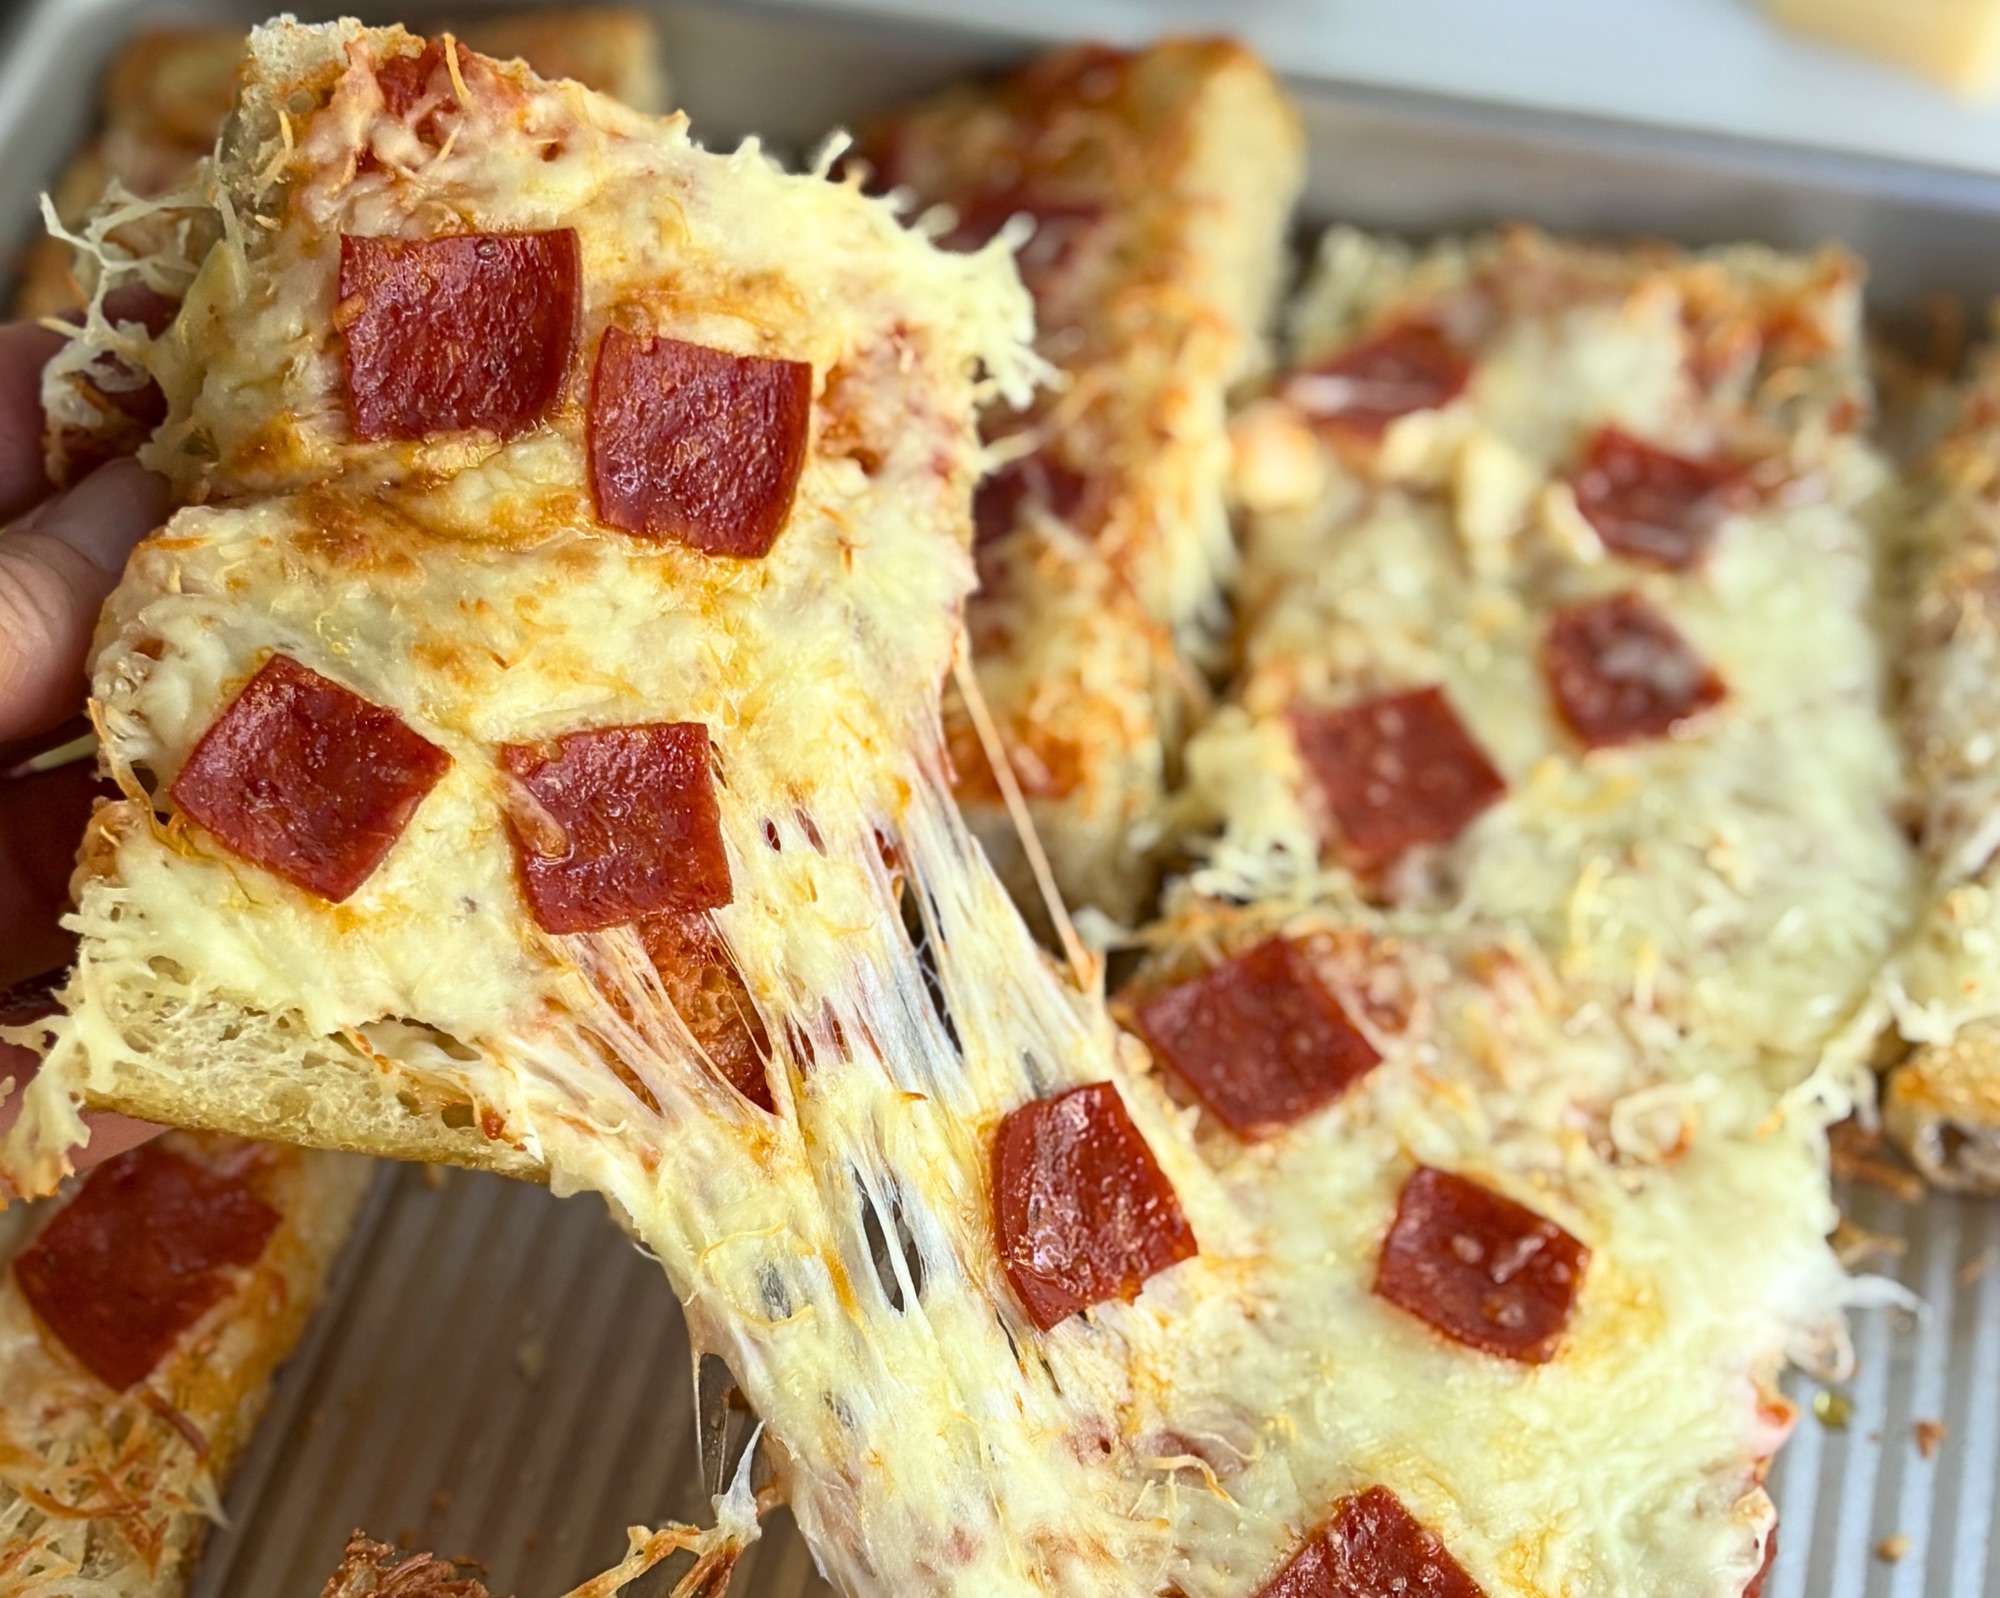
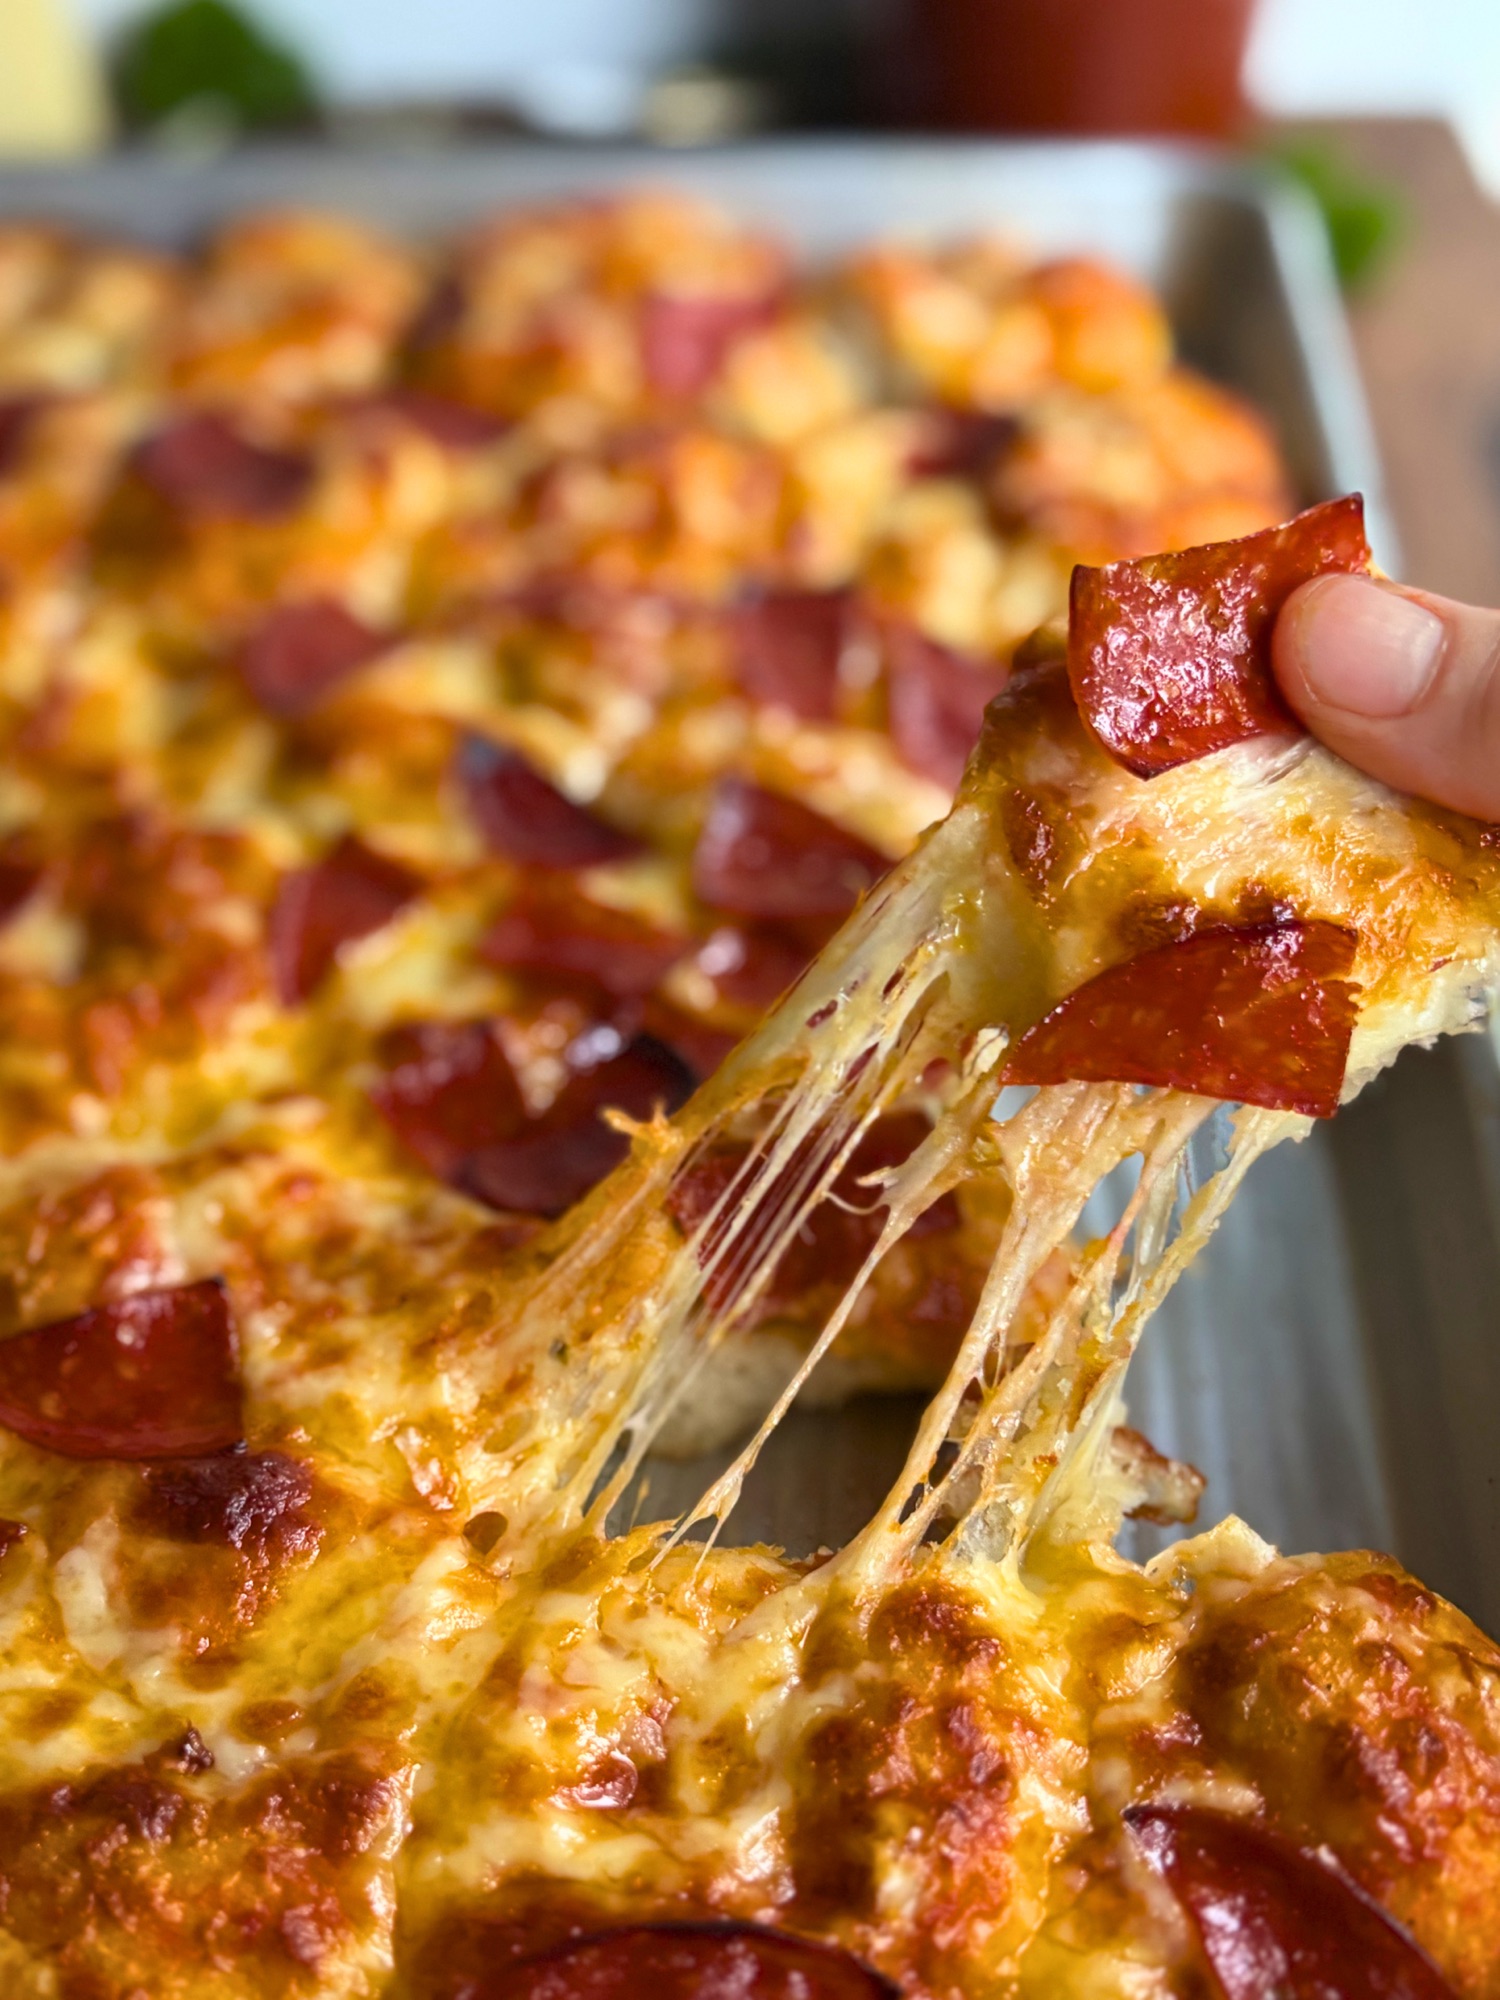
Looking for the perfect fall dessert that combines the comfort of apple pie with the convenience of cookies? These apple pie sourdough cookie cups are about to become your new favorite autumn treat! Imagine all the delicious flavors of homemade apple pie – warm cinnamon-spiced apples, buttery crumble topping, and rich caramel drizzle – perfectly portioned in adorable, handheld cookie cups.
These sourdough cookie cups feature a tender fermented cookie base that develops incredible depth of flavor and complexity through 8-24 hour cold fermentation. Each cup is filled with homemade spiced apple pie filling, topped with crunchy fermented crumble, and finished with a silky microwave caramel drizzle that takes just 5 minutes to make.
Perfect for holiday cookie exchanges, fall gatherings, Thanksgiving dessert tables, or whenever you’re craving apple pie cookies without the fuss of rolling out pie crust!
Why You’ll Love This Apple Pie Cookie Cup Recipe
✓ No pie crust required – Cookie cups are easier than making pie dough
✓ Perfectly portioned – Individual servings mean no slicing required
✓ Complex flavor – Fermentation adds depth you can’t get from regular cookies
✓ Make-ahead friendly – Prepare dough and crumble the day before
✓ Minimal waste – Recipe sized perfectly for 12-15 cookie cups
✓ Impressive presentation – Beautiful dessert that looks bakery-quality
✓ Kid-friendly – No fork needed, perfect for little hands
✓ Customizable – Adjust spice levels and apple varieties to your taste
What Makes These Cookie Cups Special

Unlike my upside down apple pie cookies that are flat, these muffin pan cookies create little edible bowls that hold all that delicious apple pie filling. The sourdough fermentation process develops complex flavors and creates a perfectly tender texture that balances the sweet apple filling, while the crumble topping adds that essential textural contrast.
The secret weapon? A quick microwave caramel recipe that comes together in under 5 minutes with no candy thermometer needed. This homemade caramel drizzle takes these cookie cups from delicious to absolutely irresistible!
Print Recipe Jump to RecipeIngredients You’ll Need
For the Sourdough Cookie Cups
The base of these apple pie cookie cups is a tender, flavorful sourdough cookie dough that’s easy to work with and bakes up beautifully in muffin pans.
Sourdough Cookie Base:
- 120g active sourdough starter – Provides fermentation and complex flavor
- 113g unsalted butter, softened – Creates tender, rich cookies
- 80g powdered sugar – Adds sweetness and tender texture
- 67g brown sugar – Adds moisture and caramel notes
- 50g egg (1 large) – Binds ingredients together
- 5g vanilla extract (1 teaspoon) – Enhances overall flavor
- 2.5g almond extract (1/2 teaspoon) – Optional but adds depth
- 270g all-purpose flour – Structure for the cookie cups
- 2g baking powder (1/2 teaspoon) – Gentle lift
- 1.5g salt (1/4 teaspoon) – Balances sweetness
- 0.6g cream of tartar (1/8 teaspoon) – Tender texture
For the Fermented Crumble Topping
This apple pie crumble is enhanced with sourdough starter for extra flavor complexity. The amounts are perfectly sized to top 12-15 cookie cups with minimal waste.
Apple Pie Spiced Crumble:
- 90g all-purpose flour – Base for crumble
- 60g brown sugar – Sweetness and moisture
- 23g active sourdough starter – Adds fermented flavor
- 45g cold butter, cubed – Creates crumbly texture
- Scant 1/2 teaspoon salt – Balances sweetness
- 4g vanilla extract (scant 1 teaspoon) – Enhances flavor
- 23g powdered sugar – Tender crumble pieces
- 3/4 teaspoon cinnamon – Classic apple pie spice
- Scant 1/4 teaspoon nutmeg – Warm spice notes
- Pinch of ground ginger – Subtle heat and warmth
For the Homemade Apple Pie Filling
The key to amazing apple pie cookies is homemade filling! This spiced apple mixture is thickened with cornstarch so it stays perfectly in place.
Apple Pie Cookie Filling:
- 450g Granny Smith or Honeycrisp apples – Peeled and diced into 1/4-inch pieces
- 75g brown sugar – Sweetens and caramelizes apples
- 17g cornstarch (3 tablespoons) – Thickens filling perfectly
- 15g fresh lemon juice (1 tablespoon) – Brightens apple flavor
- 2.5g vanilla extract (1/2 teaspoon) – Rounds out flavor
- 5g ground cinnamon (1 teaspoon) – Essential apple pie spice
- 1g nutmeg (1/4 teaspoon) – Warm, cozy flavor
- 0.5g ground ginger (pinch) – Subtle spice
- 1.5g salt (pinch) – Enhances all flavors
- 15g butter – Adds richness
For the Microwave Caramel Drizzle

This easy caramel recipe is made entirely in the microwave with no candy thermometer needed!
How to Make Apple Pie Sourdough Cookie Cups (Step-by-Step)
Day 1: Prepare Dough and Crumble for Fermentation
The magic of these sourdough cookie cups begins with fermentation. This overnight process develops complex flavors in both the cookie dough and crumble topping.
Make the Cookie Dough:
- In a large bowl, cream together softened butter, powdered sugar, and brown sugar until light and fluffy (about 3-4 minutes with an electric mixer).
- Add egg, vanilla extract, and almond extract (if using), mix well until fully incorporated.
- Add sourdough starter and mix until completely combined.
- In a separate bowl, whisk together flour, baking powder, salt, and cream of tartar.
- Gradually add dry ingredients to wet ingredients, mixing until just combined. Don’t overmix!
- Dump dough out onto plastic wrap, wrap well, and refrigerate for 8-24 hours.
Make the Fermented Crumble:
You can use either the hand method or food processor method – both work beautifully!
Hand Method:
- In a medium bowl, mix flour, brown sugar, salt, powdered sugar, cinnamon, nutmeg, ginger, and sourdough starter.
- Add cold cubed butter and cut in using a pastry cutter or your fingers until mixture resembles coarse crumbs.
- Add vanilla and mix gently to incorporate.
Food Processor Method (Recommended for Speed):
- Add flour, brown sugar, salt, powdered sugar, cinnamon, nutmeg, ginger, and sourdough starter to food processor.
- Pulse 3-4 times to combine dry ingredients.
- Add cold cubed butter and pulse 10-15 times in short bursts until mixture resembles coarse crumbs.
- Add vanilla and pulse 1-2 times just to incorporate.
- Pulse until all ingredients combine until you have a brown sugar type texture to your crumble. You can squeeze it together and it will stay formed. Go slowly – you don’t want it to turn into a dough ball.
- Cover and refrigerate alongside the cookie dough for 8-24 hours.
Pro Tip: The fermentation time is flexible – 8 hours minimum for flavor development, up to 24 hours for maximum complexity.
Day 2: Prepare the Apple Pie Filling
Make this filling first so it has plenty of time to cool completely before assembly.
Make the Apple Pie Filling:
- In a medium saucepan, combine diced apples, brown sugar, lemon juice, vanilla extract, cinnamon, nutmeg, ginger, and salt.
- Add butter and cook over medium heat, stirring gently, for 5-8 minutes until apples begin to soften and release their juices. You’ll start to see liquid pooling in the pan.
- In a small bowl, whisk cornstarch with 2 tablespoons of water (or use apple cider for extra apple flavor) to create a smooth slurry (no lumps!).
- Add the cornstarch slurry to the apple mixture and stir gently to combine.
- Continue cooking for 3-5 more minutes until apples are tender but still hold their shape and mixture thickens significantly. The filling should coat the back of a spoon.
- The filling should be glossy and thick, with most liquid absorbed and no raw cornstarch taste.
- Remove from heat and let cool completely (at least 45 minutes). For faster cooling, cover with plastic wrap and refrigerate until cold.
Why Complete Cooling Matters: Hot or warm filling will make your cookie cups soggy and can cause them to fall apart. Cold filling stays in place perfectly!
Day 2: Assemble and Bake Cookie Cups

Now comes the fun part – assembling your apple pie cookie cups!
Prepare for Assembly:
- Preheat oven to 350°F (175°C).
- Prepare a nonstick muffin pan. If your pan isn’t nonstick, lightly grease with butter or cooking spray.
- Remove cookie dough and crumble from refrigerator. Let the dough sit at room temperature for 5-10 minutes if it’s very firm.
Assemble the Cookie Cups:
- On a lightly floured surface, roll out the fermented cookie dough to approximately 3/8 inch thick. Use a light touch to prevent sticking.
- Using a 2.5-3 inch circle cutter or wide mouth mason jar, cut out circles from the dough. A round cutter works best for even circles.
- Gently place each cookie round into a muffin cup, pressing it up against the sides all the way to the top to form a cup shape. Make sure there are no gaps or thin spots.
- Add a rounded tablespoon of cooled apple pie filling to the center of each cookie cup.
- Gently push down the apple filling to create an even layer in the cookie cup. This ensures the crumble sits nicely on top.
- Top with about 1 tablespoon of the crumble topping, sprinkling it evenly over the apple filling.
Baking Tip: Work quickly so the dough doesn’t warm up too much. If the dough becomes sticky, pop it back in the fridge for 10 minutes.
Bake the Cookie Cups:
- Bake at 350°F for 18-22 minutes, until edges are golden brown and crumble is lightly browned on top.
- The cookie cups should feel set and slightly firm to the touch.
- Leave cookie cups in the muffin pan for 10 minutes to set. This is crucial – don’t skip this step!
- After 10 minutes, carefully remove from pan using a butter knife or offset spatula to gently lift them out.
- Place on a wire rack to cool completely (at least 1 hour).
What Happens as They Cool: The apple pie filling will continue to thicken and set as it cools. The cornstarch combined with the natural apple juices creates a beautiful, cohesive filling that holds its shape perfectly in the cookie cup. This cooling period is crucial – the filling transforms from a hot, somewhat liquid state to a stable, sliceable layer that won’t be messy to eat!
Make the Microwave Caramel Drizzle

While your cookie cups are cooling, make this incredibly easy microwave caramel sauce. No candy thermometer, no constant stirring, and ready in under 5 minutes!
Quick Microwave Caramel:
- 67g granulated sugar (1/3 cup) – Caramelizes in microwave
- 20g water (1 tablespoon + 1 teaspoon) – Helps sugar dissolve
- 30g heavy cream (2 tablespoons), warmed – Creates silky texture
- 15g unsalted butter (1 tablespoon), room temperature – Adds richness
- 1g salt (1/4 teaspoon) – Enhances caramel flavor
- 2.5g vanilla extract (1/2 teaspoon) – Rounds out flavor
Microwave Caramel Instructions:
- Warm the heavy cream gently on the stovetop or in the microwave until hot but not boiling. Set aside and keep warm. This is crucial – cold cream will seize the caramel!
- Have your room temperature butter, salt, and vanilla extract measured and ready to go.
- Add water to a large, clear microwave-safe bowl with high sides first.
- Slowly pour the sugar into the center of the water. Do NOT stir! This is the secret to smooth, non-grainy caramel.
- Place bowl directly in the microwave on HIGH for 1 minute.
- Check the mixture – it should be bubbling and sugar dissolving.
- Continue microwaving in 30-second intervals until you’re past the 2-minute mark, checking after each interval.
- Once past 2 minutes, switch to 15-second intervals and check carefully after each one.
- Stop immediately when the mixture turns honey-gold in color (approximately 2-3 minutes total microwave time).
- Using oven mitts, carefully remove the bowl from the microwave (it will be VERY hot!) and place on a heat-safe surface.
- Let it rest for about 1 minute without touching it. The caramel will darken to a beautiful amber brown color from the residual heat. This carryover cooking develops deep caramel flavor without burning!
- Slowly whisk in the warm cream, about 1 tablespoon at a time. The mixture will bubble vigorously, this is normal!
- Once cream is fully incorporated, add the butter and whisk until completely melted and smooth. The caramel will become glossy and silky.
- Whisk in the salt and vanilla extract until smooth.
- Let cool for a few minutes to thicken to the perfect drizzling consistency.
Microwave Caramel Tips:
- Use a clear bowl so you can see the color change
- Sugar goes from perfect to burnt in seconds, watch carefully!
- The caramel will seem thin at first but thickens beautifully as it cools
- If it gets too thick, microwave for 10-15 seconds to loosen it up
Final Assembly
The moment you’ve been waiting for, adding that gorgeous caramel drizzle!
- Make sure your cookie cups are completely cool to the touch.
- Using a spoon or piping bag, drizzle the caramel generously over each cookie cup in a back-and-forth motion.
- If the caramel has cooled too much and thickened, gently reheat it in the microwave in 10 second bursts until it reaches drizzling consistency.
- Allow the caramel to set for 10-15 minutes before serving. The caramel will firm up slightly but remain beautifully glossy and slightly tacky, perfect for stacking!

Apple Pie Sourdough Cookie Cups
Ingredients
Sourdough Cookie Base:
- 120 g active sourdough starter 1/2 cup
- 113 g unsalted butter, softened 1/2 cup or 8 tablespoons
- 80 g powdered sugar 2/3 cup
- 67 g brown sugar 1/3 cup, packed
- 50 g egg 1 large egg
- 5 g vanilla extract 1 teaspoon
- 2.5 g almond extract 1/2 teaspoon, optional
- 270 g all-purpose flour 2 1/4 cups, spooned and leveled
- 2 g baking powder 1/2 teaspoon
- 1.5 g salt 1/4 teaspoon
- 0.6 g cream of tartar 1/8 teaspoon
Apple Pie Spiced Crumble:
- 90 g all-purpose flour 3/4 cup, spooned and leveled
- 60 g brown sugar 1/4 cup plus 1 tablespoon, packed
- 23 g active sourdough starter 1 tablespoon plus 2 teaspoons
- 45 g cold butter, cubed (3 tablespoons)
- Scant 1/2 teaspoon salt
- 4 g vanilla extract scant 1 teaspoon
- 23 g powdered sugar 3 tablespoons
- 3/4 teaspoon cinnamon
- Scant 1/4 teaspoon nutmeg
- Pinch of ground ginger
Apple Pie Filling:
- 450 g Granny Smith or Honeycrisp apples peeled and diced into 1/4-inch pieces (about 4 medium apples or 4 cups diced)
- 75 g brown sugar 1/3 cup plus 1 tablespoon, packed
- 17 g cornstarch 3 tablespoons
- 15 g fresh lemon juice 1 tablespoon
- 2.5 g vanilla extract 1/2 teaspoon
- 5 g ground cinnamon 1 teaspoon
- 1 g nutmeg 1/4 teaspoon
- 0.5 g ground ginger 1/8 teaspoon
- 1.5 g salt 1/4 teaspoon
- 15 g butter 1 tablespoon
Microwave Caramel:
- 67 g granulated sugar 1/3 cup
- 20 g water 1 tablespoon plus 1 teaspoon
- 30 g heavy cream warmed (2 tablespoons)
- 15 g unsalted butter room temperature (1 tablespoon)
- 1 g salt 1/4 teaspoon
- 2.5 g vanilla extract 1/2 teaspoon
Instructions
DAY 1 – PREPARE DOUGH AND CRUMBLE:
Make Cookie Dough:
- In a large bowl, cream together softened butter, powdered sugar, and brown sugar until light and fluffy, about 3-4 minutes with an electric mixer.
- Add egg, vanilla extract, and almond extract (if using). Mix well until fully incorporated.
- Add sourdough starter and mix until completely combined.
- In a separate bowl, whisk together flour, baking powder, salt, and cream of tartar.
- Gradually add dry ingredients to wet ingredients, mixing until just combined. Do not overmix.
- Dump dough out onto plastic wrap, wrap well, and refrigerate for 8-24 hours.
Make Fermented Crumble (Hand Method):
- In a medium bowl, mix flour, brown sugar, salt, powdered sugar, cinnamon, nutmeg, ginger, and sourdough starter.
- Add cold cubed butter and cut in using a pastry cutter or your fingers until mixture resembles coarse crumbs.
- Add vanilla and mix gently to incorporate.
- Cover and refrigerate alongside the cookie dough for 8-24 hours.
Make Fermented Crumble (Food Processor Method – Preferred):
- Add flour, brown sugar, salt, powdered sugar, cinnamon, nutmeg, ginger, and sourdough starter to food processor.
- Pulse 3-4 times to combine dry ingredients.
- Add cold cubed butter and pulse 10-15 times in short bursts until mixture resembles coarse crumbs.
- Add vanilla and pulse 1-2 times just to incorporate.
- Pulse until all ingredients combine until you have a brown sugar type texture to your crumble. You can squeeze it together and it will stay formed. Go slowly – you don’t want it to turn into a dough ball.
- Cover and refrigerate alongside the cookie dough for 8-24 hours.
DAY 2 – MAKE FILLING, ASSEMBLE, AND BAKE:
Make Apple Pie Filling:
- In a medium saucepan, combine diced apples, brown sugar, lemon juice, vanilla extract, cinnamon, nutmeg, ginger, and salt.
- Add butter and cook over medium heat, stirring gently, for 5-8 minutes until apples begin to soften and release their juices.
- In a small bowl, whisk cornstarch with 2 tablespoons of water to create a smooth slurry.
- Add the cornstarch slurry to the apple mixture and stir gently to combine.
- Continue cooking for 3-5 more minutes until apples are tender but still hold their shape and mixture thickens significantly. The filling should coat the back of a spoon.
- Remove from heat and let cool completely, at least 45 minutes. For faster cooling, cover with plastic wrap and refrigerate until cold.
Prepare for Assembly:
- Preheat oven to 350°F (175°C).
- Prepare a nonstick muffin pan. If your pan isn’t nonstick, lightly grease with butter or cooking spray or use a muffin liner.
- Remove cookie dough and crumble from refrigerator. Let the dough sit at room temperature for 5-10 minutes if it’s very firm.
Assemble Cookie Cups:
- On a lightly floured surface, roll out the fermented cookie dough to approximately 3/8 inch thick.
- Using a 2.5-3 inch circle cutter or wide mouth mason jar, cut out circles from the dough.
- Gently place each cookie round into a muffin cup, pressing it up against the sides all the way to the top to form a cup shape. Make sure there are no gaps or thin spots.
- Add a rounded tablespoon of cooled apple pie filling to the center of each cookie cup.
- Gently push down the apple filling to create an even layer in the cookie cup.
- Top with about 1 tablespoon of the crumble topping, sprinkling it evenly over the apple filling.
Bake:
- Bake at 350°F for 18-22 minutes, until edges are golden brown and crumble is lightly browned on top.
- Leave cookie cups in the muffin pan for 10 minutes to set.
- After 10 minutes, carefully remove from pan using a butter knife or offset spatula to gently lift them out.
- Place on a wire rack to cool completely, at least 1 hour.
Make Microwave Caramel:
- Warm the heavy cream gently on the stovetop or in the microwave until hot but not boiling. Set aside and keep warm. Alternately heat in the microwave for 15-30 seconds.
- Have your room temperature butter, salt, and vanilla extract measured and ready.
- Add water to a large, clear microwave-safe bowl with high sides first.
- Slowly pour the sugar into the center of the water. Do NOT stir.
- Place bowl directly in the microwave on HIGH for 1 minute.
- Continue microwaving in 30-second intervals until you’re past the 2-minute mark, checking after each interval.
- Once past 2 minutes, switch to 15-second intervals and check carefully after each one.
- Stop immediately when the mixture turns honey-gold in color, approximately 2-3 minutes total microwave time.
- Using oven mitts, carefully remove the bowl from the microwave and place on a heat-safe surface.
- Let it rest for about 1 minute without touching it. The caramel will darken to amber-brown from the residual heat.
- Slowly whisk in the warm cream, about 1 tablespoon at a time. The mixture will bubble vigorously.
- Once cream is fully incorporated, add the butter and whisk until completely melted and smooth.
- Whisk in the salt and vanilla extract until smooth.
- Let cool for a few minutes to thicken to drizzling consistency.
Final Assembly:
- Make sure your cookie cups are completely cool to the touch.
- Using a spoon or piping bag, drizzle the caramel generously over each cookie cup.
- If the caramel has cooled too much and thickened, gently reheat it in the microwave in 10-second bursts until it reaches drizzling consistency.
- Allow the caramel to set for 10-15 minutes before serving.
Notes
Apple Pie Cookie Cup Tips for Perfect Results

Cookie Cup Formation
- Press the dough all the way up the sides of the muffin cups to create a good cup shape that will hold the filling securely
- Make sure the dough is even thickness all around – no thin spots that might break
- If dough tears, simply press it back together with your fingers
Filling Tips
- Don’t overfill! Use a rounded tablespoon of apple filling – too much will overflow during baking
- Push down the filling gently to create an even layer and make room for the crumble
- Make sure filling is completely cold before assembly to prevent soggy cookie cups
Apple Selection
- Granny Smith: Tart flavor, holds shape exceptionally well, classic pie apple choice
- Honeycrisp: Sweet with excellent texture, adds natural sweetness and slight tartness
- Braeburn: Balanced sweet-tart flavor profile, excellent for baking
- Golden Delicious: Sweet and tender, breaks down slightly for a jammy texture
- Mix It Up: Combine 2-3 varieties for complex flavor and varied texture in your filling
The key is choosing apples that won’t turn to mush but will develop that perfect spiced, tender filling we all love in apple pie!
Dough & Crumble Tips
- Dough thickness of 3/8 inch ensures the cookie bakes through without being too thick or thin
- Fermentation time of 8-24 hours develops the best flavor in both the dough and crumble
- The spice balance in both the filling and crumble creates beautiful layers of apple pie flavor
Cooling & Caramel Tips
- Let the cookie cups cool completely before drizzling with caramel, or the caramel will be too thin and soak in
- Watch the microwave carefully when making caramel. Sugar can go from perfect to burnt in seconds!
- Make caramel just before serving for the best texture and appearance
Best Apple Varieties for Apple Pie Cookie Cups
Choosing the right apples makes all the difference in these apple pie cookie cups. Here’s your complete guide:
Best Single Varieties:
- Granny Smith (Most Popular): Tart, crisp, holds shape perfectly during baking
- Honeycrisp: Sweet-tart balance, excellent texture, naturally juicy
- Braeburn: Complex sweet-tart flavor, firm texture, bakes beautifully
- Jonagold: Sweet with slight tartness, great for baking
- Pink Lady: Tart-sweet balance, maintains texture well
Best Combinations:
- Classic Combo: 50% Granny Smith + 50% Honeycrisp (balanced sweet-tart)
- Extra Sweet: 60% Honeycrisp + 40% Golden Delicious
- Bold Flavor: 50% Granny Smith + 30% Braeburn + 20% Pink Lady
Apples to Avoid:
- Red Delicious (too soft, lacks flavor)
- Gala (breaks down too much)
- McIntosh (becomes mushy when cooked)
Storage Instructions
Room Temperature: Store cookie cups in an airtight container at room temperature for up to 2 days. Keep away from direct sunlight and heat.
Refrigeration: After 2 days, transfer to the refrigerator and store in an airtight container for up to 5 days. The cookie cups will firm up slightly when cold. Let them come to room temperature for 15-20 minutes before serving for best texture.
Caramel Storage: The microwave caramel can be made up to 1 week ahead and stored in an airtight jar in the refrigerator. Reheat for 15-20 seconds in the microwave, stirring well, before drizzling over cookie cups.
Freezing: These cookie cups are best enjoyed fresh and don’t freeze well due to the apple filling and caramel topping. However, you can freeze the unbaked cookie dough and crumble separately for up to 3 months.
Make-Ahead Tips:
- Day 1: Make and refrigerate dough and crumble (lasts 24-48 hours)
- Day 2 Morning: Make apple filling and refrigerate (can be made up to 2 days ahead)
- Day 2 Afternoon: Assemble and bake cookie cups
- Just Before Serving: Make caramel and drizzle
Recipe Yield and Timing
Yield: Makes approximately 12-15 cookie cups (depending on muffin pan size and circle cutter diameter)
Total Time Breakdown:
Day 1 (Prep Time: 30 minutes)
- Mix cookie dough: 15 minutes
- Make crumble: 15 minutes
- Fermentation time: 8-24 hours (hands-off)
Day 2 (Active Time: 1 hour 15 minutes)
- Make apple filling: 20 minutes
- Cooling time: 45 minutes (hands-off)
- Assembly: 15 minutes
- Baking: 18-22 minutes
- Cooling in pan: 10 minutes (hands-off)
- Complete cooling: 1 hour (hands-off)
- Make microwave caramel: 5 minutes
- Caramel drizzle: 5 minutes
- Caramel set time: 10-15 minutes (hands-off)
Total Active Time: About 1 hour 45 minutes over 2 days
Total Time Including Fermentation and Cooling: 10-26 hours
Frequently Asked Questions
Can I use store-bought apple pie filling?
While homemade filling tastes best, you can use canned apple pie filling in a pinch. Drain excess liquid and chop the apples smaller if they’re too large. You’ll need about 1.5 cups of canned filling for this recipe.
My cookie cups cracked when I removed them from the pan. What happened?
They likely needed more cooling time in the pan. Always let them rest for the full 10 minutes before removing. Also make sure your dough was pressed evenly up the sides with no thin spots.
Can I make mini cookie cups?
Absolutely! Use a mini muffin pan and reduce baking time to 12-15 minutes. You’ll get about 24-30 mini cookie cups.
The caramel seized up when I added the cream. Help!
This happens when the cream is too cold. Make sure your cream is warm/hot before adding. If it does seize, return it to the microwave and heat in 15-second bursts while whisking vigorously.
Can I use a different sweetener in the caramel?
Regular granulated white sugar works best for caramelization. Brown sugar or alternative sweeteners may not caramelize properly in the microwave.
NUTRITION (per cookie cup):
Calories: 285
Carbohydrates: 42g
Protein: 3g
Fat: 12g
Saturated Fat: 7g
Cholesterol: 45mg
Sodium: 180mg
Fiber: 2g
Sugar: 26g
More Apple Dessert Recipes You’ll Love
If you enjoyed these apple pie sourdough cookie cups, you’ll love these other apple recipes:
- Apple Pie Sourdough Cookies (the original flat version!)
- Apple Pie Hand Pies
- Apple Pie Croissant Pull-Apart Loaf
- Apple Cider Sourdough Croissants
- Apple Cider Bagelatta
Did you make this recipe? Leave a comment and rating below! I’d love to see your apple pie cookie cups; tag me on Instagram @h3artofthehome!


Leave a Reply