Every summer growing up, our freezer had a box of Ellio’s pizza in it. Looking back, it was basically cardboard with sauce on it, and I am not sure it ever got fully baked through, but I loved it anyway. Something about that rectangle shape and that soft, almost steamed crust just says summer to me.
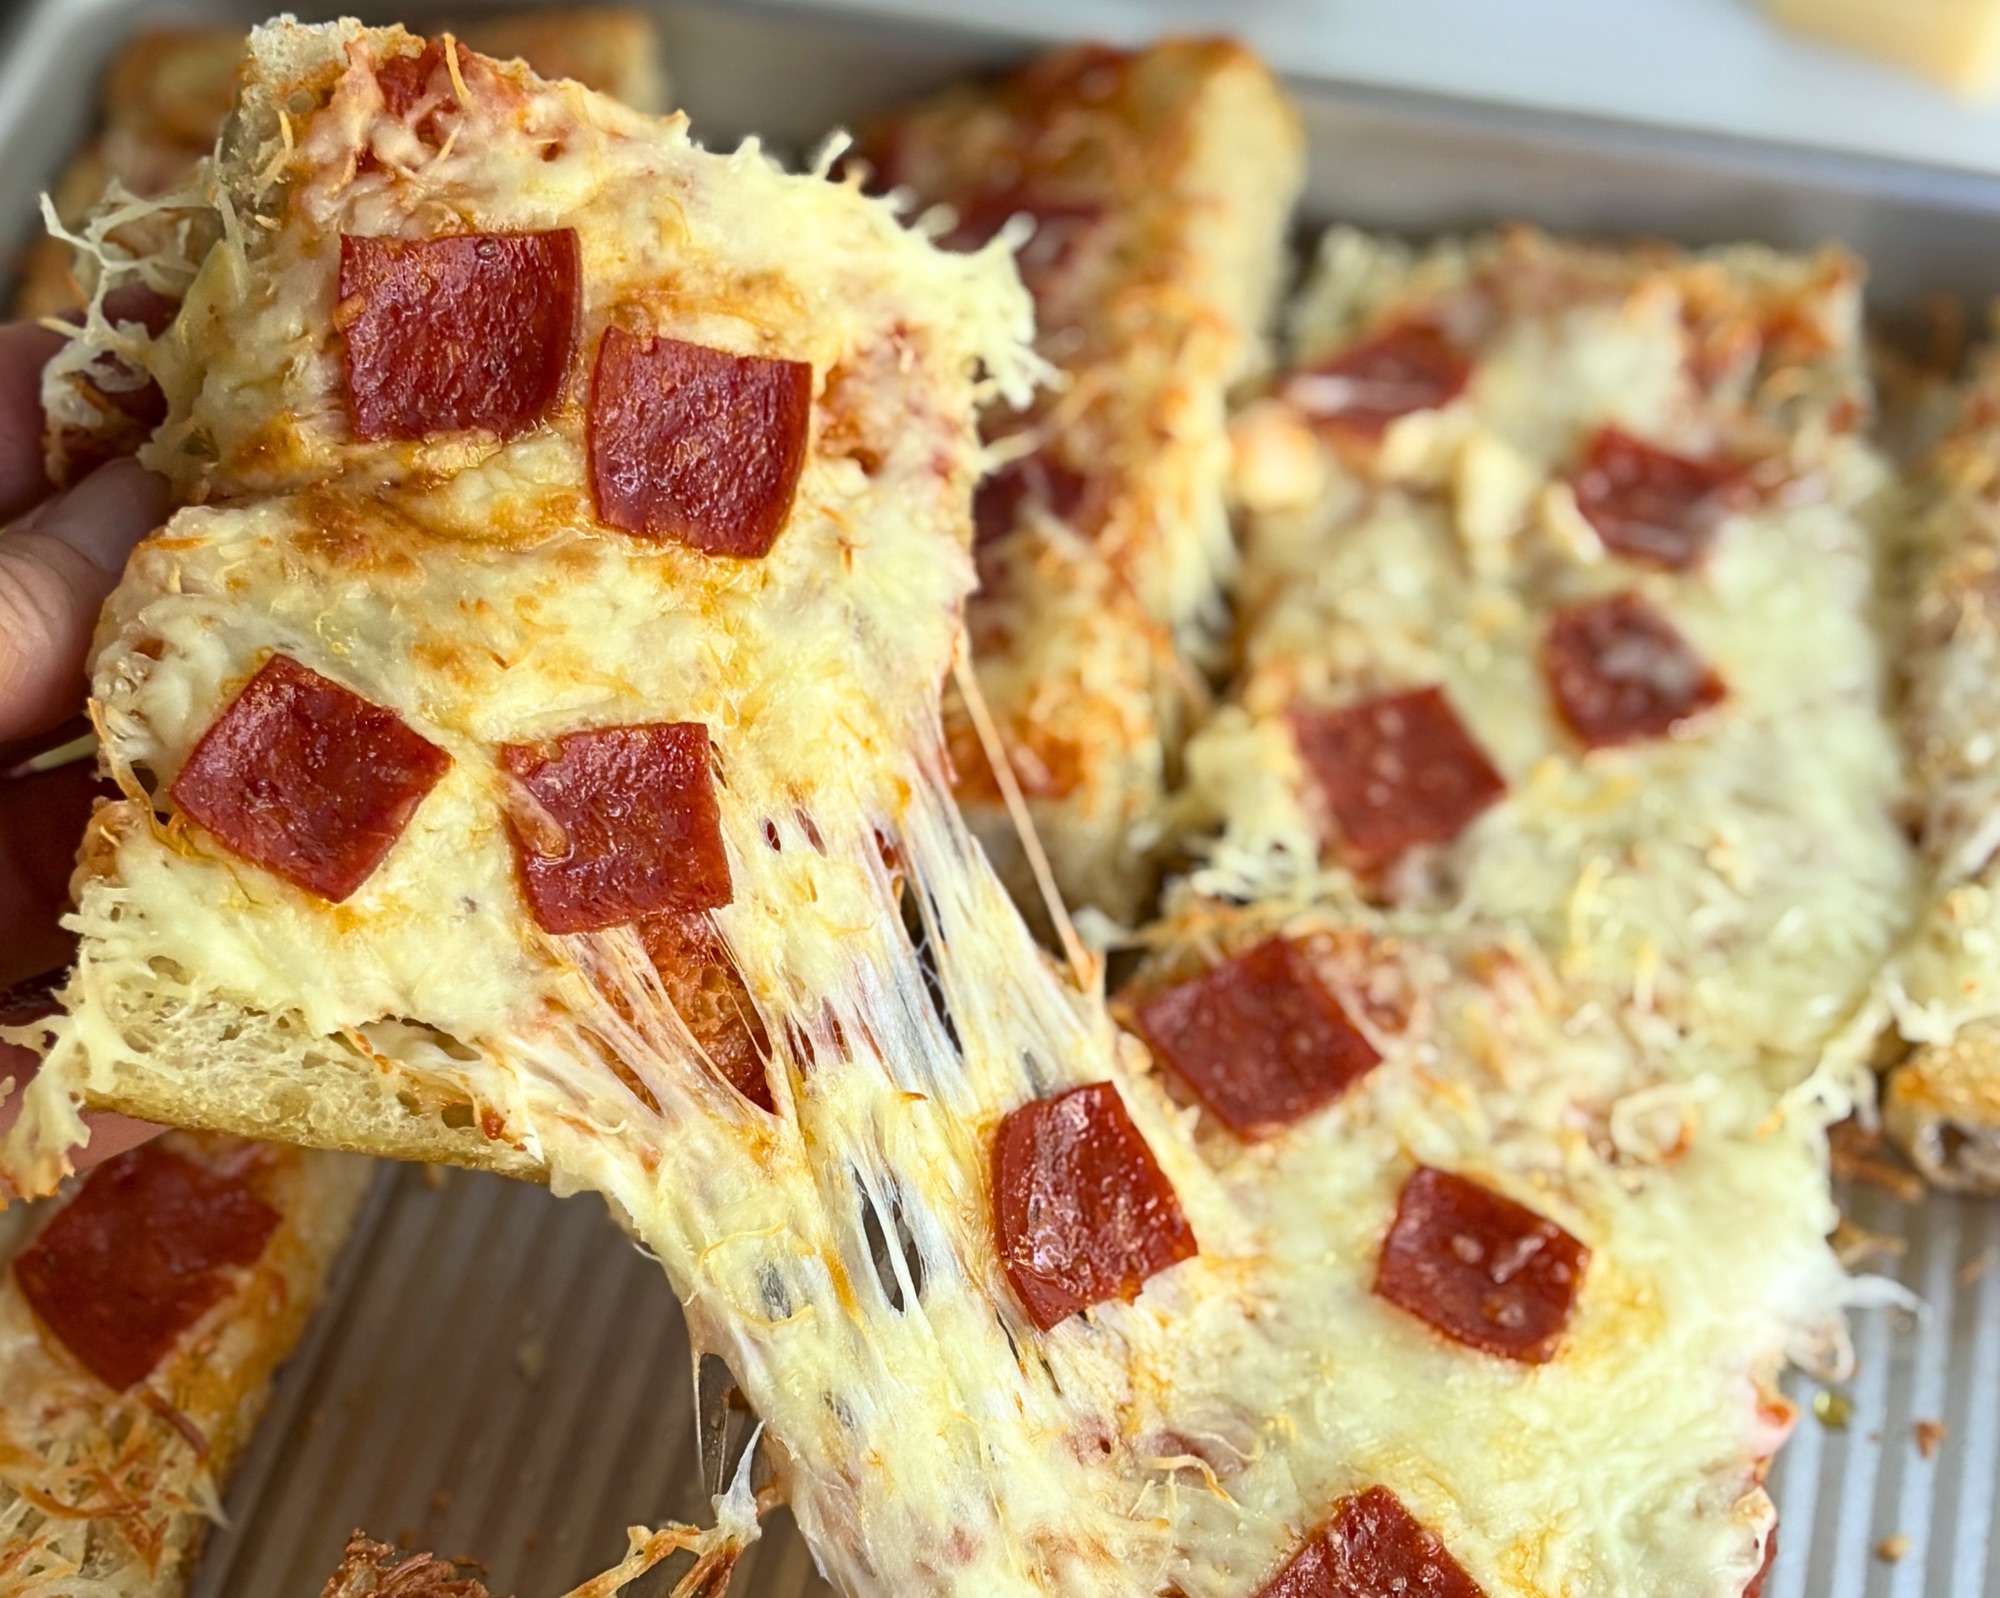
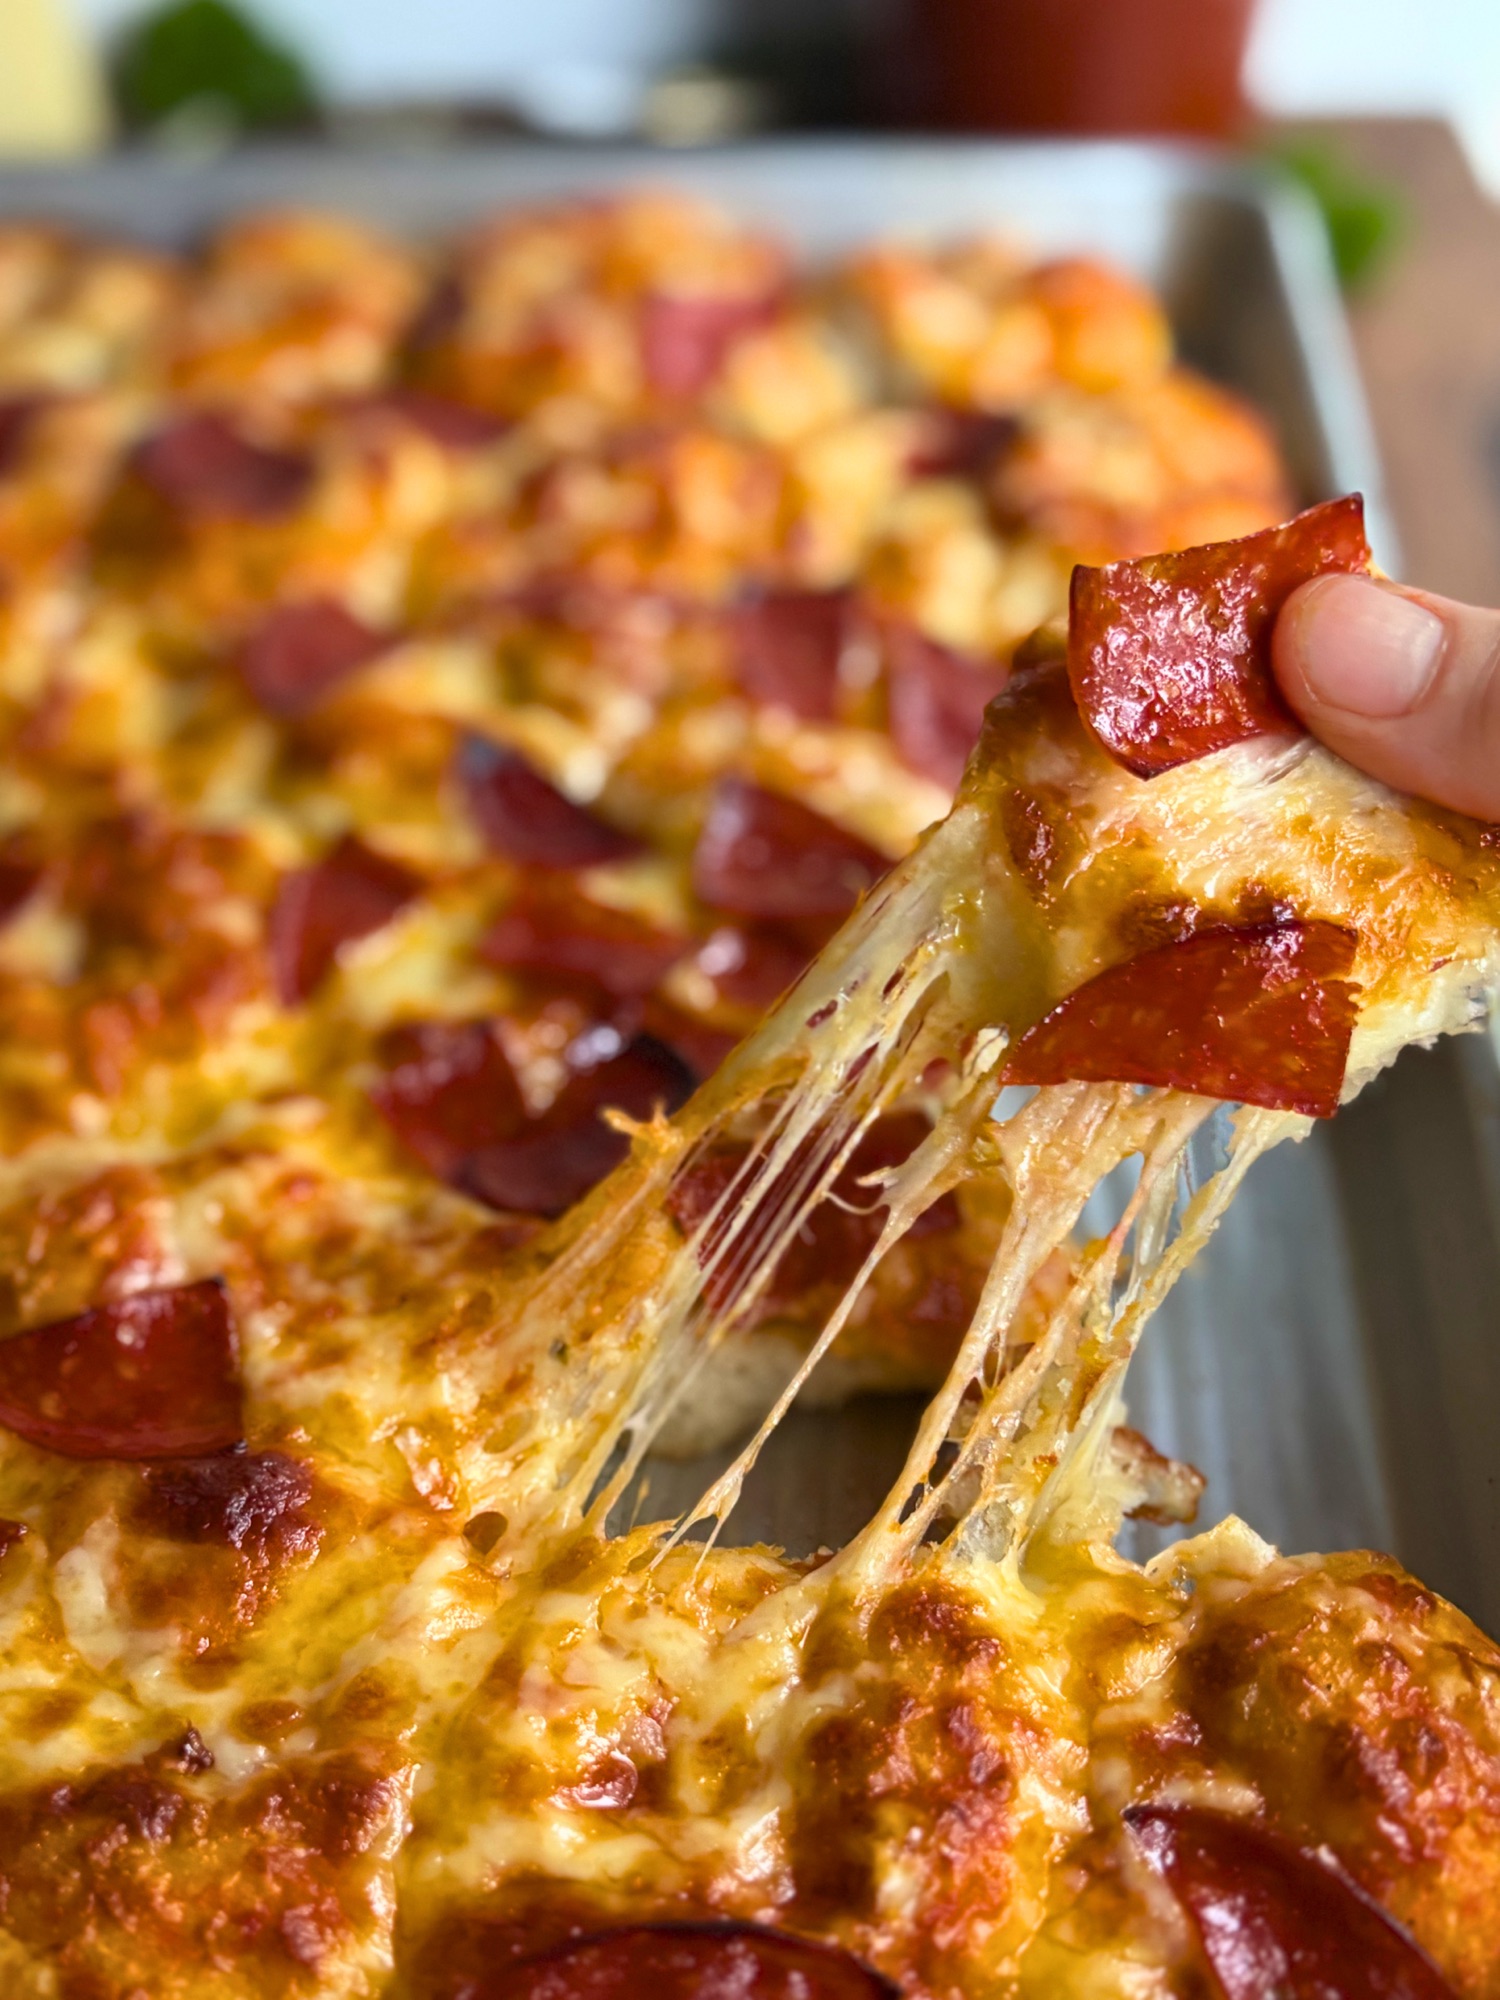
Focaccia Pizza Squares are my grown up, actually edible version of that memory. Same rectangle shape, same easy, no fuss process, but made from real focaccia with a crisp bottom and a properly melted, bubbly top. It takes less effort than waiting on a frozen pizza to cook through, and it tastes about a hundred times better. My boys know it is still pizza, but a different shape and a different presentation is sometimes all it takes to make the same flavors feel new again.
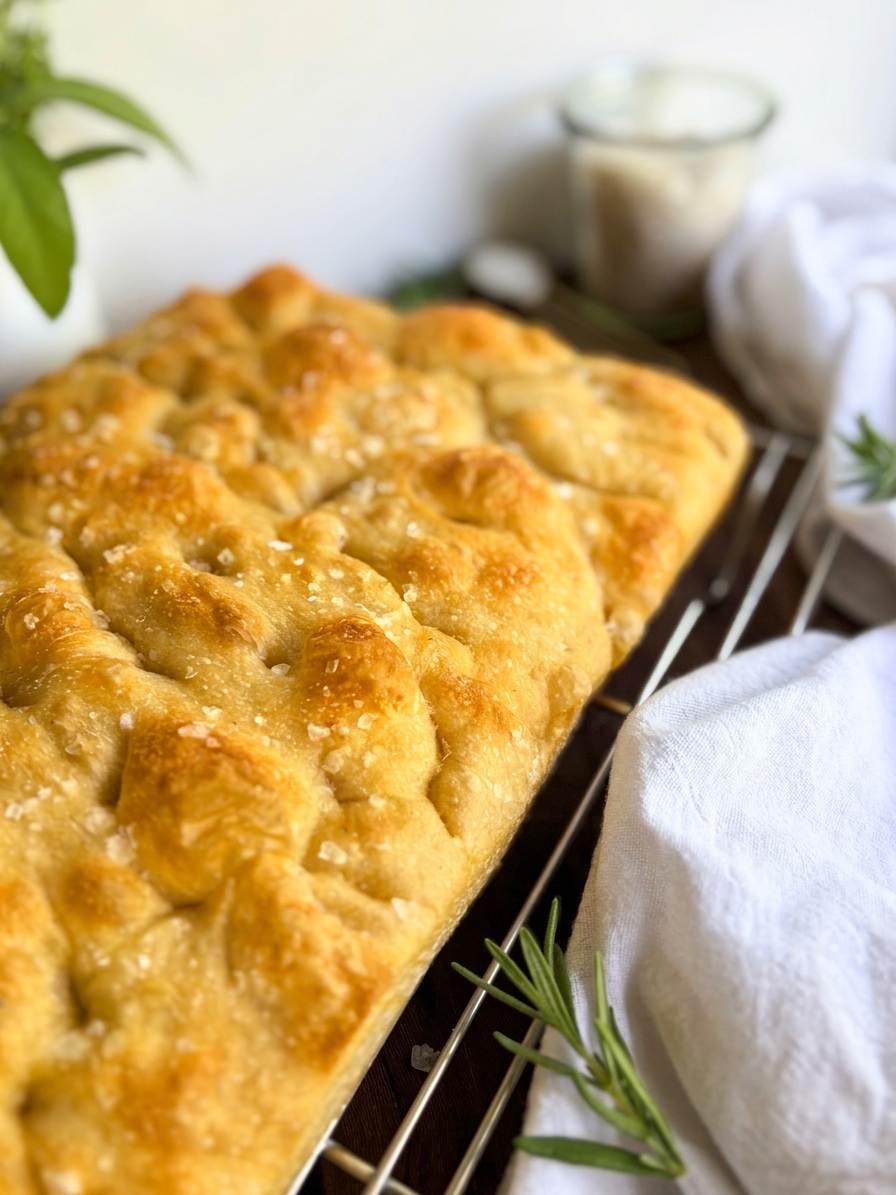
This recipe builds on either of my focaccia bases, the Same Day Focaccia for a faster yeasted version or the Sourdough Focaccia for the full overnight ferment and flavor. Both work here. Once you have a baked, cooled focaccia in front of you, the rest comes together fast. The recipe card below includes the full sourdough focaccia recipe from start to finish, so you can make the entire thing in one place, then slice, top, and bake.

Table of Contents
- Why This Recipe Works
- Recipe
- I Do Not Have Sourdough, Can I Use Yeast?
- What You Need
- How to Make Focaccia Pizza Squares
- How to Cut Focaccia for Pizza Squares
- Tips for the Best Squares
- Topping Variations
- The Pull-Apart Focaccia Series
- Storing and Reheating
- Shop This Recipe
- FAQ
- Let’s Hear From You
- Subscribe
Why This Recipe Works
This is the recipe I reach for when I have a focaccia on the counter and a hungry crew to feed. It takes one already baked focaccia and turns it into something that feels brand new with almost no effort, which is exactly what you want from a lunch or after school snack.
The focaccia base does all the heavy lifting. Because it is already baked, with that crisp oiled bottom and open airy crumb, you are not building a pizza crust from scratch. You are just topping and finishing. The bread reheats and crisps in the oven while the cheese melts, so every piece has a sturdy bottom, a chewy middle, and a golden bubbly top.
It also feeds a crowd with very little hands on time. A single 9×13 focaccia cuts down into a full half sheet pan of pizza squares, enough for the whole family with leftovers, and the topping step takes just a few minutes. Sauce, cheese, pepperoni, into the oven, a quick pass under the broiler, and done.
And it is endlessly flexible. Whatever toppings your family likes, whatever you have in the fridge, this recipe bends to fit. It is a use it up, keep it easy, please everyone kind of recipe.

Recipe

Focaccia Pizza Squares
Equipment
- Large mixing bowl
- Digital Kitchen Scale
- 9×13 inch light colored aluminum baking pan
- Danish dough whisk or stiff spatula
- plastic wrap
- Half sheet pan
- Serrated bread knife
- Wire cooling rack
Ingredients
For the Sourdough Focaccia Base
- 500 grams bread flour 4 cups plus 2 tablespoons
- 400 grams water room temperature (1 and 2/3 cups) See Notes for lower hydration modification
- 75 grams active sourdough starter 1/3 cup
- 10 grams fine sea salt 1 and 2/3 teaspoons
- 60 grams extra virgin olive oil for the pan 1/4 cup
- Extra virgin olive oil for drizzling on top 2 to 3 tablespoons
Flaky sea salt for topping
- For the Pizza Topping
- 240 grams pizza sauce 1 cup
- 340 grams shredded mozzarella cheese 3 cups
- 60 grams pepperoni cut into smaller pieces (approximately 1 cup)
- Grated parmesan fresh herbs, or red pepper flakes (optional)
Instructions
Step 1: Mix the dough
- In a large bowl combine the bread flour, water, active sourdough starter, and salt. Mix well until no dry flour remains. The dough will be very wet and sticky. That is correct. Do not add more flour. Cover and let rest for one hour.
Step 2: Stretch and fold
- With wet hands, grab one side of the dough and stretch it up as far as it will go without tearing, then fold it down over the center. Rotate the bowl a quarter turn and repeat. Complete four folds to finish one set. DO this until you feel the gluten tighten.
Step 3: Slap and fold
- Once the dough has built some strength, perform one slap and fold. Pick the dough up, slap it down onto the surface, and fold it over itself. Return it to the bowl with the same side facing down. Cover the bowl.
Step 4: Overnight bulk ferment
- Leave the covered bowl at room temperature for 8 to 14 hours depending on your kitchen temperature. The dough is ready when it has doubled or tripled in size, is visibly domed, has bubbles across the surface, and pulls away easily from the sides of the bowl when you run a spatula around the edge. It should be very jiggly when you gently shake the bowl. Watch the dough, not the clock.
Step 5: Prepare the pan
- Pour the olive oil into the 9×13 pan and use your hands to work it evenly across the bottom, into the corners, and up the sides. If your pan is not a reliable nonstick, lay a sheet of parchment in the pan before adding the oil.
Step 6: Envelope fold and transfer
- Carefully turn the dough directly out of the bowl and into the oiled pan. Using oiled hands, bring the bottom edge of the dough up to about the two thirds mark, then bring the top edge down to the bottom, layering the dough over itself. Flip the dough so the seam side faces down, then rotate it so it sits vertically in the pan rather than horizontally.

Step 7: Second rise
- Cover the pan and let the dough rest at room temperature for 2 to 4 hours until it is light, fluffy, and very jiggly when you gently shake the pan. It should look soft and alive. Do not rush this step.
Step 8: Preheat and dimple
- Preheat the oven to 430 degrees F. Run your hands under cool water and flick off the excess so your hands are just barely damp, not dripping. Drizzle 2 to 3 tablespoons of olive oil over the top of the dough. Starting at the edge closest to you, press your fingers straight down through the dough all the way to the bottom of the pan, then pull them out and continue working your way across the entire surface in rows. Press firmly and go all the way down.
Step 9: Bake the focaccia
- Sprinkle generously with flaky sea salt. Bake for 25 to 30 minutes until the top is deep golden and the edges are visibly crisped. Lift a corner to check the bottom. It should be a rich, even golden brown.
Step 10: Cool completely
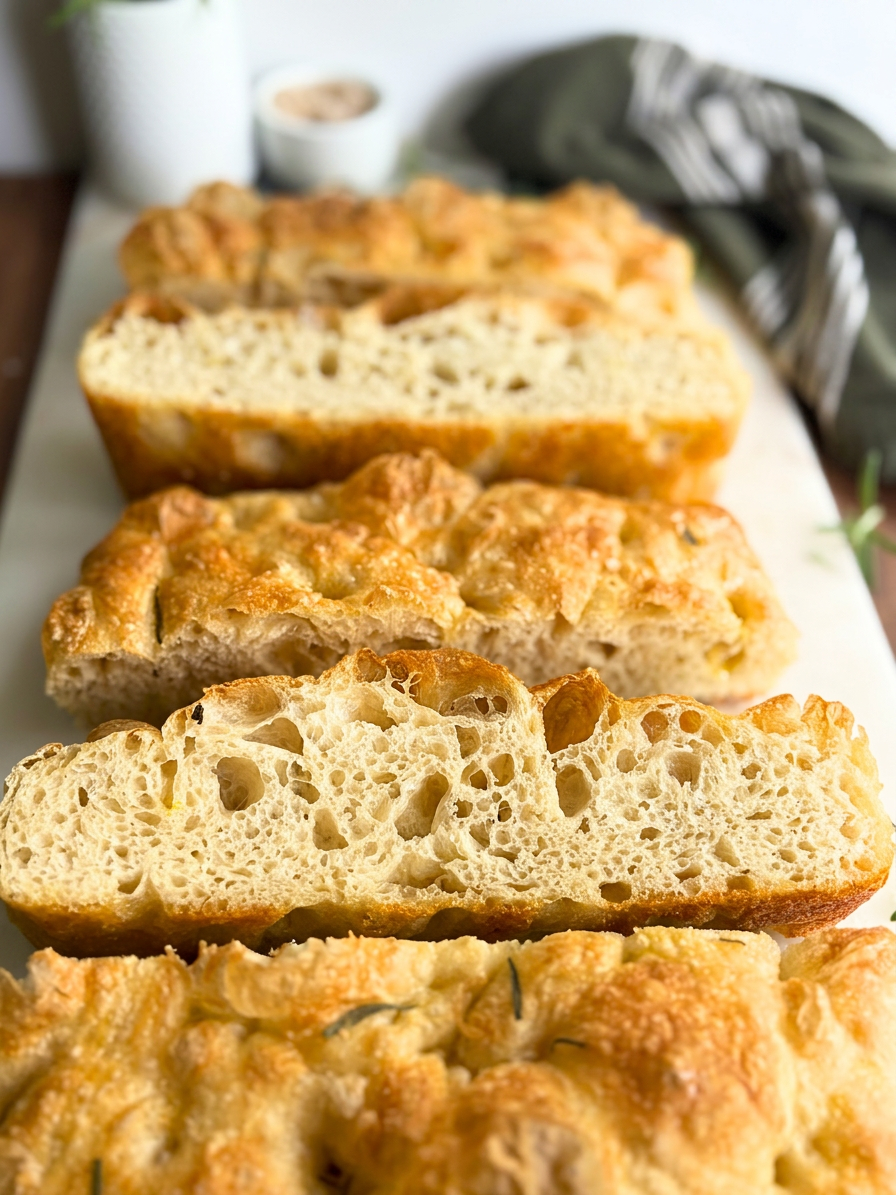
- Let the focaccia rest in the pan for 5 minutes, then transfer to a wire rack to cool completely before cutting. A fully cooled focaccia slices cleanly and holds up to the toppings.
Step 11: Cut the focaccia
- Slice the cooled focaccia horizontally into about five long sections. Split each section through the middle like a hot dog bun so you have a top half and a bottom half. Stack them back together, then make one cut down the center for larger rectangles or two cuts for smaller squares. Pull the top and bottom apart again so each piece is a single layer, crumb side up. Arrange the pieces on a half sheet pan.

Step 12: Top the squares
- Preheat the oven to 425 degrees F. Spread a thin layer of pizza sauce over each piece. Top generously with shredded mozzarella, then scatter the pepperoni over the cheese.
Step 13: Bake and broil
- Bake at 425 degrees F for 10 to 15 minutes, until the cheese is melted and the focaccia edges are crisp. For extra color on the cheese, finish under the broiler for a few minutes, watching closely the entire time so it does not burn.
Step 14: Rest and serve
- Let the squares rest for a minute or two so the cheese sets slightly, then serve warm.
Notes
I Do Not Have Sourdough, Can I Use Yeast?
Yes, absolutely. You do not need a sourdough starter to make these. The recipe card below is written for the sourdough focaccia base, but a yeasted same day focaccia works just as well and gets you there faster.
If you are going the yeasted route, start with my Same Day Focaccia and follow that recipe all the way through baking and cooling. Once your focaccia is baked and fully cooled, both versions meet at the exact same place. Come back to this recipe and pick up at the cutting and topping steps. From the moment your focaccia has cooled, the process is identical no matter which base you started with.

What You Need
This recipe starts with one already baked, fully cooled focaccia, either the Sourdough Focaccia or the Same Day Focaccia. From there you only need a handful of pantry friendly toppings.
Baked and cooled focaccia. The foundation of the whole recipe. A 9×13 focaccia is what these amounts are built around.
Pizza sauce. A good jarred pizza sauce or marinara works perfectly. Look for one that is thick rather than watery so it does not soak into the bread.
Shredded mozzarella cheese. The melt and the cheese pull. Low moisture mozzarella melts cleanly and browns well, but fresh mozzarella works too if you pat it dry first.
Pepperoni. Sliced into smaller pieces or quartered if you are using full size deli slices. Smaller pieces tuck into the cheese and crisp up nicely.
Optional extras. Grated parmesan for a salty finish, fresh herbs, or red pepper flakes for a little heat.

How to Make Focaccia Pizza Squares
Start with a focaccia that is fully baked and cooled. Cutting and topping a warm focaccia leads to squished pieces and sliding cheese, so let it come to room temperature first. Once it is cooled and cut into pieces, lay them out on a half sheet pan with the cut crumb side facing up.

Spread a thin layer of pizza sauce over each piece. A little goes a long way here. Too much sauce makes the bread soggy, so aim for an even swipe rather than a thick pool.


Top generously with shredded mozzarella, then scatter the pepperoni over the cheese. Adding the pepperoni on top of the cheese instead of underneath lets it crisp slightly and curl at the edges as it bakes.


Bake at 425 degrees F for 10 to 15 minutes, until the cheese is melted and the edges of the focaccia are crisp. Then, if you like a little color and char on your cheese the way I do, slide the pan under the broiler for a few minutes at the end. Watch it closely once it is under the broiler, because it goes from golden to too dark in well under a minute.

Let the tray rest for a minute or two before serving so the cheese sets slightly and the toppings stay put when picked up. Exact amounts, timing, and the full focaccia base recipe are in the recipe card below.
How to Cut Focaccia for Pizza Squares
This is the part that makes the recipe work, and it is easier than it sounds. Start by slicing the cooled focaccia horizontally into about five long sections. Take one section and split it through the middle like you would a hot dog bun, so you end up with a top half and a bottom half.
Stack that top and bottom back together, then make your cuts. One cut straight down the center gives you two larger rectangles per section. Two cuts, splitting it into thirds, gives you smaller, more square shaped pieces. It is entirely up to the size you want. Bigger rectangles are great for a heartier handheld lunch, smaller squares are perfect for little hands and snacking.
Once you have made your cuts, pull the top and bottom apart again so every piece is a single layer with the crumb side up. A full 9×13 focaccia cut this way fits neatly onto a half sheet pan with the pieces nestled together and no big gaps, which means your cheese and sauce stay on the bread instead of falling through onto the pan.
I learned the hard way that long, skinny strips do not hold up. They bend in the middle and lose their toppings off the end. These shorter, sturdier pieces give everyone something solid to hold onto.

Tips for the Best Squares
Start with cooled focaccia. A focaccia that has had time to cool and firm up slices cleanly and holds its shape under the toppings. Warm focaccia squishes and tears.
Go easy on the sauce. A thin, even layer keeps the focaccia crisp. Too much sauce is the fastest way to a soggy bottom.
Put the pepperoni on top of the cheese. It crisps and curls at the edges that way, instead of steaming underneath.
Watch the broiler the whole time. The bake at 425 does most of the work, but if you finish under the broiler for color, do not walk away. The difference between golden and burnt is less than a minute.
Serve them fresh and warm. These are at their absolute best straight from the oven while the cheese is still melty and the bottoms are crisp.

Topping Variations
This recipe is built to flex with whatever you have on hand.
Swap pepperoni for cooked sausage, diced ham, or leave it plain cheese for picky eaters.
Add thinly sliced bell pepper, red onion, or banana pepper rings before broiling.
Finish with a drizzle of hot honey or a sprinkle of fresh basil after broiling for an adult friendly version.
Use a white sauce base instead of red for a different flavor entirely.
The Pull-Apart Focaccia Series
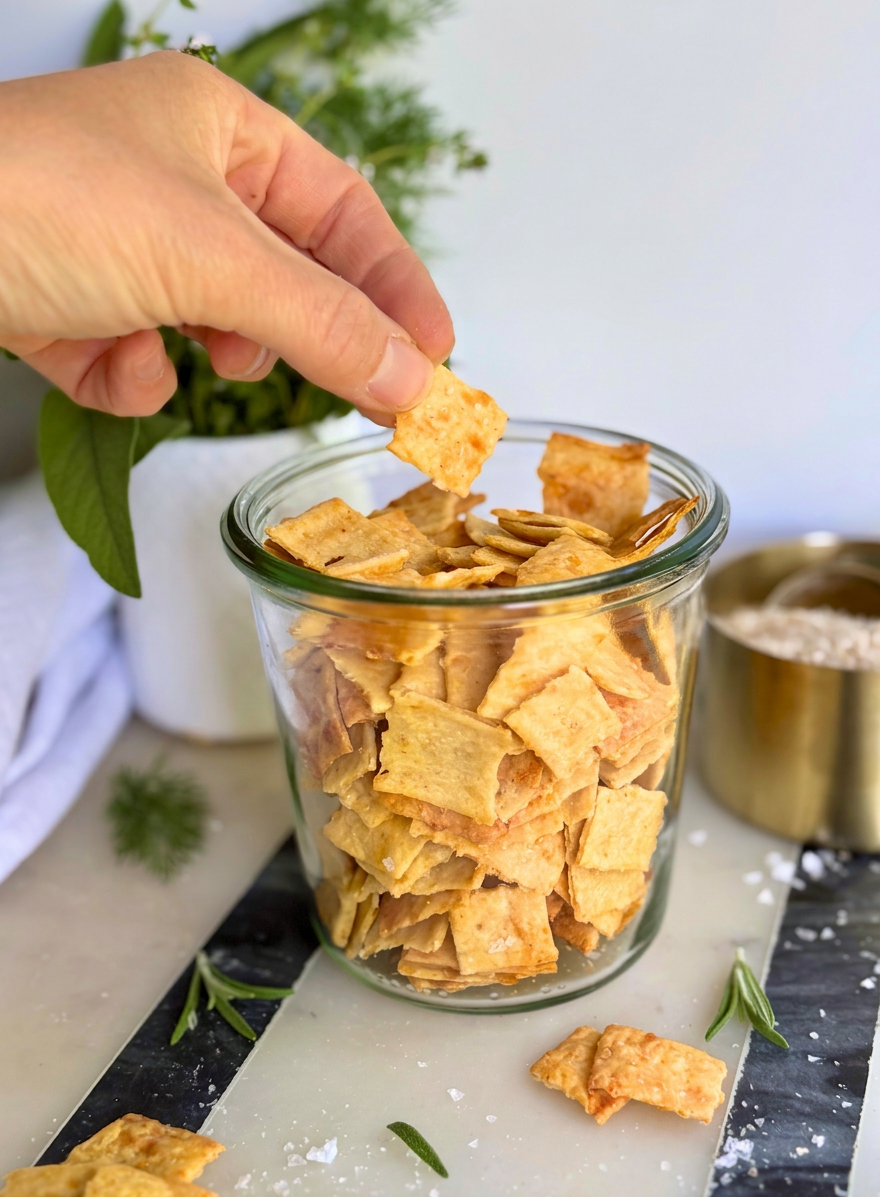
Once you have made a basic focaccia, you will understand why this dough has become the foundation for one of the most popular series on the blog. The same high hydration base adapts beautifully to both sweet and savory variations, and we have taken it just about everywhere you can imagine.


Storing and Reheating
Store any leftover squares in an airtight container in the refrigerator for up to three days. Reheat in a 350 degree oven for five to seven minutes, or in an air fryer for a few minutes, to bring back the crisp bottom. The microwave will work in a pinch but will soften the crust.
Shop This Recipe
These are the tools and ingredients I use and recommend for this recipe. Product links are affiliate links, which means I may earn a small commission at no extra cost to you.
Rimmed Baking Sheet Gives the squares enough room to spread out under the broiler without crowding.
Pizza Sauce A simple, well seasoned sauce keeps each square from getting watery under the broiler.
Fresh Mozzarella Melts beautifully and gives you that stretchy cheese pull in every bite.
Light Colored Aluminum Pan The same pan I use for both focaccia bases works perfectly here if you are baking and topping in one pan.
Digital Kitchen Scale Useful if you are baking your focaccia base from scratch the same day you plan to make this recipe.
FAQ
Can I use leftover focaccia for this?
Yes. This recipe works beautifully with focaccia that has been sitting around from a previous bake. A day or two old focaccia actually slices more cleanly than a fresh warm one, so it is one of the best ways to use up what you have.
Do I have to use the broiler?
No. The squares bake fully at 425 degrees F in 10 to 15 minutes, until the cheese is melted and the edges are crisp. The broiler is just an optional finishing step at the end if you like a little color and char on your cheese. If you skip it, the squares are still perfectly melted and delicious.
Can I make these ahead of time?
You can slice the focaccia and have your toppings ready in advance, then sauce, top, and bake right before serving so the cheese melts fresh and the bread stays crisp. They are best served warm, so I would not bake them too far ahead.
What if I do not have pizza sauce on hand?
Marinara, a simple crushed tomato with garlic and oil, or even a thin layer of pesto all work well in place of traditional pizza sauce. Just keep the layer thin so the bread does not get soggy.
What size should I cut the pieces?
That is up to you. One cut per section gives you larger rectangles, two cuts gives you smaller squares. Smaller pieces are great for kids and snacking, larger ones make a heartier handheld lunch.
Can I make this without meat?
Definitely. Leave the pepperoni off entirely for a plain cheese version, or add vegetables like sliced bell pepper, onion, or mushroom before baking.

Let’s Hear From You
If you make these Focaccia Pizza Squares, I want to see them. Tag me on Instagram so I can share it, and leave a comment below letting me know how they turned out. Drop a star rating on the recipe card while you are here. It helps more people find this recipe, and I read every single comment.
Subscribe
I deliver new recipes every week straight to your email. I do not sell or use your information and I will not send you spam.


Leave a Reply