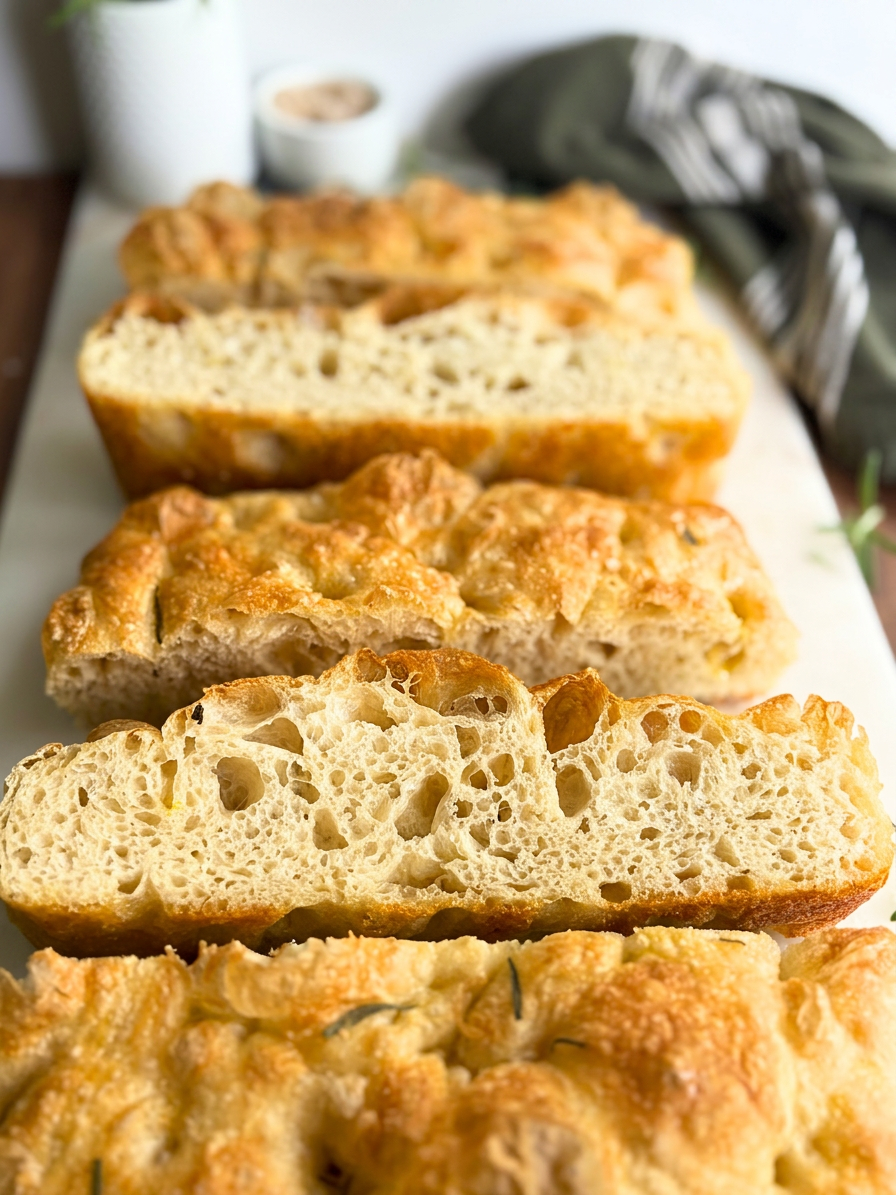
You want focaccia today, not tomorrow. No sourdough starter on your counter, no overnight plan, no waiting until morning. This same day focaccia is the answer. It is the exact same recipe I use for my Sourdough Focaccia, the same 80% hydration, the same pan, the same golden crispy result, but built around instant yeast so you can have it on the table in about four hours start to finish.
I baked the loaf in these photos in a single morning. Everything was mixed by 8:00am, into the pan by 10:25am, and out of the oven golden and blistered before noon. Five ingredients, one bowl, no stand mixer, and no kneading. If you have been wanting to make focaccia but the overnight timeline always stopped you, this is the one to start with.

Table of Contents
- Why This Recipe Works
- What You Need
- Recipe
- Why More Stretch and Folds for a Same Day Dough
- How to Make Same Day Focaccia
- How to Know When Your Dough Is Ready to Bake
- How to Dimple Focaccia
- The Pull-Apart Focaccia Series
- Have a Starter? Make the Sourdough Focaccia Instead
- Ways to Use This Focaccia
- Shop This Recipe
- FAQ
- Let’s Hear From You
- Subscribe
Why This Recipe Works
Same day focaccia is one of the best entry points into bread baking, and this recipe is proof. The dough is forgiving in a way that a boule or a sandwich loaf is not. Because focaccia is high hydration and baked in a pan rather than free form, there is no shaping skill required, no Dutch oven, and no precise timing window where everything falls apart if you miss it.
The process is straightforward: mix all your ingredients together in one bowl, rest the dough, do a few sets of stretch and folds spaced 30 minutes apart, let it bulk rise, then transfer it to the pan for a final proof. A few hours later you have a dough that is puffy, bubbly, and ready to dimple and bake into a golden, pillowy, crispy bottomed loaf.
The oil is the other key player. A generous pour of extra virgin olive oil in the bottom of the pan creates that signature fried crust underneath. More oil on top before dimpling keeps the surface from drying out and gives you those golden crispy peaks between each dimple. Do not skip the oil. Do not reduce the oil. It is the whole point.

What You Need
The ingredient list for this focaccia is short. Bread flour gives you the structure and chew that all purpose cannot quite match at this hydration level. Instant yeast is the only leavener, and it goes straight into the dough with no blooming required. Extra virgin olive oil is the traditional choice for focaccia and brings a richness and depth of flavor that a neutral oil cannot replicate. Fine sea salt seasons the dough, and flaky sea salt on top is non negotiable.
That is genuinely it. Five ingredients, one bowl, one pan, and a few hours.
A quick note on bread flour. Its higher protein content builds more gluten, which gives the dough the strength to trap air and rise tall. Bread flour also absorbs more liquid than all purpose, so if you swap it out, the dough will handle differently at this hydration, not just rise less. For the best result, use bread flour. I used King Arthur organic bread flour in the loaf you see here.

Recipe

Same Day Focaccia
Equipment
- Large mixing bowl
- 9×13 light colored aluminum baking pan
- Digital Kitchen Scale
- Danish dough whisk or large spoon
- Wire cooling rack
Ingredients
- 500 grams bread flour 4 cups plus 2 tablespoons, spooned and leveled
- 400 grams water warm (1 and 2/3 cups)
- 5 grams instant yeast 1 and 1/2 teaspoons
- 9 grams fine sea salt 1 and 1/2 teaspoons
- 60 grams extra virgin olive oil for the pan (1/4 cup)
- 2 to 3 tablespoons extra virgin olive oil for topping
- Flaky sea salt for topping
- Fresh or dried rosemary optional
Instructions
- Combine bread flour, warm water, instant yeast, and fine sea salt in a large bowl. Mix until no dry flour remains. The dough will be very wet and sticky. Do not add more flour. Cover and rest 30 minutes.
- Wet your hands. Grab one side of the dough, stretch it up as far as it will go without tearing, and fold it over the center. Rotate the bowl a quarter turn and repeat for four folds total. This is one set. Cover and rest 30 minutes.
- Repeat the stretch and fold process every 30 minutes for a total of 3 sets, or up to 4 if the dough still feels slack. With each set the dough will become smoother, stronger, and more elastic.

- After the final set, cover and let the dough bulk rise at room temperature until doubled in size and visibly bubbly, approximately 1 to 1.5 hours. Watch the dough, not the clock. A warmer kitchen will speed this up significantly.
- Pour 60 grams of olive oil into a 9×13 pan and spread it around the bottom and up the sides. Turn the dough directly out of the bowl into the oiled pan. Let it rest in the pan for 15 minutes so the gluten relaxes. If your pan is not nonstick, line with parchment.
- After the rest, wet your hands and gently spread the dough out toward the edges of the pan, handling it gently to keep the bubbles intact. It will not reach the corners perfectly and will continue to spread as it proofs.
- Cover and let rise about 1 hour, until light, fluffy, and jiggly when you gently shake the pan.

- Preheat oven to 430 degrees F. Drizzle 2 to 3 tablespoons olive oil over the top. Run hands under cool water and shake off the excess so hands are just barely damp. Starting at the edge closest to you, press fingers straight down to the bottom of the pan and work across in rows to create dimples. Sprinkle with flaky sea salt and rosemary if using.
- Bake 25 to 30 minutes, checking at 25, until deep golden on top and crisped on the bottom. Rest in pan 5 minutes, then transfer immediately to a wire rack.
Notes
Why More Stretch and Folds for a Same Day Dough
If you have made my sourdough focaccia, you know that version leans on a long overnight room temperature ferment to build gluten strength passively while you sleep. A same day dough does not have that luxury, so you build the strength by hand instead, with a few sets of stretch and folds spaced 30 minutes apart.
It is simple and almost entirely hands off. You do a quick set of folds, walk away for 30 minutes, and come back for the next set. With each round the dough transforms. It starts out wet, slack, and shaggy, and by the final set it is smooth, stretchy, and strong enough to hold together when you lift it.

I did three sets for the loaf in these photos and the gluten was developed beautifully. Three is usually enough, but let the dough be your guide. If it still feels slack and weak after the third set, give it a fourth. You are looking for smooth and elastic, not torn or stiff.
How to Make Same Day Focaccia
Here is the full process from mixing bowl to oven. The whole thing took me about four hours, with most of that time completely hands off.
Mix the dough. Combine bread flour, warm water, instant yeast, and fine sea salt in a large bowl. Mix until no dry flour remains. The dough will be very wet and sticky. Do not add more flour. Cover and rest 30 minutes.
A note on water temperature. I used water at 120 degrees F because the yeast I baked with calls for it. Yeast brands vary, so always check the back of your packet for the recommended water temperature and follow that. When the yeast is mixed into the flour rather than bloomed separately, warmer water in that range is correct and will not harm it.
Stretch and fold. With wet hands, grab one side of the dough, stretch it up as far as it will go without tearing, and fold it over the center. Rotate the bowl a quarter turn and repeat for four folds total. That is one set. Cover and rest 30 minutes, then repeat for three sets total, or four if your dough still feels slack.

Bulk rise. After your final set, cover the bowl and let the dough rise at room temperature until it has doubled, looks puffy and domed, and shows bubbles under the surface. Watch the dough, not the clock. Warmer kitchens move faster.
Transfer to the pan. Pour 60 grams of extra virgin olive oil into a 9×13 light colored aluminum pan and spread it around the bottom and up the sides. Turn the dough out of the bowl directly into the oiled pan. Let it rest right there in the pan for 15 minutes. This short rest relaxes the gluten so the dough stops fighting you.
Spread it out. After the rest, wet your hands, pick the dough up gently by the corners, and ease it out toward the edges of the pan. Handle it gently to keep those bubbles intact. It will not reach the corners perfectly, and that is fine. It keeps spreading on its own as it proofs.

Pan proof. Cover and let the dough rise until it is light, puffy, and very jiggly when you gently shake the pan. Mine took about an hour. This step matters. A focaccia that goes into the oven underproofed will not have the same open crumb or dramatic puff.

Dimple and top. Preheat your oven to 430 degrees F. Drizzle 2 to 3 tablespoons of olive oil over the top. Run your hands under cool water, shake off the excess so they are just barely damp, then press your fingers straight down through the dough all the way to the bottom of the pan, working across in rows. Sprinkle with flaky sea salt and fresh or dried rosemary.

Bake. Bake at 430 degrees F for 25 to 30 minutes, until deep golden on top and crisped on the bottom. Start checking at 25. Rest in the pan 5 minutes, then transfer immediately to a wire rack so the bottom stays crisp.
How to Know When Your Dough Is Ready to Bake
This is the step that trips up bakers who are used to regular yeast bread, so it is worth slowing down on. There are two rises in this recipe, and each one has a different target.
For the bulk rise in the bowl, you want the dough to roughly double. Not triple. It should look puffy and domed with bubbles forming under the surface. Pushing it much further at this hydration exhausts the yeast and leaves you with less lift for the pan and the oven.
For the pan proof, you are not waiting for it to double again. You are waiting for it to become light, puffy, and very jiggly. When you gently shake the pan, the whole thing should wobble like it is alive. That jiggle is your green light.
If you want a second confirmation, lightly wet a fingertip and poke the dough about half an inch deep. If the indent springs back slowly and leaves a slight mark, it is perfectly proofed. If it springs back instantly and completely, give it more time. If the dent stays put and does not spring back at all, the dough is slightly overproofed, so dimple and bake it right away.
Do not rush the pan proof. Underproofed focaccia bakes up dense and flat, and no amount of oil will fix it. Patience here is what gives you that tall, airy, bubbly crumb.

How to Dimple Focaccia
Dimpling looks simple but it makes a real difference in the final loaf. Done right, it distributes the oil evenly across the surface, creates the signature peaks and valleys that crisp up in the oven, and keeps the top from puffing into a smooth dome instead of that classic focaccia texture.
Drizzle about 2 tablespoons of olive oil over the top of the risen dough first. Then run your hands under cool water and flick off the excess. You want your hands just barely damp, not dripping. This stops the dough from sticking to your fingers without adding extra water to the surface.
Starting at the edge closest to you, press your fingers straight down through the dough all the way to the bottom of the pan. Pull your fingers out, move up an inch, and press again. Work your way across the entire surface in rows. Press firmly and go all the way down every time. Shallow dimples fill back in as the dough bakes. Deep dimples hold the oil and create those golden peaks.
Finish with a generous sprinkle of flaky sea salt and fresh or dried rosemary, pressing the rosemary gently into the dimples so it stays put during baking.

The Pull-Apart Focaccia Series
Once you have made this classic focaccia once, you will understand why this dough has become the foundation for one of the most popular series on the blog. The same high hydration base adapts beautifully to both sweet and savory variations, and we have taken it just about everywhere you can imagine.
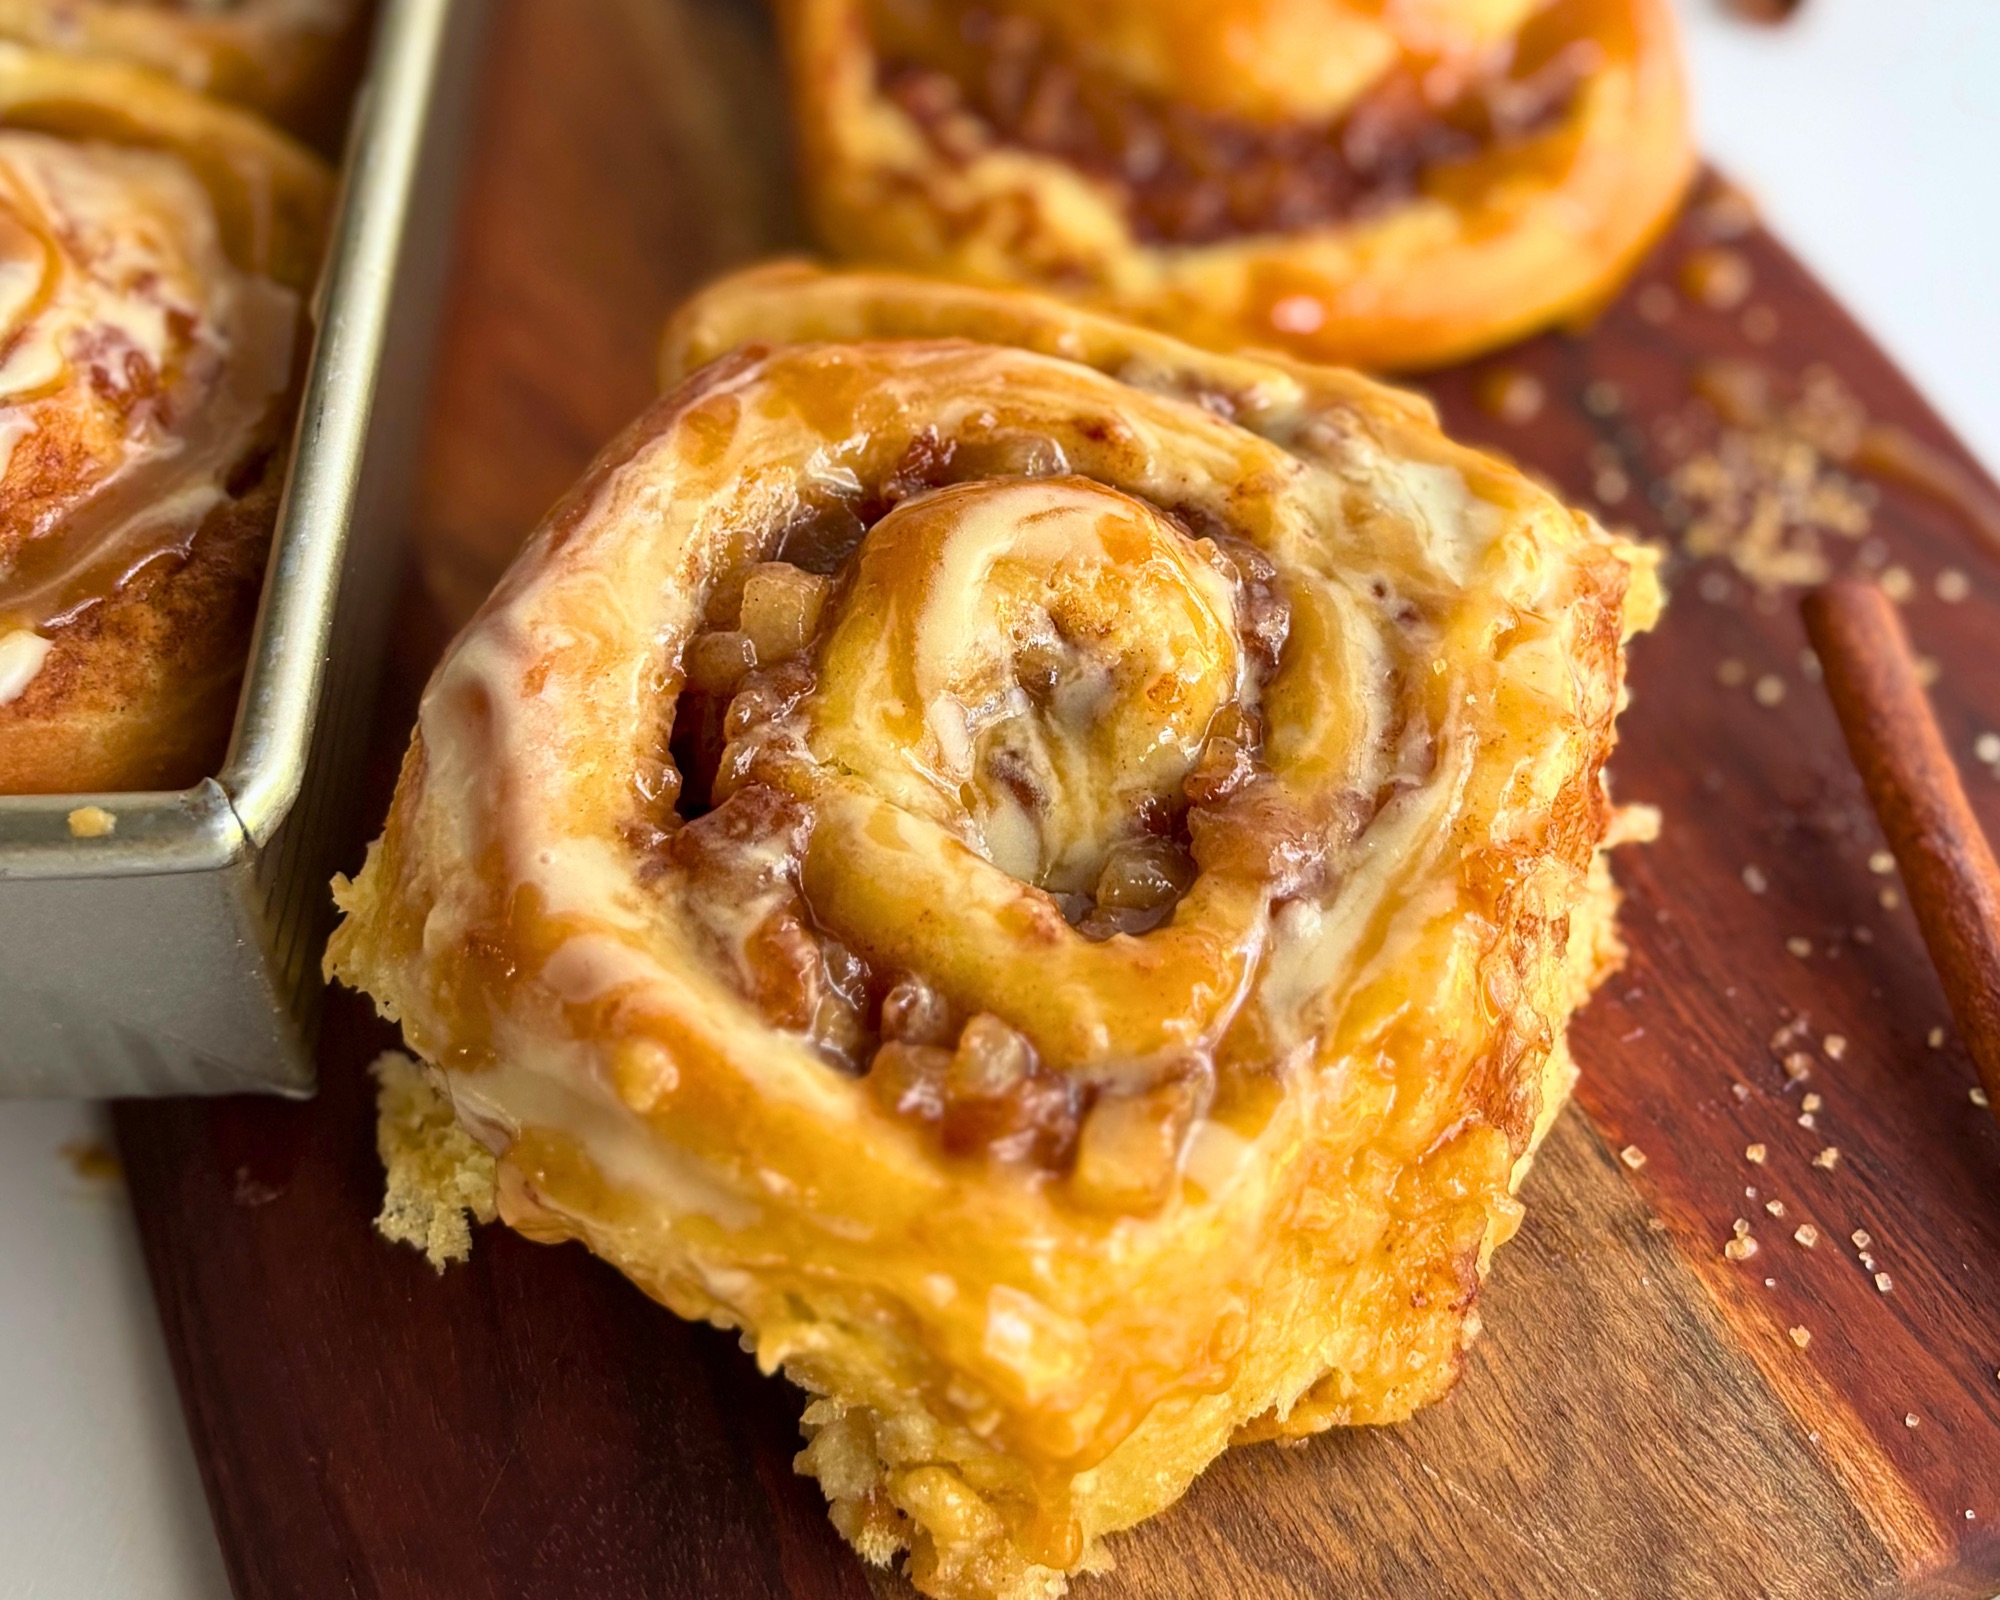
From garlic parmesan to cinnamon roll to caramel apple to jelly donut, the pull-apart focaccia series has grown into its own thing here at H3art of the Home. The recipe you are making right now is the starting point for all of it.


Have a Starter? Make the Sourdough Focaccia Instead
This same day recipe and the sourdough focaccia are intentional companions. Same hydration, same pan, same process. The only real difference is the leavener and the timeline. If you have an active sourdough starter and want to do an overnight room temperature ferment, the Sourdough Focaccia will give you a focaccia with more complexity and a longer shelf life.
If you want focaccia today without the wait, you are already in the right place.

Ways to Use This Focaccia
Once you have a pan of this baked and cooled, the plain loaf is just the starting point. Here are two of our favorite ways to take it further.
Focaccia Pizza Sticks. This is the easiest summer lunch I have made in a long time, and my boys demolished them. Slice the baked focaccia into strips, cut each strip in half lengthwise so the crumb side faces up, then top with pizza sauce, mozzarella, pepperoni, and whatever else your family likes. A few minutes under the broiler and you have crispy, chewy pizza sticks worth making every week. Find the full recipe here: Focaccia Pizza Squares
Sourdough Focaccia. Have an active starter? The overnight version of this recipe uses the same method and bakes up just as golden and pillowy, with the deeper flavor that comes from a long ferment. Find it here: Sourdough Focaccia

Shop This Recipe
These are the tools and ingredients I use and recommend for this focaccia. Product links are affiliate links, which means I may earn a small commission at no extra cost to you.
9×13 Light Colored Aluminum Baking Pan A lighter pan gives you better control over how quickly the bottom browns. Dark pans retain more heat and can over crisp the bottom before the top is done.
Extra Virgin Olive Oil Use one you would be happy to dip bread into. The flavor carries through into the final loaf.
Flaky Sea Salt Maldon is the classic choice. The large flakes stay visible on top and give you that satisfying crunch in every bite.
Danish Dough Whisk Makes mixing a high hydration dough significantly easier than a spoon or spatula. This is my favorite one.
Digital Kitchen Scale Baking by weight is the only way to get consistent results. Volumetric measuring for a high hydration dough leaves too much room for error.
FAQ
Can I use all purpose flour instead of bread flour?
You can, and the focaccia will still bake up soft and delicious. Bread flour has a higher protein content, which gives the dough more structure and a chewier crumb, and it absorbs more liquid at this hydration. If all purpose is what you have, it will work, but know the texture will be a little softer and the rise less dramatic.
What water temperature should I use for the yeast?
Check the back of your yeast packet, because every brand is different. I used 120 degree F water for the yeast I baked with. When the yeast goes straight into the flour rather than being bloomed separately, warmer water in the range your packet recommends is correct and will not harm it.
Can I use active dry yeast instead of instant yeast?
Yes. Use the same amount, 5 grams, or a touch more if you want insurance on the rise. The difference is that active dry needs to be bloomed first. Warm your water to about 100 to 110 degrees F, which is cooler than the temperature used for instant yeast, stir the active dry yeast into the water, and let it sit for about 10 minutes until it looks foamy and dissolved. Then add it to your flour and salt and mix as written. If it does not foam at all, your yeast may be dead or the water was too hot, so it is worth starting over with a fresh batch rather than risking a dough that will not rise.
How many stretch and fold sets do I really need?
I did three for the loaf in these photos and the gluten was developed perfectly. Three is usually enough. Let the dough guide you. If it still feels slack and weak after the third set, do a fourth. You are looking for smooth and elastic.
My dough was really wet and sticky. Did I do something wrong?
No. This is an 80% hydration dough, which means it is supposed to be very wet and sticky. Do not add more flour. Wet hands make it much easier to handle, and the high hydration is exactly what gives you that open, airy crumb. Gloves may be of help as well. And if you don’t feel comfortable, next time decrease your water to 375g.
Why is there so much oil in this recipe?
The oil in the bottom of the pan is what creates the signature crispy, almost fried bottom crust. The oil on top keeps the surface from drying out and creates those golden peaks between the dimples. This is not a recipe to reduce the oil on. It is doing real structural work, not just adding flavor.
How do I store leftover focaccia?
Store it at room temperature, well wrapped, for up to 2 days. To revive the crust, reheat in a 375 degree F oven for 5 to 8 minutes. Focaccia also freezes well. Freeze individual pieces wrapped tightly for up to 3 months and reheat from frozen at 375 degrees F for 10 to 12 minutes.
Can I add toppings before baking?
Absolutely. Fresh rosemary pressed into the dimples is the classic move. You can also add thinly sliced garlic, halved cherry tomatoes, olives, or caramelized onions before baking. Keep any toppings lightly coated in olive oil so they do not burn.

Let’s Hear From You
If you make this same day focaccia, I want to see it. Tag me on Instagram so I can share it, and leave a comment below letting me know how it turned out. Did you keep it plain with rosemary and salt, or take it somewhere else? Drop a star rating on the recipe card while you are here. It helps more people find this recipe, and I read every single comment.
Subscribe
I deliver new recipes every week straight to your email. I do not sell or use your information and I will not send you spam.



Leave a Reply