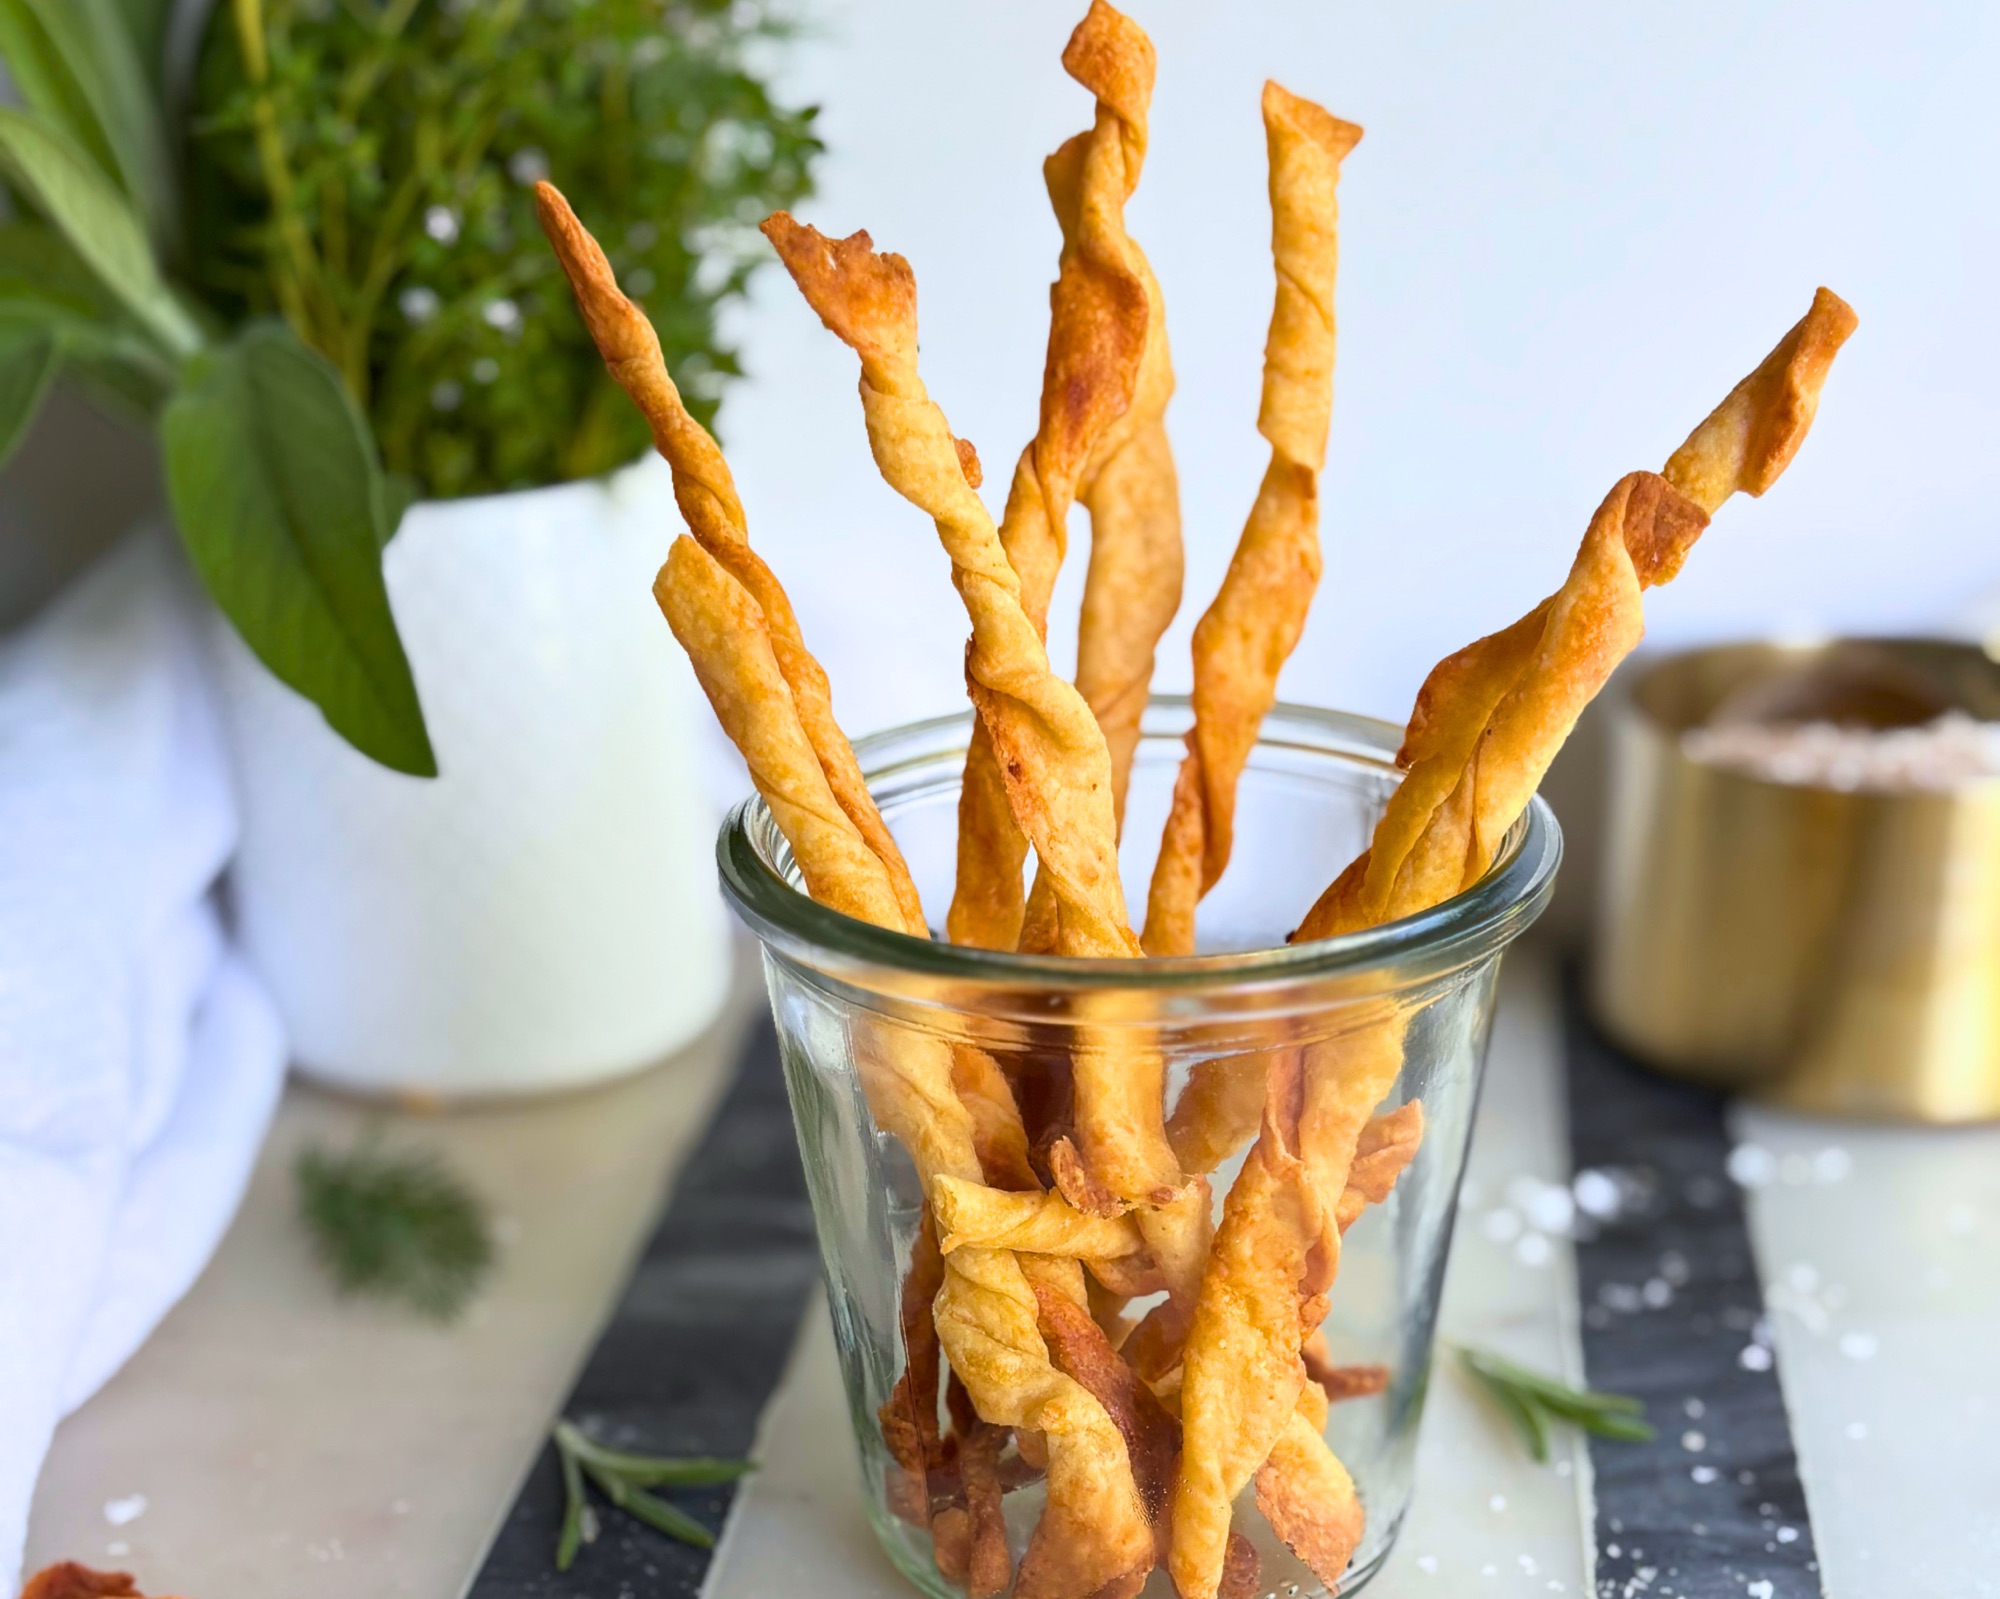
Crispy, twisted, and impossible to stop eating, these cottage cheese straws are a fun twist on the classic cheese straw. Made from the same dough as my cottage cheese crackers, just cut into strips and twisted, they bake up golden and crisp with flaky layers running through every bite. Make them with sourdough for a little fermented depth or keep it classic with none at all. Either way they have almost double the protein of a standard cheese straw, all from one simple ingredient.
Table of Contents
Why You Will Love These

Cheese straws are one of those snacks that instantly make a spread feel a little more special. They are a Southern classic, the kind of thing that shows up at holidays and parties and disappears in minutes. I wanted a version that kept all of that charm but worked a little harder, so I took the same dough from my cottage cheese crackers and shaped it into twists instead.
The result is everything I love about a cheese straw, crispy, cheesy, and fun to eat, with the bonus of extra protein from cottage cheese. My boys grab these by the handful, and they hold up beautifully on a snack board or alongside a bowl of soup. They also happen to look gorgeous standing up in a jar, which never hurts.
Best of all, if you have already made my cottage cheese crackers, you already know this dough. It is the exact same base, just cut and twisted a different way, which means one recipe gives you two completely different snacks.
What Makes These Different
Most cheese straws follow the same formula: butter cut into flour with shredded cheese. That makes a wonderful straw. But cottage cheese changes things in a few meaningful ways.
It replaces most of the butter. Full fat cottage cheese takes over as the main fat and moisture source, which gives these straws real substance and a satisfying crunch instead of just melting away.
It nearly doubles the protein of a standard cheese straw. A traditional cheese straw runs around 3 grams of protein per serving. These come in higher thanks to the cottage cheese and cheddar, with no protein powder and no additives. For a snack you reach for by the handful, that difference adds up.
The flavor is all cheese. You cannot taste the cottage cheese at all. What you get is sharp, savory, buttery cheese straw flavor with a crispy twist, exactly what you want.

Macros and Nutrition
Here is how these straws compare to a standard cheese straw, measured per 28 gram serving, which is about one ounce.
These cottage cheese straws, per 28 grams: around 105 calories, 5 grams of protein, 5 grams of fat, and 10 grams of carbohydrates.
A standard cheese straw, per 28 grams: around 150 calories, 3 grams of protein, 8 grams of fat, and 17 grams of carbohydrates.
That works out to roughly 60 percent more protein, about 30 percent fewer calories, and close to 40 percent fewer carbs, all from real food with no protein powder and no additives. The cottage cheese and cheddar do the heavy lifting, which is exactly why a handful of these holds you over better than the usual party snack.
These numbers are calculated estimates based on the specific brands I use, so your exact macros will shift a little depending on the cottage cheese, cheese, and flour you choose. If you track closely, run your ingredients through your favorite nutrition calculator for numbers tailored to your kitchen.
Ingredients

Full fat cottage cheese (4%): Blended completely smooth before it goes into the dough. Full fat is important here. Low fat cottage cheese contains more added water, which makes the dough stickier and harder to crisp up. I use Good Foods 4% cottage cheese.
Extra sharp cheddar: Grated from a block, never the pre shredded kind. Bagged shredded cheese contains anti caking agents that interfere with the dough texture and how the cheese melts into the straw. I use Kirkland grass fed sharp cheddar from Costco.
Unsalted butter: A small amount, just enough to support the fat structure alongside the cottage cheese and help with the final crispiness.
All-purpose flour: The base. Bread flour is an equal 1 to 1 substitute and will give you a marginally sturdier, crispier straw thanks to its higher protein content.
Sourdough (optional): Discard or active peak starter both work here and are interchangeable, so use whatever you have on hand. Sourdough adds a subtle fermented depth and helps the dough come together. It is completely optional. If you want to skip it entirely, see the classic version section below. If you want to build and maintain a starter, my Complete Sourdough Starter Guide walks you through everything from scratch.
Seasonings: Kosher salt, garlic powder, dry mustard powder, and smoked paprika. The mustard powder in particular adds a depth that makes these taste rich and savory.
Flaky sea salt for topping: Do not skip this. It is the finishing touch that makes every straw look intentional and taste complete.
Cheese Variations
Extra sharp cheddar is the classic choice, but this dough is a great base for experimenting. A few combinations worth trying:
Gruyere: Nutty, slightly sweet, melts beautifully into the dough. Pairs really well with the mustard powder already in the recipe.
Pepper jack: Adds heat and a little smokiness. Great if your family likes a spicier snack.
Smoked gouda: Smoky, rich, and a little different. Cut back on the smoked paprika if you go this route since the cheese brings that flavor on its own.
Parmesan: A harder, saltier option that leans into the traditional cheese straw flavor. Works well as the sole cheese or mixed in equal parts with cheddar.
Colby jack: Milder than extra sharp cheddar, good for kids or anyone who wants a less intense cheese flavor.
Whatever cheese you use, grate it yourself from a block for the best result.
Fermentation Options
If you are making the sourdough version, you have two solid options depending on how much time you have.
Quick chill: Make the dough, divide it into four portions, wrap tightly, and refrigerate for a minimum of 45 minutes to 1 hour. The dough will be firm enough to roll and the flavors will be good. This is a great same day option when you want straws without much planning.
Overnight long ferment: Refrigerate the wrapped dough for 12 to 48 hours. The longer the dough ferments, the deeper the flavor gets, and the fermentation benefits from the sourdough culture have more time to develop. If you have the patience, the overnight version is noticeably better.
Discard and active peak starter are interchangeable here, so reach for whichever you have. Active starter adds a slightly more pronounced flavor and a little extra lift. Both work beautifully.
How to Make Cottage Cheese Straws
Step 1: Blend the cottage cheese
Add the cottage cheese to a small blender or personal blender and blend for about 60 seconds until completely smooth with no visible curds. It should look like thick sour cream. This step is non negotiable. If the curds stay intact they will create inconsistencies in the dough and affect the final texture of the straws.

Step 2: Make the dough
Add the blended cottage cheese, finely grated cheddar, softened butter, and sourdough if using to a food processor. Pulse 8 to 10 times until everything comes together. Add the flour, salt, garlic powder, mustard powder, and smoked paprika. Pulse until the dough just comes together into a shaggy ball. Do not overmix. Overworked dough develops too much gluten and produces a tough straw instead of a crispy one.
Step 3: Divide and chill
Turn the dough out onto a lightly floured surface and divide it in half, then cut each half in half again so you have four equal portions. Working in smaller portions gives you much better control when rolling. Press each into a flat disc, wrap tightly in plastic wrap, and refrigerate for at least 45 minutes or up to 48 hours.
Step 4: Preheat
Standard oven: 375 degrees F. Convection oven: 350 degrees F. The convection fan circulates heat actively, so you do not need the extra temperature on top of it. Line two baking sheets with parchment paper.
Step 5: Rest and roll
Remove one dough portion from the refrigerator and let it rest at room temperature for 15 minutes before rolling. This relaxes the gluten and makes the dough cooperative. Keep the remaining portions cold until you are ready for them.
Flour the dough well. Roll it out as thin as you possibly can, about 1/16 inch, since the thinness of the dough is what gives you a crispy straw. You can roll by hand between two sheets of parchment, or run it through a pasta machine starting at setting 1, then 3, then 5, flouring lightly before each pass.
Step 6: Cut and twist
Using a pizza cutter or pastry wheel, cut the rolled dough into 1/2 inch wide strips. Pick up each strip and twist it a few times into a spiral, then lay it on the parchment lined sheet. The length is flexible, so cut them shorter or longer to your liking. Once twisted they shrink up into the perfect grabbable straw. No docking needed since the twisted shape holds its own. Sprinkle with flaky sea salt.

Step 7: Bake
Bake for 15 to 20 minutes until golden and crisp. Start checking at 15 minutes. Because the twisted shape is a little thicker than a flat cracker, watch for them to turn deeply golden and firm all the way through. Ovens that run hot will finish closer to 15, while cooler ovens may need the full 20.

Step 8: The oven off trick
For maximum crunch, turn the oven off and leave the straws inside for an additional 5 minutes as the oven cools down. This pulls out any remaining moisture without letting them brown too much. Watch closely if you are using convection. The retained heat is more intense and 5 minutes is all you need.
Step 9: Cool completely
Transfer to a wire rack and cool completely before eating or storing. The straws continue to crisp as they cool. Do not store them warm or they will steam themselves soft.
Classic Version, No Sourdough
No sourdough? No problem. These straws are just as crispy and delicious without it. Here is exactly what changes:
- Omit the sourdough entirely
- Increase the cottage cheese by 50g, blended smooth as always
- Increase the all-purpose flour by 50g
That is the only adjustment. The extra cottage cheese and flour replace the moisture and structure the sourdough would have provided, so your dough comes together the same way and rolls out beautifully.
When you mix the dough in the food processor, simply add the blended cottage cheese, cheddar, and butter, then pulse and continue with the dry ingredients exactly as written. There is no sourdough to add.
The one thing you can skip is the long ferment. Since there is no sourdough culture to develop, you do not need the overnight rest. Just chill the wrapped dough for 45 minutes to 1 hour to firm it up and make it easy to roll, then pick right back up at the rest and roll step. Everything from there is identical.
The flavor will be slightly milder without the fermented note, but the straws will be every bit as crispy, cheesy, and snackable.
Tips for the Crispiest Straws
Roll thin. This is the single most important factor. The thinner the dough, the crispier the straw. Aim for 1/16 inch, and go thinner than you think you need to.
Use full fat cottage cheese. Low fat versions have more added water and fight against crispiness at every step.
Chill the dough. Do not try to rush this step. Cold dough is manageable dough. Warm dough sticks, tears, and does not twist cleanly.
Rest before rolling. After the dough comes out of the refrigerator, give it 15 minutes before you start rolling. Cold dough straight from the fridge is too stiff and will spring back on you.
Twist with a light hand. A few turns is all you need. Too tight and the straw can crack, too loose and it will not hold the spiral.
Use convection if you have it. Drop the temperature to 350 degrees F and let the fan do the work. The circulating air pulls moisture out of the straws and produces a more even bake.
Do not skip the cool. Straws finish crisping on the wire rack after they come out of the oven. Give them time.
Storage
Store completely cooled straws in an airtight container at room temperature for up to 5 days. They stay wonderfully crisp, and they look beautiful stored upright in a glass jar on the counter.
If they soften slightly over time, and humidity is the enemy of anything crispy, spread them on a baking sheet and warm at 350 degrees F for 5 minutes, then cool completely on a wire rack. They will come right back to crispy.
The unbaked dough keeps in the refrigerator for up to 48 hours, so you can make the dough ahead and bake fresh straws when you need them. They are perfect for making just before guests arrive.
FAQ
Do I need sourdough to make these?
No. The sourdough is completely optional. To make the classic version, omit it and add an extra 50g of blended cottage cheese and 50g of all-purpose flour. See the classic version section above for the full adjustment.
Can I use discard or active starter?
Either one. Discard and active peak starter are interchangeable in this recipe, so use whatever you have. Active starter adds a slightly more pronounced fermented flavor.
Can I make these gluten free?
Yes. A 1 to 1 gluten free flour blend is an equal substitute for the all-purpose flour in this recipe. Bob’s Red Mill 1 to 1 Baking Flour works well.
What is the difference between these and cheese crackers?
It is the exact same dough. For crackers you cut the dough into squares and bake them flat. For straws you cut strips and twist them. One dough, two completely different snacks. You can find my full cottage cheese crackers recipe on the blog.
Can I use a different cheese?
Yes. Gruyere, pepper jack, smoked gouda, parmesan, and colby jack all work. See the cheese variations section above for more detail. Always grate from a block.
How long do they stay crisp?
Stored in an airtight container at room temperature, they stay crisp for days. If they ever soften, a quick 5 minute warm up in a 350 degree oven brings them right back.
Can I freeze them?
The baked straws are best kept at room temperature. You can freeze the unbaked twisted dough on a tray, then bake from frozen, adding a couple extra minutes to the bake time.
Recipe

Cottage Cheese Straws
Equipment
- Food processor
- Small blender
- Rolling pin or pasta machine
- Baking sheets
- Parchment paper
- Pizza cutter or pastry wheel
- Wire cooling rack
Ingredients
- 113 grams full fat cottage cheese blended smooth (1/2 cup)
- 113 grams extra sharp cheddar finely grated (1 cup)
- 28 grams unsalted butter softened (2 tablespoons)
- 120 grams all-purpose flour 1 cup
- 100 grams sourdough discard or active starter scant 1/2 cup, see notes for non sourdough adjustment
- 1.5 grams kosher salt 1/2 teaspoon
- garlic powder 1/2 teaspoon
- dry mustard powder 1/4 teaspoon
- smoked paprika 1/4 teaspoon
- flaky sea salt for topping 1 teaspoon
Instructions
- Add the cottage cheese to a small blender and blend for about 60 seconds until completely smooth with no visible curds. It should look like thick sour cream. Smooth cottage cheese keeps the dough consistent and the texture even.
- Add the blended cottage cheese, grated cheddar, softened butter, and sourdough to a food processor. Pulse 8 to 10 times until combined. Add the flour, kosher salt, garlic powder, mustard powder, and smoked paprika. Pulse just until the dough comes together into a shaggy ball. Do not overmix or the straws will be tough.
- Turn the dough out and divide it in half, then cut each half in half again so you have four equal portions. Working in smaller portions gives you better control when rolling. Press each into a flat disc, wrap tightly, and refrigerate for at least 45 minutes or up to 48 hours.
- For a standard oven, preheat to 375 degrees F. For a convection oven, preheat to 350 degrees F since the fan circulates heat. Line two baking sheets with parchment paper.
- Remove one dough portion and let it rest at room temperature for 15 minutes before rolling. This relaxes the gluten and makes the dough easier to work with. Keep the other portions cold.
- Flour the dough well. Roll it out as thin as you possibly can, about 1/16 inch, since the thinness of the dough is what gives you a crispy straw. You can roll by hand between two sheets of parchment, or run it through a pasta machine starting at setting 1, then 3, then 5, flouring lightly before each pass.
- Using a pizza cutter or pastry wheel, cut the rolled dough into 1/2 inch wide strips. Pick up each strip and twist it a few times into a spiral, then lay it on the parchment lined sheet. The length is flexible, so cut them shorter or longer to your liking. Sprinkle with flaky sea salt.
- Bake for 15 to 20 minutes until golden and crisp all the way through. Start checking at 12-15 minutes. Because the twisted shape is thicker than a flat cracker, watch for them to turn deeply golden and firm. Ovens that run hot will finish closer to 15, while cooler ovens may need the full 20.
- Turn the oven off and leave the straws inside for 5 more minutes to pull out the last of the moisture. Watch closely if using convection since the retained heat is more intense.
- Transfer to a wire rack and cool completely. The straws continue to crisp as they cool. Do not store them warm or they will steam soft.
Notes
Shop This Recipe
These are the tools I reach for every time I make a batch. A few of them do real work toward getting that crispy, even result.
Food processor makes the dough come together in seconds and blends everything evenly without overworking it.
Pasta roller is my secret weapon for thin, even dough and it is surprisingly inexpensive at around $30. It gives you consistent thickness every time, which is the key to even crisping. You do not need it since you can hand roll, but it makes the job faster and more uniform.
Small blender is what I use to get the cottage cheese completely smooth. A personal sized blender works better than a large one for a small amount.
Rolling pin is all you need if you are skipping the pasta roller. Roll between parchment for the easiest handling.
Parchment paper keeps the straws from sticking and makes cleanup simple.
Baking sheets give the twisted straws room to bake evenly.
Pastry wheel gives you clean edges on your strips, though a pizza cutter works just as well.
Wire cooling rack lets air circulate underneath so the straws finish crisping as they cool.
Flaky sea salt is the finishing touch on top that makes every straw taste complete.
Weck jars are my favorite way to store and display them, standing tall on the counter.
More Recipes You Will Love
If you love a snack that puts simple ingredients to good use, here are a few more worth bookmarking:
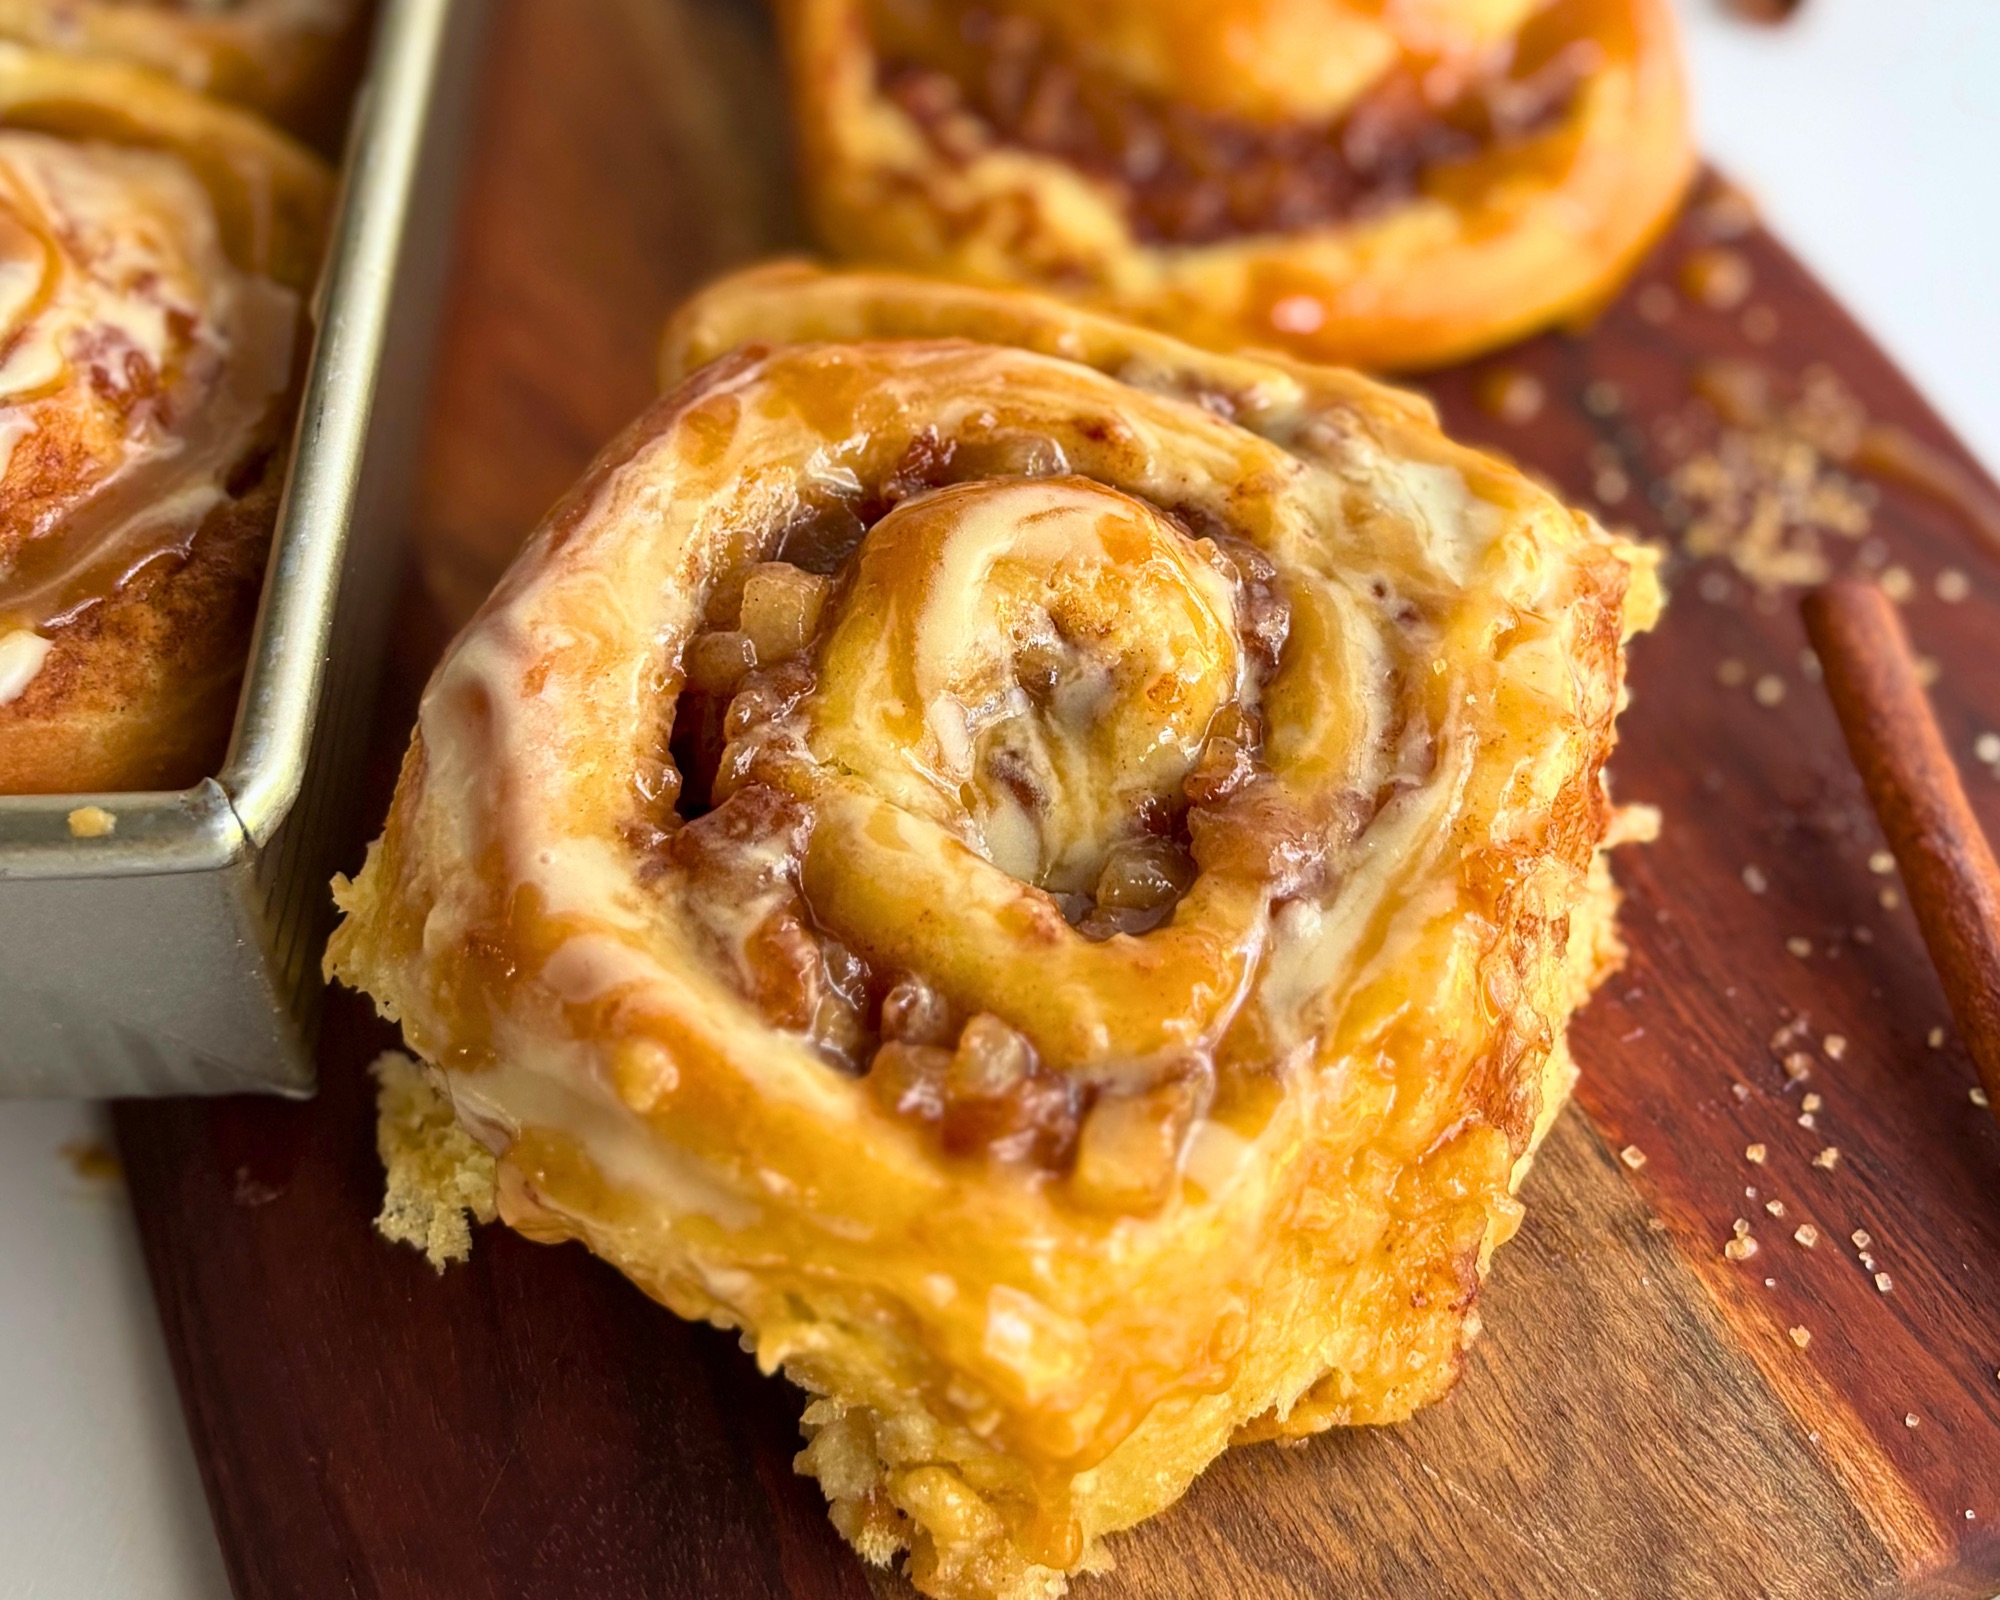
High Protein Sourdough Cinnamon Rolls are long fermented, pillowy and gooey with a silky cream cheese glaze, and pack 12 grams of protein per roll.
The High Protein Yeasted Cinnamon Rolls are the same concept with a same day timeline and no starter required.
If you are new to sourdough, How to Create a Thriving Sourdough Starter walks you through everything from scratch with minimal waste and maximum flavor.
Subscribe
Want new recipes straight to your inbox every week? From high protein bakes to sweet treats to hearty meals, I share something new every week. No spam, ever, and I will never sell your information. Just good food delivered straight to you.
This post contains affiliate links. If you click through and make a purchase, it costs you nothing extra, but it does help support the recipes I create here at H3art of the Home. Thank you for being here.





Leave a Reply