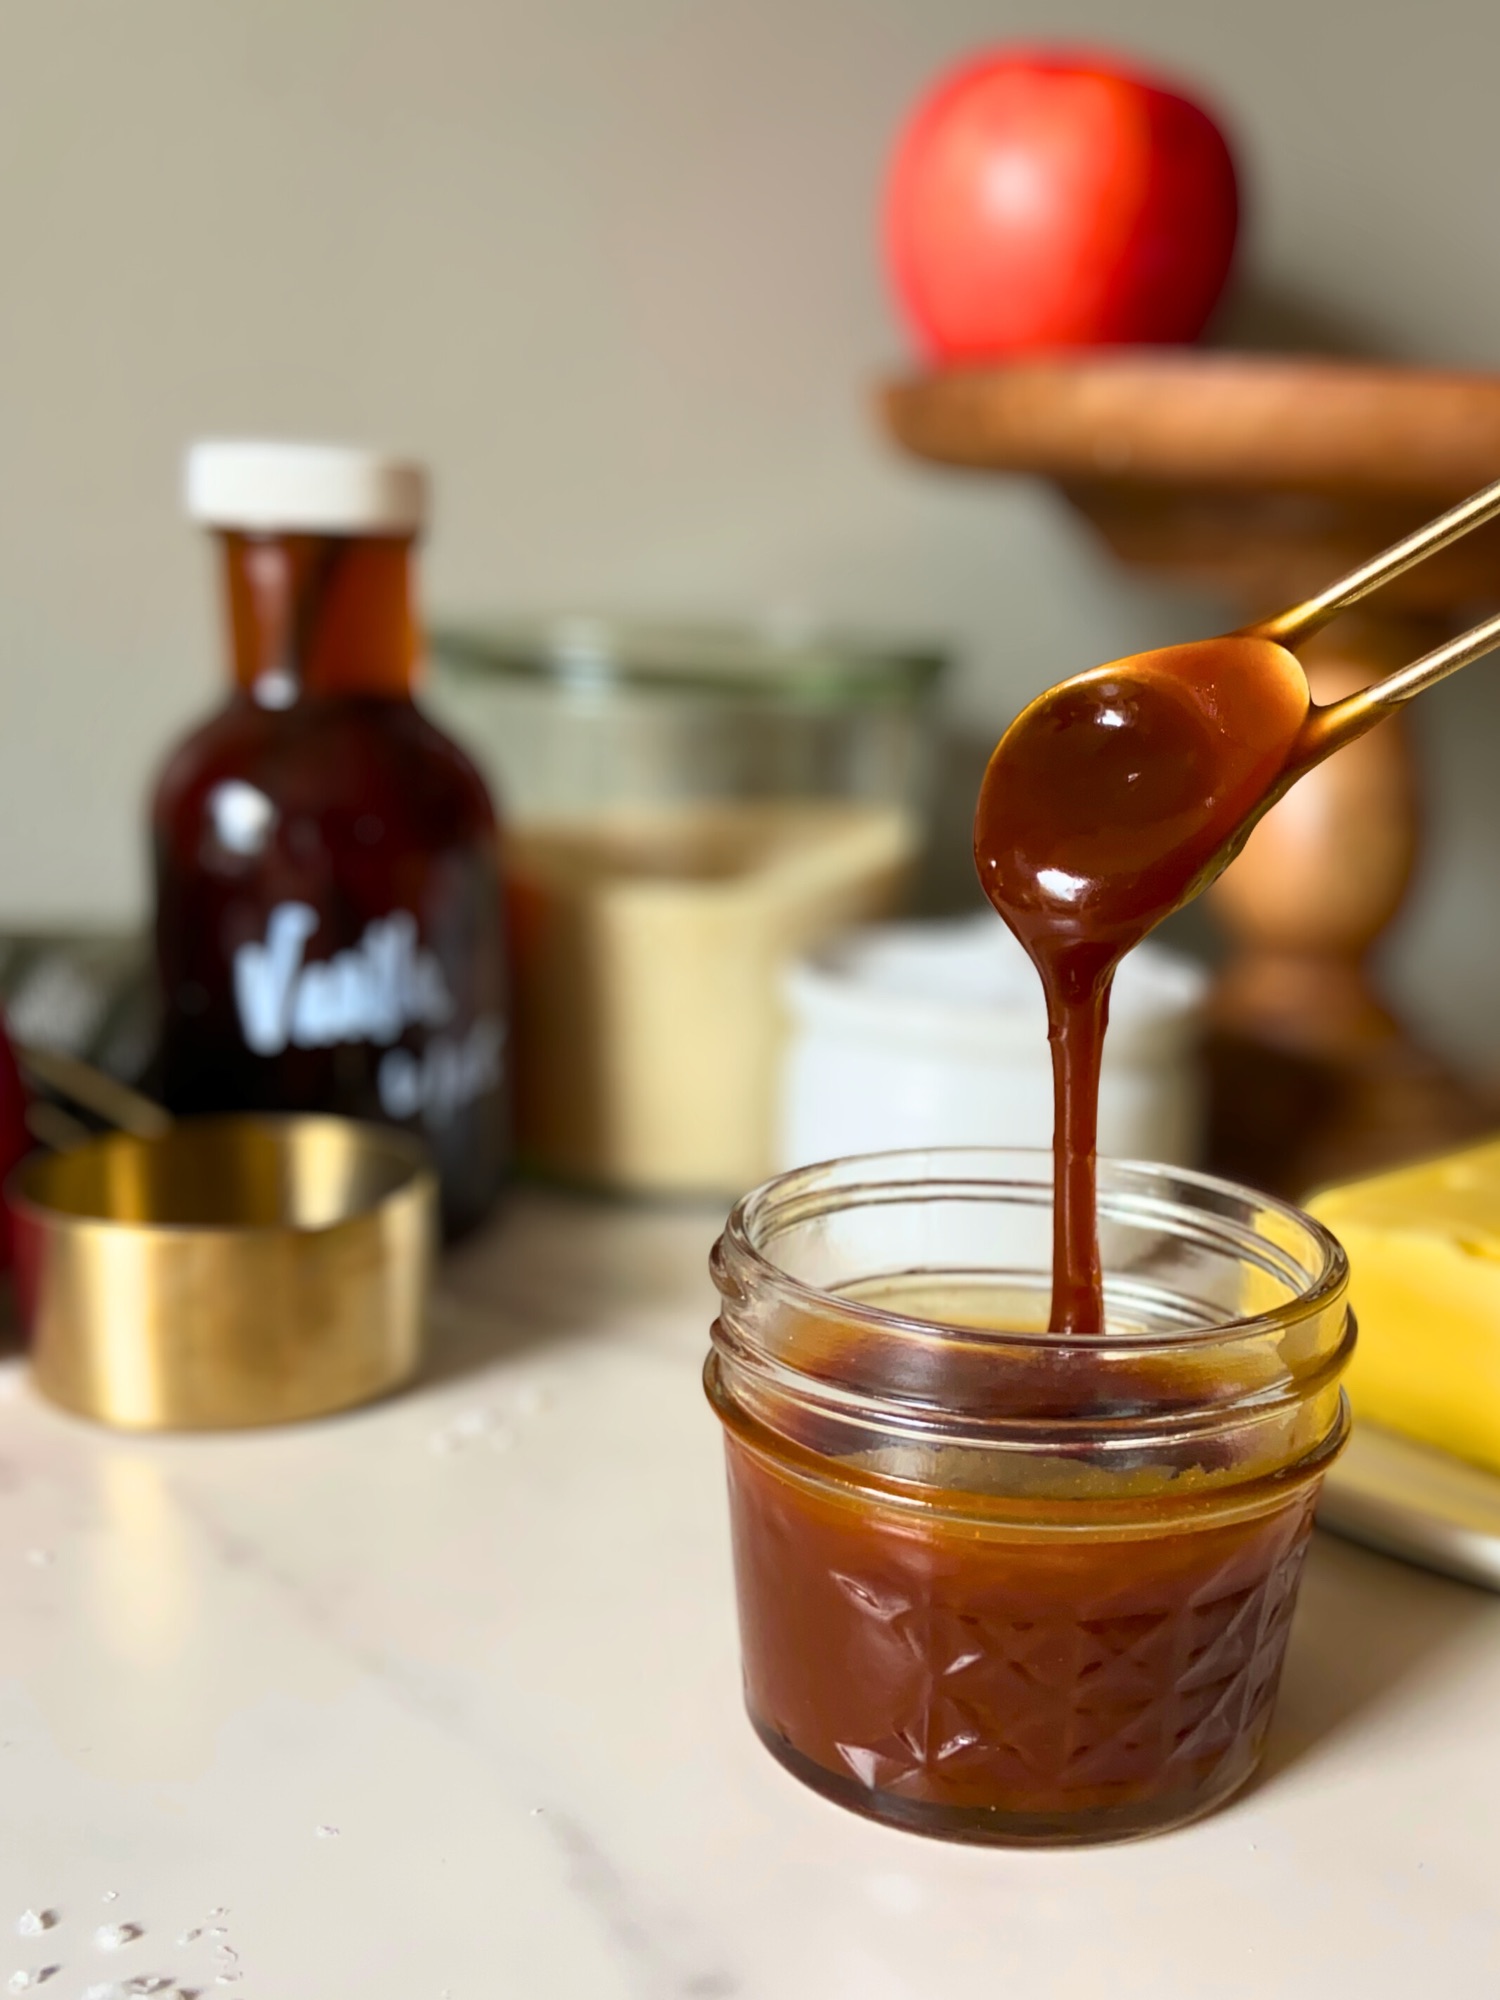
Traditional caramel asks you to stand over a pot with a candy thermometer and a fair amount of nerve, which is a lot more commitment than I want when all I really need is a drizzle for a pan of apple focaccia or a bowl of homemade ice cream. What I was after was a small batch caramel sauce I could make on a whim, using ingredients already sitting in my kitchen, without scrubbing a sticky saucepan afterward, and the microwave turned out to be exactly the right tool for the job.
This easy microwave caramel sauce comes together in one glass bowl with about 2 to 3 minutes of actual cook time, needs no thermometer at all, and turns out smooth, glossy, and rich whenever you follow the color cues. It is the same caramel that finishes my Caramel Apple Pie Pull-Apart Focaccia, and below I walk you through exactly what to look for at every stage so your very first batch turns out as well as your tenth.
Table of Contents
- Why You Will Love This Caramel Sauce
- Ingredient Notes
- The Bowl Matters More Than You Think
- How to Make Caramel in the Microwave
- How to Tell When Your Caramel Is Ready
- Microwave Caramel Sauce Recipe
- Expert Tips
- Troubleshooting
- Ways to Use Your Caramel Sauce
- Variations
- Storage and Reheating
- Frequently Asked Questions
- More Recipes to Pair With Caramel
- Made This Recipe?
- Subscribe
Why You Will Love This Caramel Sauce

- It is ready in about 5 minutes from start to finish, and only 2 to 3 of those minutes are spent in the microwave, so it slips easily into a busy baking day.
- You do not need a candy thermometer, because the color of the sugar tells you everything you need to know, and the photos below show exactly what each stage looks like.
- It is a true small batch that makes about 6 tablespoons, which is plenty for a pan of rolls or a few bowls of ice cream without leaving you with a big jar to work through.
- There is no pot to scrub afterward, since everything happens in one glass bowl that soaks clean with nothing more than hot water.
- It uses six simple ingredients that most kitchens already have on hand, and it is naturally gluten free.
Ingredient Notes
Every ingredient in this caramel has a specific job, and the exact amounts are in the recipe card below, so here is why each one is there and what to keep in mind when you gather them.
Granulated sugar is the caramel itself, and plain white sugar melts cleanly and lets you judge the color accurately as it cooks, which is the whole secret to getting this right without a thermometer.
Water is what makes this the wet method of caramelization, where the sugar dissolves into a syrup before it starts to brown. That syrup heats far more evenly than dry sugar would, and the small amount used here cooks off completely by the time the caramel is ready.
Heavy cream turns hardened sugar into a pourable sauce, and it has to be warm when it goes in. Cold cream hitting sugar that is well above boiling will make the caramel seize into hard clumps and sputter far more than it needs to.
Unsalted butter goes in after the cream and gives the sauce its gloss and rounded richness. Room temperature butter melts almost instantly into the hot caramel, and if salted butter is all you have, you can use it and cut the added salt down to a pinch.
Salt and vanilla go in last and are what take this from sweet to genuinely caramel flavored, with the salt sharpening the toasty notes and the vanilla rounding everything out.
The Bowl Matters More Than You Think
The single most important piece of equipment for this recipe is the bowl, and the right one makes the whole process easier. You want a large, clear glass or light colored ceramic bowl that is microwave safe and has tall sides, ideally one that holds at least 2 cups, even though the batch itself is small.
A clear or light bowl lets you see the exact moment the syrup starts to turn golden, which is nearly impossible to judge in a dark bowl. The tall sides matter because caramel bubbles up dramatically, both while it cooks and again when the cream goes in, and a roomy bowl keeps all of that contained. Skip plastic entirely, since cooking sugar gets far hotter than boiling water and can warp or damage it.
Beyond the bowl, you only need a whisk, a pair of oven mitts, and a heat safe spot on the counter to set the bowl down, because the glass gets extremely hot and stays that way for several minutes.
How to Make Caramel in the Microwave
This is the process at a glance along with the reasoning behind each step, and the recipe card below has the exact amounts, intervals, and order for you to follow while you cook.
Warm the cream before anything else. Once the sugar is ready, things move quickly, so heating the cream first and lining up the butter, salt, and vanilla beside the microwave means you are never scrambling while hot sugar sits waiting in the bowl.
Add the water first, then pour the sugar into the center, and do not stir. This is the step that protects you from grainy caramel. Stirring splashes sugar crystals up onto the sides of the bowl, where they stay dry and undissolved, and a single stray crystal can fall back in and cause the whole batch to crystallize. Pouring the sugar gently into the middle of the water lets it settle and dissolve on its own as it heats.

Microwave in shorter and shorter intervals. The syrup spends the first stretch of time just boiling off water and looks like nothing is happening, and then it starts to color very quickly. Starting with a longer interval and then shrinking your check ins as you get closer gives you plenty of chances to catch it at the right moment.
Pull it early and let it rest. The sugar keeps cooking from its own heat after it comes out of the microwave, so you stop at a light honey gold and let a one minute rest carry it the rest of the way to a deep amber. This is what keeps you from going past caramel and into burnt.
Add the warm cream slowly, then the butter, then the salt and vanilla. The cream goes in a little at a time with constant whisking, because it will bubble up and steam hard the moment it hits the sugar. Once the cream is fully incorporated and the sauce is smooth, the butter follows for gloss, and the salt and vanilla go in last.

Let it cool before you judge the thickness. Right after the butter goes in, the sauce looks thin and runny, and that is completely normal. It thickens a great deal as it cools, so give it a few minutes before deciding it needs anything else.
How to Tell When Your Caramel Is Ready

This photo shows my batch at 1 minute, 1½ minutes, 2 minutes, and 2¼ minutes, and it is the best guide you will have, since the color is your thermometer in this recipe. For the first minute or two the syrup bubbles hard and stays clear, and then the edges start to pick up a pale golden tint that spreads quickly toward the center.
The moment the whole pool of syrup turns a light honey gold, stop the microwave and take the bowl out. My batch reached that point at exactly 2 minutes and 25 seconds, but microwaves vary widely in wattage, so watch the color rather than the clock and expect yours to land somewhere between 2 and 3 minutes.
During its one minute rest on the counter, the caramel will keep darkening to a rich amber brown, which is exactly the color you want before the cream goes in. If the syrup is already dark amber when it comes out of the microwave, or it smells sharp and smoky instead of toasty and sweet, it has gone too far and will taste bitter, so it is best to start a fresh batch and pull the next one a little sooner.
Microwave Caramel Sauce Recipe
Everything you need is in the printable card below, including the gram weights with cup and spoon measurements, the exact microwave intervals, and my notes on bowls, wattage, and storage.

Easy Microwave Caramel Sauce
Equipment
- Large microwave-safe glass or ceramic bowl (at least 2-cup capacity with high sides)
- Whisk or spoon for stirring
- Small saucepan (for warming cream) OR microwave-safe measuring cup
- Oven mitts or heat-resistant gloves
- Measuring cups and spoons (or kitchen scale for precise measurements)
- Storage jar or airtight container
Ingredients
- 67 g granulated sugar 1/3 cup
- 20 g water 1 tablespoon + 1 teaspoon
- 30 g heavy cream, warmed 2 tablespoons
- 15 g unsalted butter, room temperature 1 tablespoon
- 1 g salt 1/4 teaspoon
- 2.5 g vanilla extract 1/2 teaspoon
Instructions
Warm the Cream
- Heat the 30 g heavy cream in the microwave or in a small saucepan until it is hot but not boiling, then keep it warm. Measure the butter, salt, and vanilla and set them beside the microwave so they are ready the moment the caramel is.
Combine Sugar and Water
- Add the water, then the sugar. Pour the 20 g water into a large, clear, microwave safe glass or ceramic bowl first, then slowly pour the 67 g granulated sugar into the center of the water. Do not stir, just place the bowl directly into the microwave.
Microwave in Intervals
- Microwave on HIGH for 1 minute. Check the mixture – it should be bubbling. Continue microwaving in 30-second intervals, checking after each interval. Once you pass the 2-minute mark, switch to 15-second intervals. Stop immediately when the mixture turns honey-gold in color. Total time should be approximately 2-3 minutes depending on your microwave wattage.
Let It Rest
- Remove the bowl from the microwave using oven mitts (it will be extremely hot!). Let it sit undisturbed for about 1 minute. The caramel will continue to darken from carryover heat to a rich amber-brown color. Do not skip this step!
Add Warm Cream
- Slowly pour in the warm cream about 1 tablespoon at a time, whisking constantly. The caramel will bubble and steam vigorously, so keep your face and hands back from the bowl. Keep whisking until all of the cream is incorporated and the sauce is smooth.
Add Butter and Flavorings
- Add the 15 g butter and whisk until it is completely melted and the sauce is glossy. Finish with salt and vanilla. Whisk in the 1 g salt and 2.5 g vanilla until smooth.
Cool and Serve
- Allow the caramel sauce to cool for a few minutes. The sauce will seem thin at first but will thicken as it cools to the perfect drizzling consistency. Use immediately or store in the refrigerator.
Notes
Expert Tips
- Stay at the microwave once you pass the 2 minute mark, because sugar can go from honey gold to burnt in a matter of seconds, and this is the one part of the recipe where walking away will cost you the batch.
- Make sure your microwave turntable is spinning, and if your microwave does not have one, pause and rotate the bowl by hand between intervals so the syrup colors evenly.
- Keep the cream hot right up until it goes in, since cream that has cooled back down on the counter is more likely to make the caramel seize.
- Add the cream a tablespoon at a time, whisking the whole time, so the steam and bubbling stay manageable and the sauce comes together smoothly.
- Make two batches rather than doubling one, because this recipe is sized to heat evenly in the microwave, and a larger amount of syrup is much harder to color evenly.
- Clean the bowl by filling it with hot water and letting it sit for a few minutes, and any hardened caramel will dissolve right off without any scrubbing.
Troubleshooting
My caramel turned grainy or crystallized. Sugar crystals made their way onto the sides of the bowl, which almost always happens from stirring the sugar and water before cooking. For your next batch, add the water first, pour the sugar gently into the center, and put the bowl straight into the microwave without touching it.
My caramel tastes bitter or burnt. The syrup cooked past honey gold before it came out, and the carryover heat during the rest pushed it even further. Pull the next batch as soon as the whole pool turns light gold and trust the resting minute to deepen the color for you.
My caramel seized into hard clumps when I added the cream. The cream was most likely too cool, or it went in too quickly. Warm the bowl in the microwave for a few seconds at a time, whisking well between each burst, and the hardened sugar should melt back into the sauce.
My caramel is too thin. Give it time to cool completely, since it thickens a lot as it sits. If it is still too thin once cool, microwave it briefly in short bursts to cook off a little more liquid, watching closely the whole time.
My caramel is too thick after chilling. This is normal for caramel straight from the fridge, and a quick 15 to 20 seconds in the microwave will bring it right back to a pourable consistency.
My caramel bubbled up over the sides. The bowl was too small or too shallow for the amount of foaming that happens, especially when the cream goes in, so switch to a larger bowl with taller sides for the next batch.
Ways to Use Your Caramel Sauce

- Pour it over a pan of sweet focaccia, the way I do on my Caramel Apple Pie Pull-Apart Focaccia.
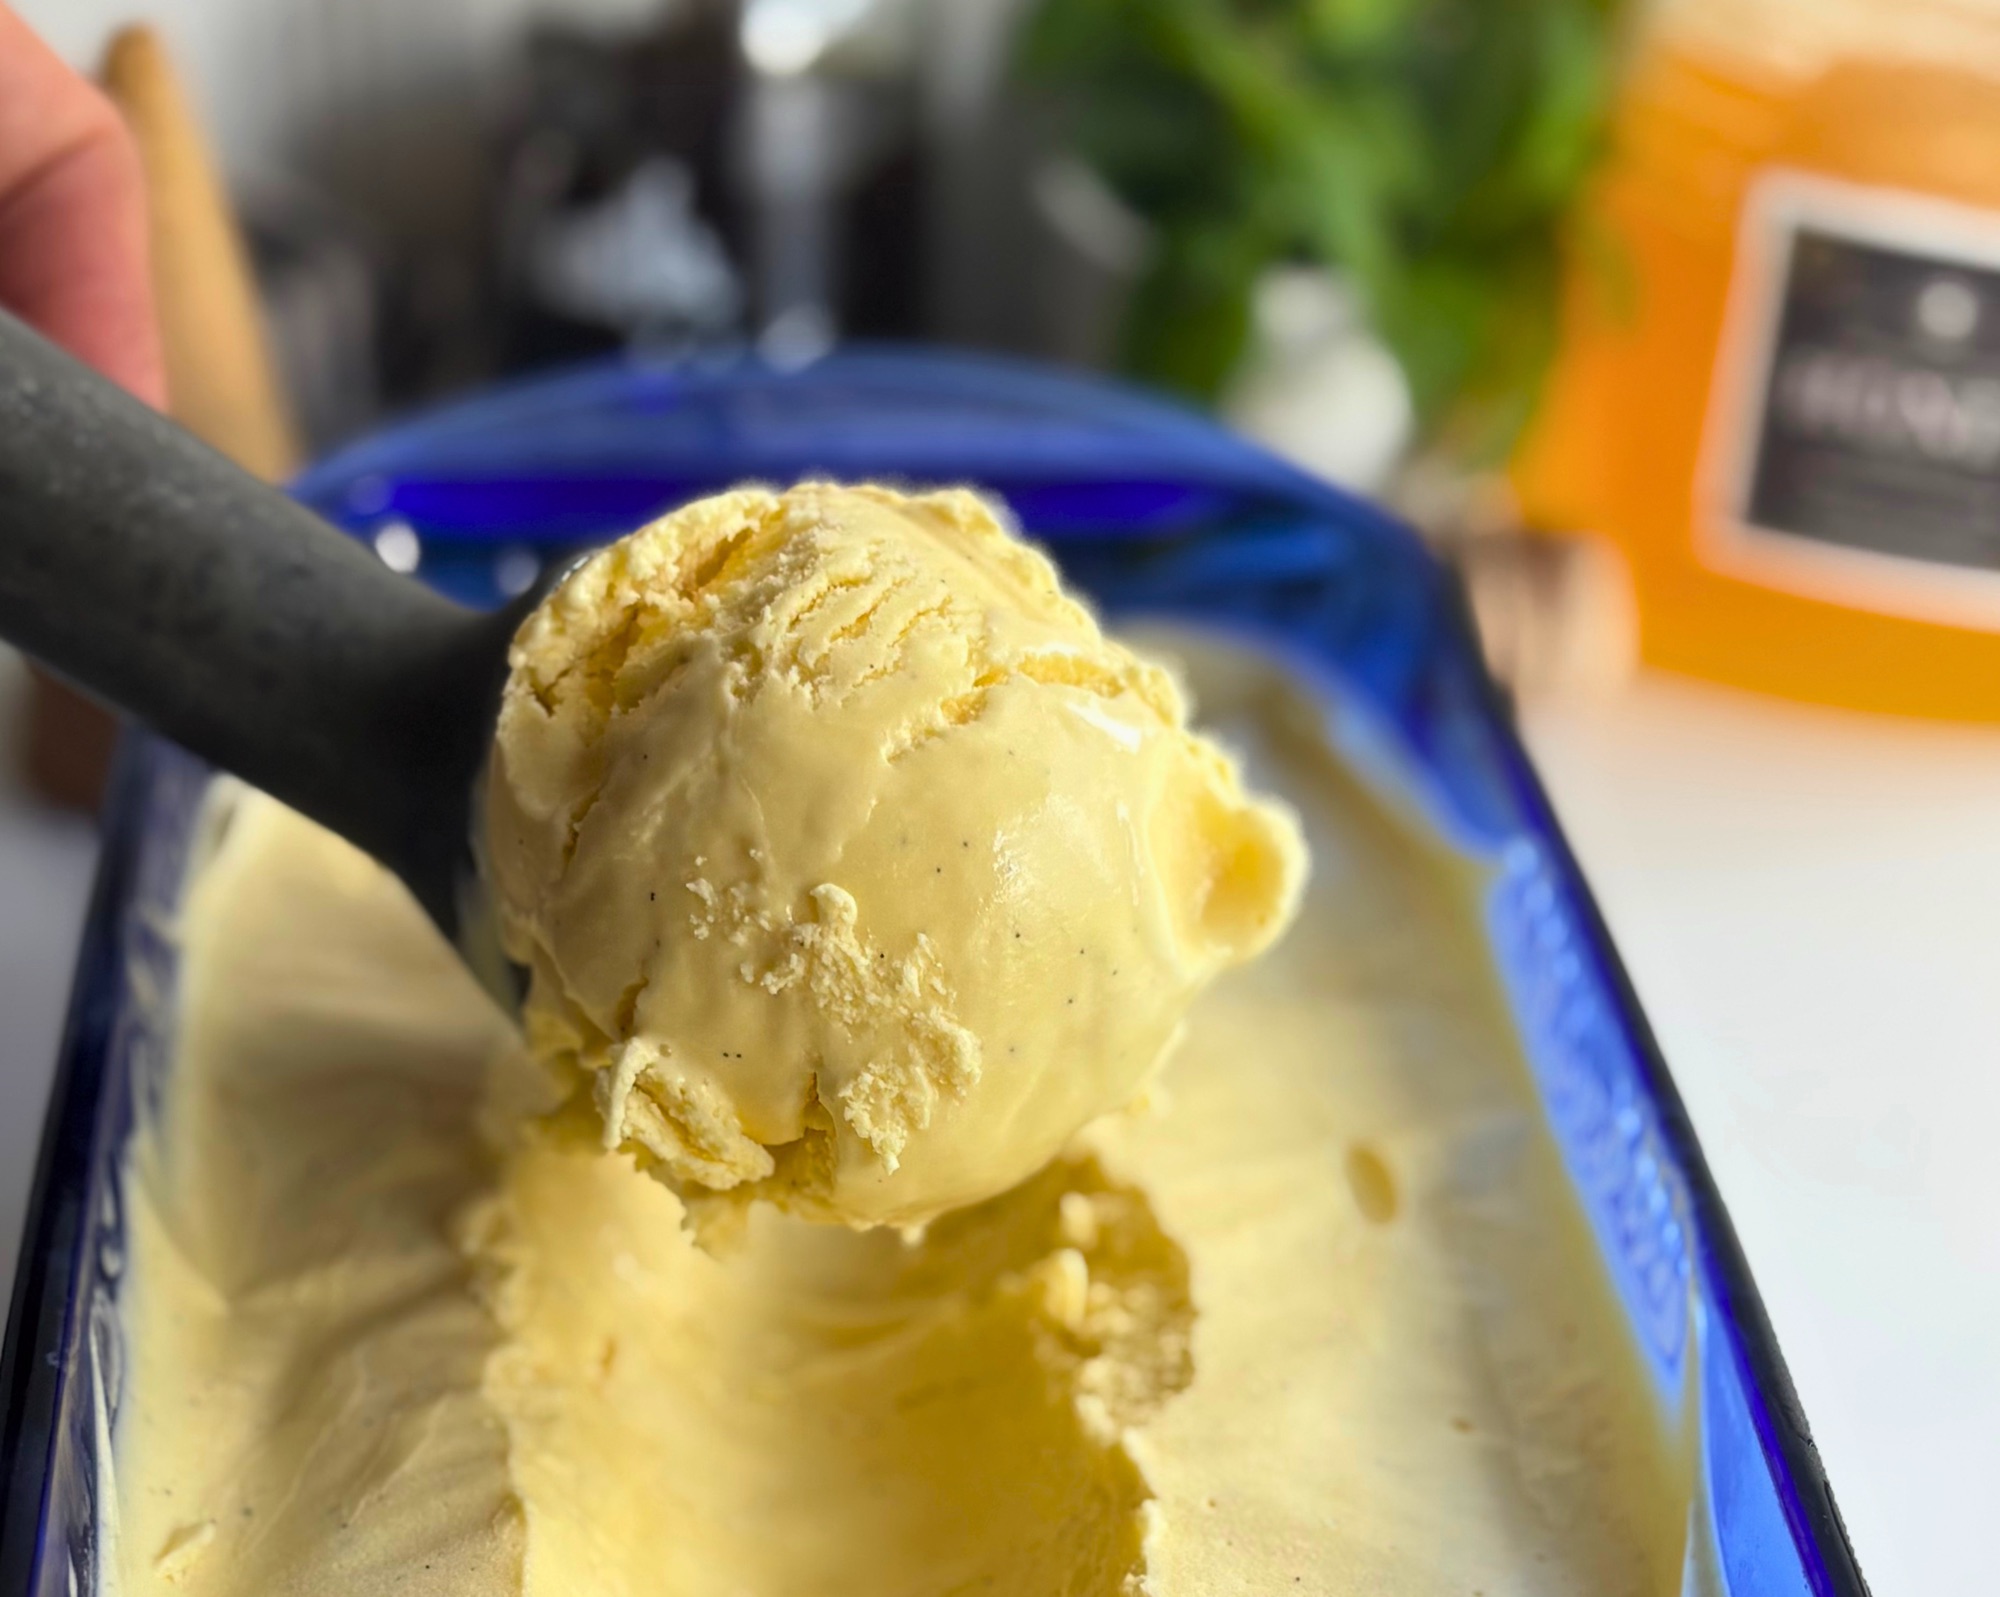
- Drizzle it over homemade ice cream, like my Homemade Vanilla Bean Ice Cream or Honey Cheesecake High Protein Ice Cream, where the caramel plays beautifully off the cheesecake flavor.
- Serve it as a dip for fresh apple slices, pretzels, or pear wedges on a fall snack board.
- Stir a spoonful into coffee or a latte for an easy homemade caramel flavor.
- Spoon it over pancakes, waffles, or French toast for a weekend breakfast that feels a little more special.
- Drizzle it over cakes, brownies, blondies, or popcorn, or swirl it into brownie or cheesecake batter before baking.
Variations
Salted caramel. Once the sauce has cooled slightly, sprinkle a little flaky sea salt over whatever you are drizzling it on, or stir in an extra pinch of salt to taste, keeping in mind that the flavor becomes more pronounced as the sauce cools.
Caramel glaze that sets. When you want a glaze that firms into a crackly shell rather than staying saucy, let the caramel cool for 5 to 10 minutes until just warm and whisk in 40 g powdered sugar (⅓ cup), which is exactly how I finish my Caramel Apple Pie Pull-Apart Focaccia.
Salted butter swap. If salted butter is what you have, use the same amount in place of the unsalted butter and reduce the added salt to just a pinch so the sauce does not turn out too salty.
Storage and Reheating
Once your caramel has cooled for a few minutes, transfer it to a small jar or airtight container and keep it in the refrigerator for up to 1 week.
The sauce firms up considerably as it chills, so when you are ready to use it, warm it in the microwave for 15 to 20 seconds and give it a stir, or set the jar in a bowl of warm water until it loosens back up to a drizzle. If you are making it ahead for a specific recipe, it keeps well for several days, and you can simply rewarm it right before serving.
Frequently Asked Questions
Do I really need to skip stirring the sugar and water?
Yes, and it is the most important rule in this recipe. Stirring splashes sugar crystals onto the sides of the bowl, and those crystals can trigger crystallization that turns the whole batch grainy, while the microwave dissolves the sugar evenly without any help from you.
Why does the caramel keep darkening after I take it out?
The sugar is extremely hot when it comes out of the microwave, and it keeps cooking from that stored heat for a minute or so. That is why you pull it at honey gold and let the resting minute bring it to amber, rather than waiting for the color you want while it is still in the microwave.
Can I use salted butter?
You can, as long as you use the same amount and cut the added salt down to a pinch so the sauce does not end up too salty.
What if I do not have a microwave?
You can make caramel on the stovetop by cooking the sugar and water in a light colored saucepan over medium heat, swirling the pan rather than stirring until the syrup turns amber, then adding the warm cream, butter, salt, and vanilla the same way. The stovetop version needs closer attention, since the pan holds onto heat differently than a glass bowl does.
Can I double this recipe?
I recommend making two separate batches instead, since this recipe is sized so the syrup heats and colors evenly in the microwave, and a larger volume is much harder to cook evenly.
How much caramel does this recipe make?
It makes about 6 tablespoons of caramel sauce, which works out to 4 servings of about 1½ tablespoons each.
Can I make caramel sauce ahead of time?
Yes, it keeps in an airtight container in the refrigerator for up to 1 week, and you can warm it for 15 to 20 seconds in the microwave to bring it back to a drizzle.
Is this caramel sauce gluten free?
Yes, every ingredient in this recipe is naturally gluten free.
Why did my caramel harden in the refrigerator?
Caramel sauce always firms up when it is cold, because the sugar and butter set as they chill. A short warm up in the microwave returns it to a smooth, pourable sauce.
More Recipes to Pair With Caramel
This caramel belongs on just about everything I bake in the fall, so here are a few places to put it to work. My Caramel Apple Pie Pull-Apart Focaccia is where it shines the most, and a warm drizzle over the Cinnamon Roll Pull-Apart Focaccia is never a bad idea either.
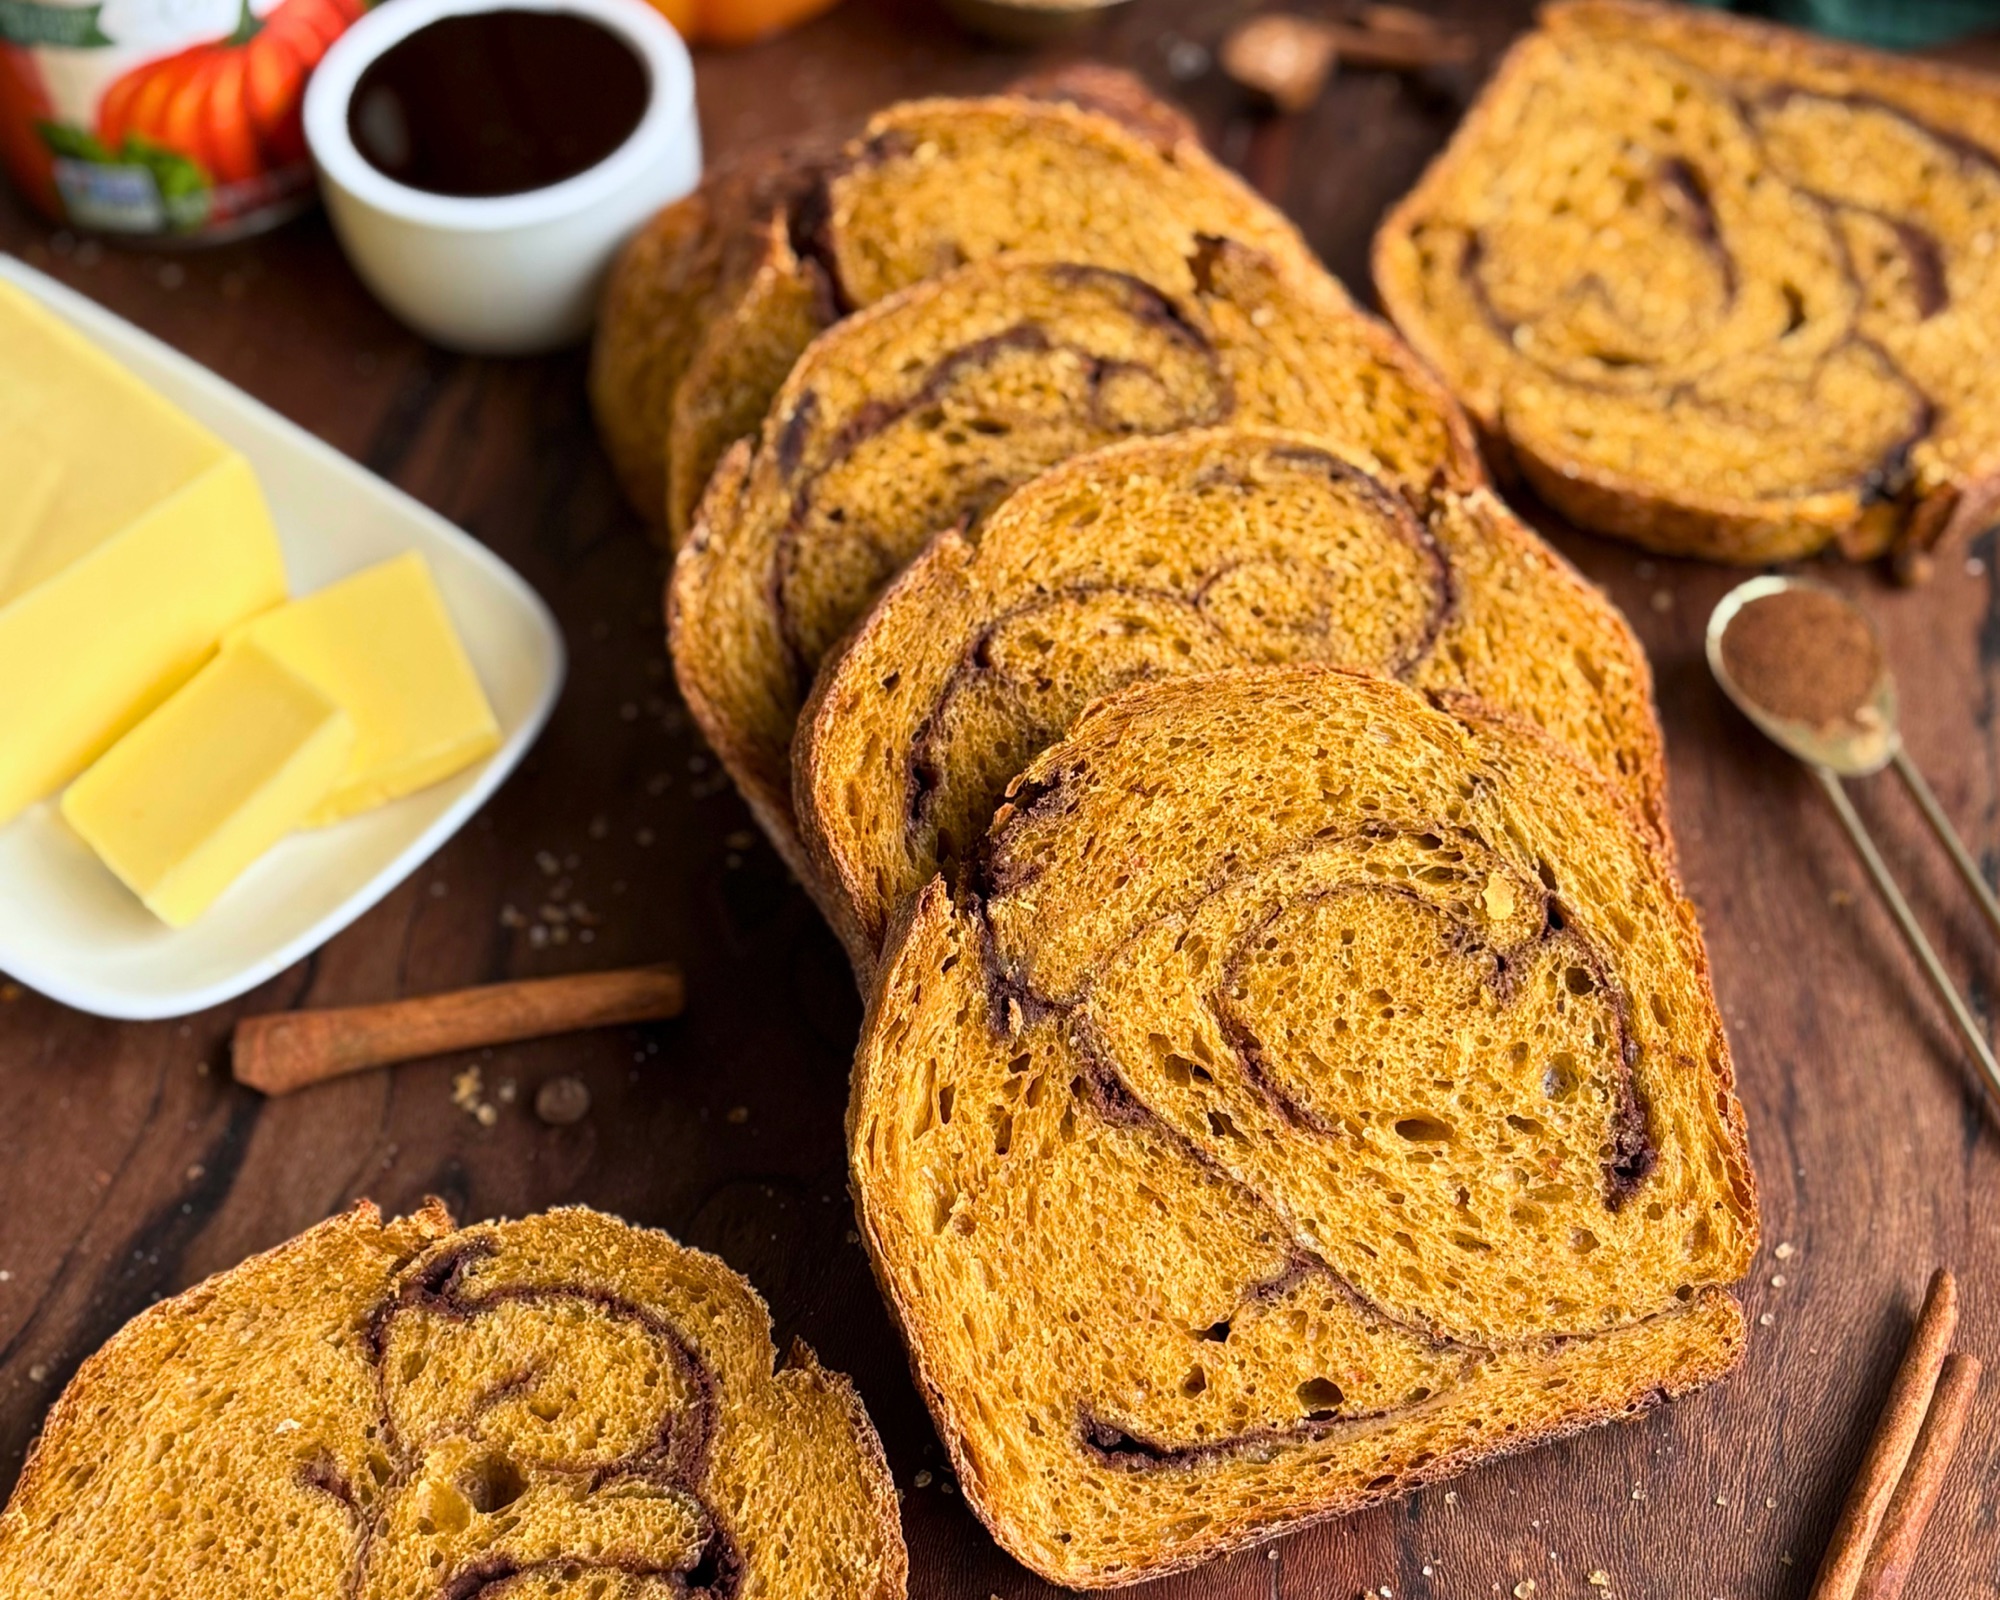
If you love caramel and apples together, the Caramel Apple Cinnamon Rolls and my High Protein Caramel Apple Cinnamon Rolls bring those flavors to a classic roll, and a toasted slice of The Easiest Apple Cinnamon Swirl Sourdough Bread with a spoonful of warm caramel makes an easy fall breakfast. For pumpkin season, try it over The Easiest Pumpkin Swirl Sourdough Bread.
For a cold treat, pair it with my Homemade Vanilla Bean Ice Cream, Homemade Chocolate Ice Cream, or Honey Cheesecake High Protein Ice Cream. And if you are ready for a bigger baking project this season, my Sourdough Croissant Masterclass walks you through buttery, flaky croissants step by step.
Made This Recipe?
I would love to hear how your microwave caramel sauce turned out, so leave a star rating and a comment below letting me know how long your microwave took and what you drizzled it on, and tag me @h3artofthehome on Instagram so I can see it.
Subscribe
Never miss a new recipe by subscribing to the H3art of the Home newsletter, which is completely free, and you will get new sourdough bakes, pull-apart focaccia flavors, and high protein recipes delivered straight to your inbox.





Leave a Reply